• Skip to primary navigation
  • Skip to main content
  • Skip to primary sidebar
  • Skip to footer

The Nourishing Gourmet

Nourishing. Satisfying. Gourmet.

  • THM Coaching
  • About
    • Privacy
    • Contact
  • Recipes
  • Cookbooks
    • Everyday Nourishing Food
    • Salad Cookbook
    • Soup Cookbook

Salted Dark Chocolate Caramel Cups (Refined Sugar-free)

December 17, 2014 by Katie Mae 6 Comments

Thanks for stopping by! If you're interested in healthy eating check out my free gifts! and subscribe to get regular email updates. *Some links may be affiliate.*

Salted Dark Chocolate Caramel Cups- www.thenourishinggourmet.com

By Katie Mae Stanley, Contributing Writer

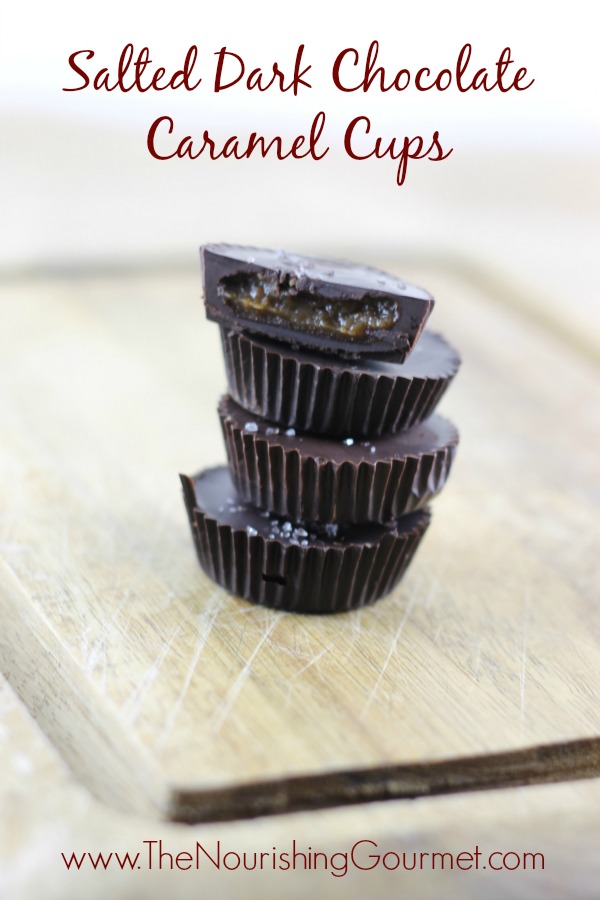
Bittersweet chocolate surrounds delicious gooey caramel with a touch of salt in this homemade candy recipe. This is a healthier treat without the use of refined sugars, and the use of dark, antioxidant rich chocolate! It is a perfect treat this time of year. Plus, if you don’t eat it all yourself, it can be easily boxed up for a lovely sweet gift this Christmas. Why not pair it with this Easy Mint Chocolate Fudge recipe for gift giving!

It’s no secret that I love chocolate and that I have a fondness for chocolate when paired with salted caramel. Last year I shared a Salted Caramel Mocha Fauxccino here at The Nourishing Gourmet. Recently I have enjoyed a few cups of steaming Salted Caramel Mocha.

These salted dark chocolate caramel cups are not nearly as hard to make as it would seem. All you need is some high quality dark chocolate, a batch of caramel sauce (or try this one from Kimi) that can be pre-made and a 1/2 teaspoon of course unrefined salt such a Real Salt or Celtic Salt. I prefer using baker’s chocolate because it pairs beautifully with the caramel, balancing out the intense sweetness. It can be made with the chocolate of your choice if you prefer a sweeter chocolate.

I have made candy cups with coconut oil, cocoa powder, and honey before, but when giving gifts I prefer to use pre-made chocolate to make this treat shelf-stable. This makes it more suitable for serving at a holiday party or to give as a gift. You can wrap them in parchment paper and place them in a cute box. Or you might even want to pair them with other homemade candies!

Other homemade chocolates to give as gifts:

  • Mint Chocolate Fudge
  • Dark Chocolate Peppermint Bark
  • Silky Maple Chocolate Fudge
  • Almond Roca (topped with chocolate)
  • Chile Spiked Dark Chocolate Bark with Pepitas and mangos (another favorite of mine)

Ingredient and tool list:

(Affiliate links.) 

  • Allergy Friendly Dark Chocolate ( Perfect for those who need allergy friendly chocolate)
  • Mini Cup Liners
  • Kosher Real Salt
  • (Kimi Notes: I’ve also found these silicone chocolate molds helpful for recipes such as this one! They make beautiful chocolates, and you don’t even need cup liners. 🙂 )

Salted Dark Chocolate Caramel Cups
 
Author:
Katie Mae Stanley@ The Nourishing Gourmet
Print
 
Ingredients
  • 5 oz bittersweet chocolate (90% or baker's chocolate)
  • ⅓ cup salted caramel sauce (or this caramel sauce)
  • 12 mini cupcake liners
Instructions
  1. Break the chocolate into small pieces. Place in a double boiler.You can also use a sauce pot with a larger heat safe bowl placed on top of the pot. (The bottom of the bowl should not be touching the bottom of the sauce pot, or the simmering water.)
  2. Bring the water to a simmer. Allow ½ of the chocolate to melt.
  3. Remove from the heat and continue to stir until the all the chocolate melts.
  4. Place the mini cupcake liners inside a mini cupcake pan.
  5. Fill each liner with ½ of a teaspoon of melted chocolate.
  6. Place the pan in the refrigerator for 10 minutes to allow the chocolate to firm up. Once firm, place back on your working space.
  7. Add ½ teaspoon of caramel sauce in the middle of each cake liner. Flatten so that the caramel almost goes to the sides of the cup.
  8. Gently pour 1 teaspoon of melted chocolate over the candies, completely covering the caramel.
  9. Place in the refrigerator for 5 minutes, allowing it to firm slightly.
  10. Sprinkle each cup with a bit of coarse unrefined sea salt.
  11. Return the pan to the refrigerator for 20 minutes or until the candies are completely firm.
  12. The can be stored on the counter for up to 2 weeks or in the refrigerator for two months.
3.2.2925


The following two tabs change content below.
  • Bio
  • Latest Posts

Katie Mae

Katie Mae Stanley is the writer at Nourishing Simplicity, where the focus is on nourishing foods, herbal remedies, simple living, and faith. Ethnic and Midwest foods are always a favorite in her kitchen and on her blog. She is also the author of the book Steeped: Simple Nourishing Teas and Treats. Katie Mae spent 10 years as a missionary dorm "mama" for over 30 amazing deaf girls at a school for the deaf in Baja California, Mexico. Now she finds herself state side ready to embrace God's next adventure. A cup of tea or coffee and a bit of dark chocolate make an appearance at some point in any given day.

Latest posts by Katie Mae (see all)

  • Instant Raspberry Hot Cocoa Mix (Dairy-free) - January 9, 2017
  • Pumpkin Spice Hot Cocoa - October 14, 2016
  • Thai Chicken Fried Rice - July 20, 2016

Filed Under: Dairy Free, Desserts, Gluten Free, Grain Free, Vegan, Vegetarian

Previous Post: « Pennywise Platter Thursday 12/18
Next Post: Coconut Ginger Apple Cider »

Reader Interactions

Comments

  1. Geminiinn

    December 18, 2014 at 5:52 am

    thanks its very helpful.

    Reply
  2. Amanda B.

    December 18, 2014 at 10:24 am

    This looks fantastic!

    Reply
    • Katie Mae

      December 20, 2014 at 4:58 pm

      Thanks! I tend to think they are! 😉

      Reply
  3. Marie

    January 4, 2015 at 6:51 pm

    I am not a fan of caramel, could a person use fruit of some kind perhaps?

    Reply
    • KimiHarris

      January 5, 2015 at 11:48 am

      Marie,

      I have used fruit before! Generally you cook down the fruit to a thick consistency and sweeten to taste in recipes like this. Then layer like you do with the caramel. Raspberry would be yummy. 🙂

      Reply
  4. The Gourmet Grocer

    June 1, 2015 at 12:56 am

    I love sweet-and-salty. This gourmet chocolate recipe is worth trying this weekend. Thanks!

    Reply

Leave a Reply Cancel reply

Your email address will not be published. Required fields are marked *

This site uses Akismet to reduce spam. Learn how your comment data is processed.

Primary Sidebar

ConvertKit Form

Get Every Recipe

And the insider's view from our kitchen

Success! Now check your email to confirm your subscription.

There was an error submitting your subscription. Please try again.

We won't send you spam. Unsubscribe at any time. Powered by ConvertKit

Follow Me

  • Facebook
  • Google+
  • Instagram
  • Pinterest
  • RSS

Search

Please Read:

The information you find here at The Nourishing Gourmet is meant to help you become a better cook! This site is primarily for sharing family friendly recipes. It's not meant to give medical advice or to make any health claims on the prevention or curing of diseases.This site is only for informational and educational purposes. Please discuss with your own, qualified health care provider before adding in supplements or making any changes in your diet. Also, any links to sponsors or affiliates (including Amazon) may give me a percentage of the sale or a pay per click. Thank you for supporting this site.

Categories

  • $10 Main (42)
  • $5 Dishes (43)
  • 52 ways to save money on a healthy diet (53)
  • AIP (23)
  • Baked Goods (83)
  • Beverages (72)
  • Breakfast and Brunch (61)
  • Condiments (8)
  • Dairy Free (492)
  • Desserts (184)
  • Dietary Needs (6)
  • Egg Free (11)
  • Egg Free (86)
  • For the Kids (66)
  • For the Love of Food and Books (18)
  • Gluten Free (484)
  • Grain Free (95)
  • Health (75)
  • Kitchen Tools (4)
  • Main Dishes (126)
  • Nourishing Frugal Recipes (167)
  • Nourishing Frugal Tips (70)
  • Nourishing Practices (56)
  • Nutrient Dense Foods (70)
  • Q and A (15)
  • Salads (39)
  • Sides (101)
  • Snacks (124)
  • Soups (50)
  • The Healthy $1 Menu (21)
  • The Low Energy Guide to Healthy Cooking (18)
  • THM (2)
  • Trim Healthy Mama (2)
  • Uncategorized (846)
  • Vegan (241)
  • Vegetarian (361)

Recent Posts

  • 2 Ingredient Peppermint Bark
  • Herbal Hibiscus Lemonade (Keto, THM)
  • Creamy Curry Red Lentil Soup
  • One-Pot Gluten-Free Mac and Cheese
  • Healthy Pumpkin Spice Granola
  • Crispy Pumpkin Spice Granola (oil-free)
  • Why I Use THM Principles Now
  • Vietnamese Beef Noodle Salad
  • Coconut Flour Pancakes
  • Instant Pot Mexican Shredded Chicken

Recent Comments

  • Dorene St G on Cracker Toffee (Easy Peasy Christmas Candy)
  • Nadia Kriston on Finding a Toaster Oven Without Nonstick
  • KimiHarris on How to make heavenly coconut milk whipped cream (with an isi dispenser)
  • KimiHarris on Autumn Beef Stew (Tomato Free)
  • KimiHarris on How to make heavenly coconut milk whipped cream (with an isi dispenser)

Fresh: Nourishing Salads for All Seasons

Get Every Recipe

And the insider's view from our kitchen

Success! Now check your email to confirm your subscription.

There was an error submitting your subscription. Please try again.

We won't send you spam. Unsubscribe at any time. Powered by ConvertKit

Footer

Privacy

Copyright © 2023 · Foodie Pro & The Genesis Framework