• Skip to primary navigation
  • Skip to main content
  • Skip to primary sidebar
  • Skip to footer

The Nourishing Gourmet

Nourishing. Satisfying. Gourmet.

  • About
    • Privacy
    • Contact
  • Recipes
  • Cookbooks
    • Everyday Nourishing Food
    • Salad Cookbook
    • Soup Cookbook

Nourishing Frugal Recipes

Gingerbread Caramel Corn

December 8, 2024 by KimiHarris Leave a Comment

Pan of gingerbread caramel corn

The spices of a traditional gingerbread, including cloves, nutmeg, ginger, cinnamon, along with a touch of molasses, elevates caramel corn into something truly special. This version doesn’t use any corn syrup, but instead is solely sweetened with honey, coconut sugar, and molasses. Our neighborhood kids have been helping sample this alongside my kids as I perfected the recipe. It’s been a favorite! 

Gingerbread Caramel Corn makes the lovely movie night treat, or a lovely food gift.

A Few Notes:

  • This recipe uses a quick timed caramel process on the stovetop. I love that it’s so easy to make!  Please beware that sugar burns can be serious, so whenever making caramel, I personally wear shoes, am extra careful, and keep kids and pets out of the kitchen. 
  • I recipe tested this with both brown sugar and coconut sugar, and they both worked amazingly!
  • The oven process helps to solidify the caramel, and as you stir it every 15 minutes, it will help even out the caramel coating on the popcorn. We also found that it helps bring the spice flavor out. Note that you can taste the spices most when fully cooled.
  • We LOVE our stovetop popcorn popper. But an air popper works just as well! Do not use microwave popcorn bags for this recipe.
  • We personally use organic corn products whenever possible. Besides potential health benefits, we’ve found that the texture and taste is usually better.


Gingerbread Caramel Corn


Printable PDF, Makes around 8 cups

  • ½ cup popcorn kernels, popped to make around 8 cups (for a lighter caramel coating, you can up this to ¾ cup of popcorn kernels) 
  • ½ cup butter (coconut oil would work for a dairy-free version) 
  • 1 cup coconut sugar (or brown sugar, lightly packed) 
  • 2 tablespoons honey
  • 2 tablespoons molasses 
  • ½ teaspoon salt
  • ½ teaspoon ground ginger 
  • ½ teaspoon cinnamon 
  • ⅛ teaspoon nutmeg
  • ⅛ teaspoon cloves 
  • ½ teaspoon baking soda 
  • 1 teaspoon vanilla

Directions:

Cover a sheet pan with parchment paper. Preheat oven to 200F. Spread popped popcorn on the sheet, remove any unpopped kernels. 

In a heavy small or medium-sized pot, add the butter or coconut oil, coconut sugar, honey, molasses, and salt. Over medium heat, bring to a low simmer while stirring. 

Once it reaches a simmer, stop stirring, and allow to gently simmer for five minutes. Then, remove from heat. Add baking soda, spices, and vanilla. The baking soda will change the texture of the caramel. Stir carefully to combine well. 

Carefully pour the caramel mixture over the popcorn, and then gently stir to spread the caramel as best you can. 

Place in the middle of the oven. Stir every 15 minutes, for a total of 60 minutes in the oven. Remove from heat. Cool. Break up the caramel corn, and enjoy!

Filed Under: Dairy Free, Desserts, Egg Free, For the Kids, Gluten Free, Nourishing Frugal Recipes, Snacks

Spicy Korean Beef and Cabbage

November 20, 2024 by KimiHarris Leave a Comment

A bowl full of spicy Korean beef and cabbage.

This simple main dish is not only full of healthy protein and vegetables, but is also bursting with flavor! Even better, it is a fast main dish to make on busy nights and is incredibly frugal. We usually eat this once a week on a night when I have 30 minutes or less to make dinner. 

With food costs where they are right now, I am loading our menu with meal options that fill us up for less, and this fits the bill. My kids and husband eat this over rice, and I usually eat a bowl of it plain or served over konjac noodles for a grain-free option.

One of the secrets of this meal is using the Korean spicy fermented red chili paste called gochujang. This spicy paste is the secret to many Korean dishes, and I always keep it on hand. (Many of them contain gluten, but this brand is what I use and is gluten-free. Unless you like things really spicy, I recommend buying mild or medium.) I even noticed that Trader Joe’s was carrying gochujang for a great price recently! 

However, if you are not a K-drama junkie like we are (and don’t usually cook Korean-inspired meals), you can easily substitute red chili flakes or sriracha sauce instead. (I really love this organic sriracha sauce, and we use it to top this dish to add more flavor when serving!)

Note: While I am calling this recipe “Korean” because of the gochujang sauce, this is not a traditional Korean dish.

We do a lot of Asian-inspired meals in our family, as they are flavorful, protein and produce-rich, and are naturally gluten and dairy-free with just a few tweaks (like using tamari instead of soy sauce). 

While I am avoiding grains most of the time right now, my family enjoys this meal with rice which is a very frugal carbohydrate. I also can get a 2 pound package of coleslaw mix at Sam’s Club right now for slightly over 2 dollars. Cabbage is on the Clean 15 list, a list of produce with the least amount of pesticide residue, making this a not only very frugal ingredient but also a safer one too! 

Other Recipes You Might Like:

  • 3 Ingredient Teriyaki Chicken
  • Paleo Teriyaki Chicken
  • Japanese Cucumber Salad
Bowl of spicy Korean cabbage and beef

Spicy Korean Beef and Cabbage

Serves 4, Printable PDF

  • 1 pound coleslaw mix (slightly more, or slightly less cabbage will work too!)  
  • ⅓-½ cup water 
  • 1 pound of lean ground meat (I usually use lean grassfed beef, but ground turkey is lovely too.) 
  • 1 tablespoon onion powder 
  • 3-6 garlic cloves minced (or 2-4 teaspoon garlic powder) 
  • 1-2 teaspoons of dried ginger powder (or 1 to 2 tablespoons minced fresh ginger) 
  • 1 tablespoon gochujang (to add spice without gochujang paste, substitute 1 teaspoon or so of red chili flakes, or a tablespoon or two of sriracha sauce, to taste.) 
  • 1 tablespoon rice vinegar (unflavored and unsweetened) 
  • 2 tablespoon tamari (GF soy sauce option) 
  • 1 teaspoon toasted sesame oil 
  • Sesame seeds and/or chopped green onions, to finish (optional)
  1. In a large pot, add the coleslaw mix and the water. Cook for 3-5 minutes over medium high heat, until water is mostly gone, and cabbage is wilted, stirring to prevent any sticking. Start with ⅓ cup of water and add more if needed. 
  2. Add ground beef, onion powder, garlic, gochujang, vinegar, and tamari. Stir, and break ground beef into small pieces, and cook until meat is cooked (no longer pink), and moisture is mostly gone again. 
  3. Add 1 teaspoon of toasted sesame oil and stir to disperse. Now taste test, and add more tamari, vinegar, gochujang or sesame oil to desired taste. 
  4. To serve, eat in bowls with or without rice, and sprinkle with chopped green onions and/or sesame seeds. We also like a drizzle of this sriracha sauce.

Filed Under: $10 Main, Dairy Free, Egg Free, Egg Free, Gluten Free, Grain Free, Main Dishes, Nourishing Frugal Recipes, The Low Energy Guide to Healthy Cooking, THM, Trim Healthy Mama Tagged With: frugal main dish, gochujang recipes, healthy main dish, korean beef, korean cabbage

Creamy Curry Red Lentil Soup

December 8, 2021 by KimiHarris 4 Comments


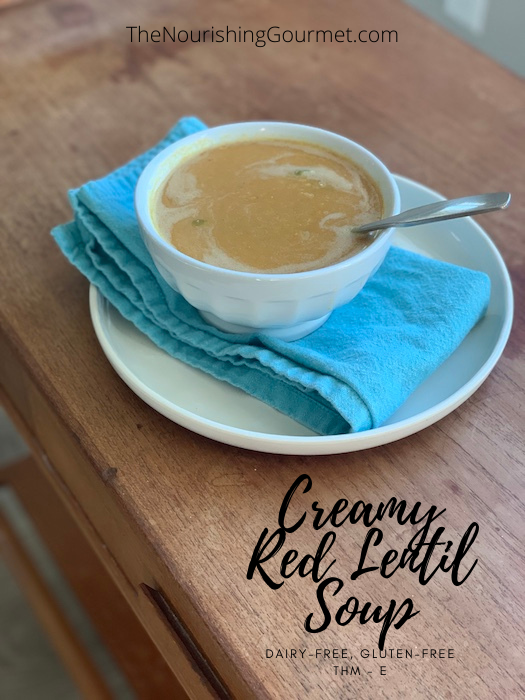
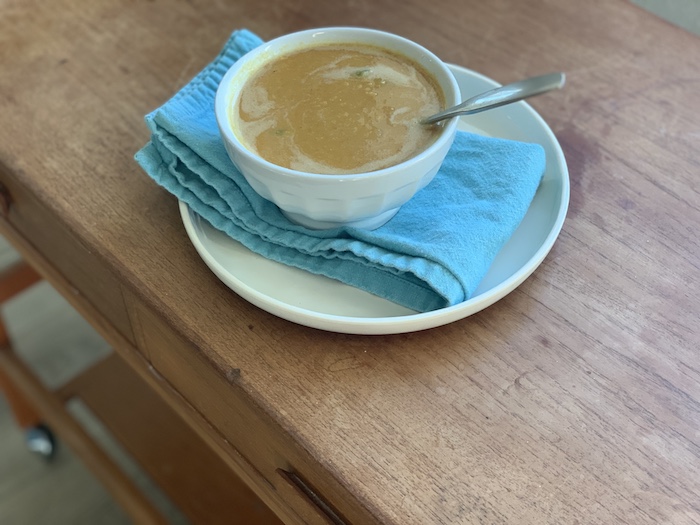
This creamy, dairy-free soup is frugal and comforting on a cold winter’s night. Cumin, garlic, ginger, and curry powder all help give this soup a robust flavor profile, while the balsamic vinegar provides just the right tang. 

Red lentils cook up in a hurry, making this a wonderful last-minute meal. I love lentils as they are full of essential nutrients, a frugal source of protein, and are delicious too! 

I add gelatin to the soup to add more protein, but that’s optional. This soup is easily made with broth or water, vegetarian or not. 

Serve with muffins, bread, or over brown rice, and a large salad for a complete meal. For those on THM, this makes a wonderful “E” Meal.

Tips

For easy blending, use an immersion blender.

For more protein and collagen, use the optional gelatin. This is a good brand.

I like to keep all of the ingredients for this soup on hand. They are easily made into a variety of dishes, and I can also make this soup for last-minute meals!

Other Soup Recipes 

  • Egyptian Red Lentil Soup with Caramelized Onions
  • Simple Thai Broth
  • Golden Turmeric Sipping Broth

Creamy Curry Red Lentil Soup

  • 1-2 tablespoons fat or oil of choice 
  • 3 carrots, peeled and thinly sliced 
  • 1 onion, peeled and chopped 
  • 3 celery, thinly sliced 
  • 3-6 garlic cloves, peeled and minced 
  • 2 cups red lentils, rinsed in a fine sieve (remove any small pebbles, if there are any)
  • 8 cups broth or water 
  • 1 heaping teaspoon cumin 
  • 1 heaping teaspoon dried ginger or one tablespoon finely grated fresh ginger 
  • 2 teaspoon curry powder 
  • ¼ cup of gelatin in 1 cup of cool water, optional
  • Around 1 – 2 tablespoons of salt 
  • 2 tablespoon balsamic vinegar 

1. In a large pot, add the fat/oil (just enough to lightly cover the bottom of the pot) and turn on medium heat until the fat is just hot. Add the carrots, onion, and celery, and lightly sprinkle with salt. Stir here and there, and cook until the vegetables start to soften (about five minutes) and add the garlic and cook for one or two more minutes. 

2. Add the red lentils and broth/water, turn heat to high, and bring to a simmer. Turn down to keep at a gentle simmer. Remove with a large spoon any foam that may come to the surface of the soup. 

3. Add the spices. Simmer for around twenty minutes, or until the lentils are soft. 

4. Stir together the gelatin and the water, soften for a few minutes. Stir into the soup, along with salt (to taste, you will need more if you used water) and balsamic vinegar. 

5. For a creamier texture blend part or all of the soup. The easiest way to accomplish this is to use an immersion blender, which you can put right into your pot for easy blending. OR, carefully scoop out some of the soup, and blend in a blender (follow procedures for your specific blender for how to do this safely. For my blender, I vent it, and only fill halfway, and blend on low to start). For blending in a blender, you will need to do at least several batches. I blend about half of the soup. 

6. Check the flavor, and adjust with salt, vinegar, or pepper, and enjoy!

Filed Under: $10 Main, Dairy Free, Egg Free, Gluten Free, Grain Free, Nourishing Frugal Recipes, Soups, The Low Energy Guide to Healthy Cooking, THM, Trim Healthy Mama

Instant Pot Mexican Shredded Chicken

May 13, 2021 by KimiHarris 1 Comment

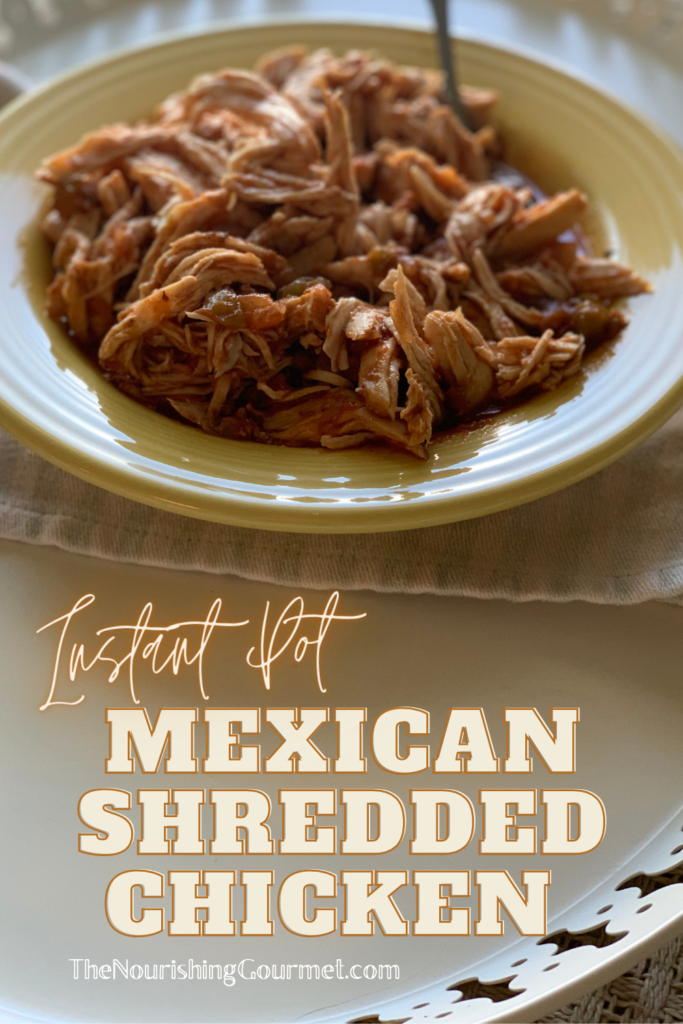
This easy recipe takes just a couple of ingredients and can be thrown together in mere minutes, but produces flavorful shredded chicken that’s perfect for tacos, burritos and burrito bowls, and taco salads.

If you’ve followed this blog for a while, you may have noticed that we tend to love dark meats, such as chicken thighs. But chicken breast can be delicious too! This recipe is suitable for most gluten-free, grain-free, paleo/primal diets. I most often eat this on the THM (Trim Healthy Mama) plan as part of my E meal.

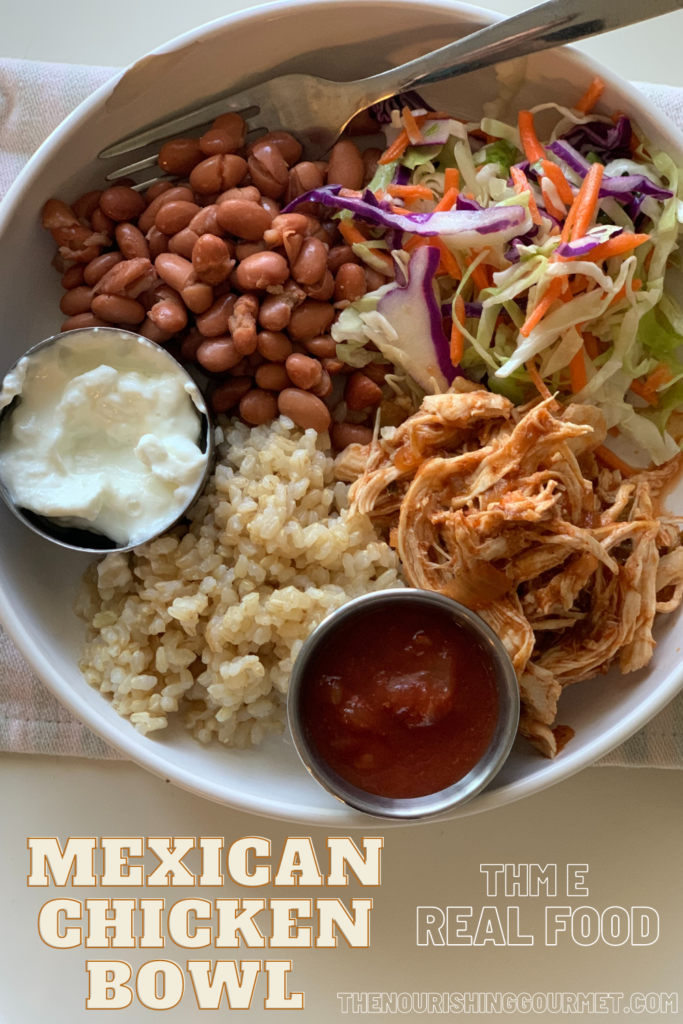
For those of us coming to THM from the traditional foods world, eating some meals that are higher in the slow carbs, but lower in fat is a real transition. However, look at how satisfying this meal is below!

What’s in this bowl: Brown rice, pinto beans, Mexican shredded chicken, cabbage slaw tossed with a teaspoon of oil and lime juice, fresh garlic and salt, salsa, and nonfat Greek yogurt.

If you are interested in why I decided to start combining what I had learned from other experts in the holistic world with THM, you can read my story here and learn about my coaching as well.

For an S meal, or other Mexican-inspired recipes, check out this juicy Carnitas recipe as well as my Simple Mexican Coleslaw. Delicious!

But regardless of your dietary lifestyle, this recipe is delicious!

Instant Pot Shredded Chicken

  • 2-3 Chicken Breasts
  • 1 and 1/4 cup salsa or Picante sauce
  • 1 teaspoon each chili, cumin, garlic powder
  1. In a 6 quart Instant Pot add the salsa or sauce. An IP needs at least 1 cup of liquid, so if your salsa is dry, add chicken broth. Add the chicken and spices.
  2. Secure lid, set steam release valve to closed, and program for ten minutes on high on manual.
  3. Let rest for five minutes, and then release. Check to make sure chicken is cooked all the way through.
  4. Shred chicken, then pour the sauce over it. Enjoy!

Filed Under: Dairy Free, Egg Free, Gluten Free, Grain Free, Main Dishes, Nourishing Frugal Recipes, The Low Energy Guide to Healthy Cooking, Uncategorized

Next Page »

Primary Sidebar

Follow Me

  • Facebook
  • Instagram
  • Pinterest
  • RSS

Search

Please Read:

The information you find here at The Nourishing Gourmet is meant to help you become a better cook! This site is primarily for sharing family friendly recipes. It's not meant to give medical advice or to make any health claims on the prevention or curing of diseases.This site is only for informational and educational purposes. Please discuss with your own, qualified health care provider before adding in supplements or making any changes in your diet. Also, any links to sponsors or affiliates (including Amazon) may give me a percentage of the sale or a pay per click. Thank you for supporting this site.

Categories

  • $10 Main (43)
  • $5 Dishes (43)
  • 52 ways to save money on a healthy diet (53)
  • AIP (23)
  • Baked Goods (84)
  • Beverages (72)
  • Breakfast and Brunch (63)
  • Condiments (8)
  • Dairy Free (498)
  • Desserts (185)
  • Dietary Needs (6)
  • Egg Free (14)
  • Egg Free (92)
  • For the Kids (70)
  • For the Love of Food and Books (18)
  • Gluten Free (491)
  • Grain Free (98)
  • Health (75)
  • Kitchen Tools (5)
  • Main Dishes (128)
  • Nourishing Frugal Recipes (169)
  • Nourishing Frugal Tips (70)
  • Nourishing Practices (57)
  • Nutrient Dense Foods (70)
  • Q and A (16)
  • Salads (40)
  • Sides (104)
  • Snacks (126)
  • Soups (50)
  • The Healthy $1 Menu (21)
  • The Low Energy Guide to Healthy Cooking (20)
  • THM (5)
  • Trim Healthy Mama (5)
  • Uncategorized (848)
  • Vegan (243)
  • Vegetarian (363)

Recent Posts

  • Eating for Comfort and Sustenance
  • Perfect Instant Pot Black and Brown Rice
  • What Worked and What Didn’t in My Cooking Life Last Year
  • Mocha Dark Chocolate Bombs (low sugar)
  • Gingerbread Caramel Corn
  • Thyme and Garlic Potato Stacks
  • The Great Big Holiday Salad
  • 30 Favorite Kitchen Stocking Stuffers
  • Luxurious DIY Lip Balm
  • Spicy Korean Beef and Cabbage

Recent Comments

  • Kim on Eating for Comfort and Sustenance
  • Michelle Sanders on Chile-Spiked Dark Chocolate Bark with Pepitas & Mango (Dairy Free)
  • KimiHarris on Eating for Comfort and Sustenance
  • KimiHarris on Eating for Comfort and Sustenance
  • KimiHarris on Eating for Comfort and Sustenance

Fresh: Nourishing Salads for All Seasons

Footer

Privacy

Copyright © 2026 · Foodie Pro & The Genesis Framework