• Skip to primary navigation
  • Skip to main content
  • Skip to primary sidebar
  • Skip to footer

The Nourishing Gourmet

Nourishing. Satisfying. Gourmet.

  • About
    • Privacy
    • Contact
  • Recipes
  • Cookbooks
    • Everyday Nourishing Food
    • Salad Cookbook
    • Soup Cookbook

Nourishing Frugal Recipes

Simple Mexican Coleslaw

April 8, 2021 by KimiHarris 2 Comments

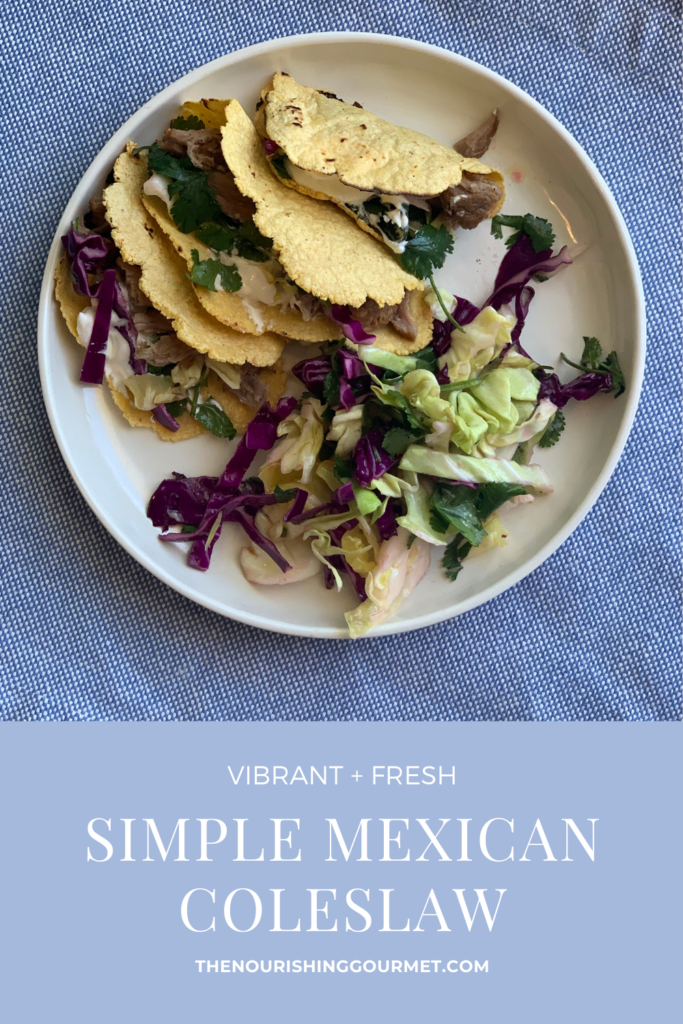
picture of mexican coleslaw with tacos

This easy and simple coleslaw is perfect for two things – topping tacos or using it as a flavorful base for a “taco salad.” Vegetable sides are regularly overlooked, but they shouldn’t be! They not only add a lot of important nutrition, antioxidants, and fiber, but they also add vibrant flavor. 

That said, I like to keep my sides simple so that I can get dinner on the table quickly. This recipe fits the bill. 

I make a large bowl of it, and serve it on taco night. For those in the family who regularly enjoy corn, they use it both in their tacos and as a side salad. For those of us who don’t always eat corn (or who are eating using keto or using Trim Healthy Mama principles), we use it as a base and then top it with top tender meat, salsa, avocado, sour cream, and cheese. 
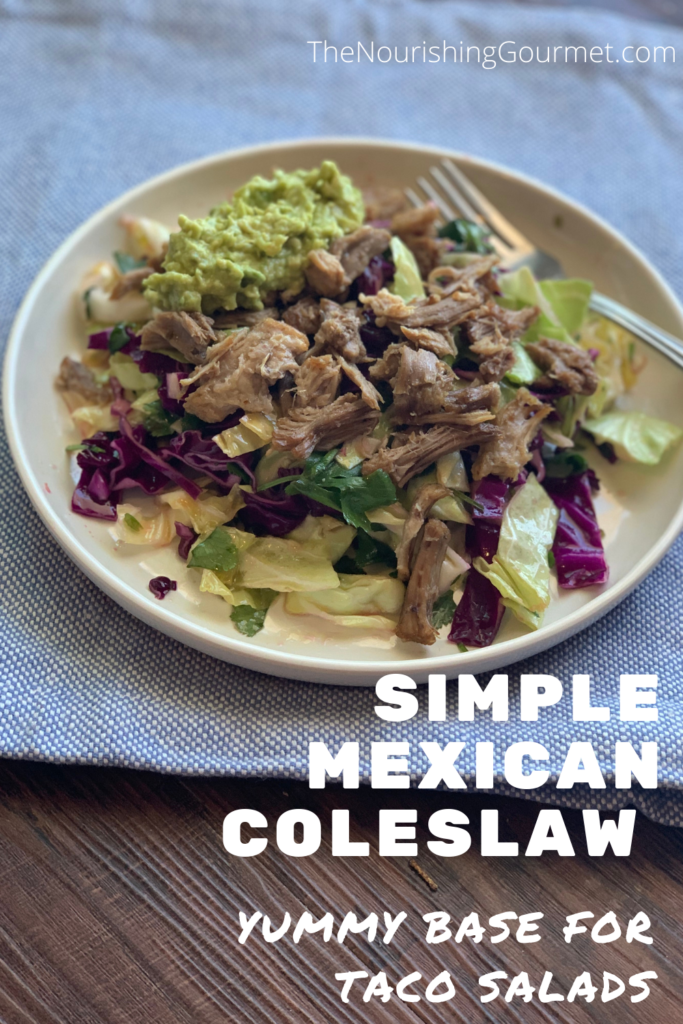
Mexican coleslaw topped with meat and avocado.

It’s a really delicious and satisfying meal, with taco shells or without, and is a regular part of our menu. 

While cabbage dressed up this way is just delicious, I also love that the regular addition of cruciferous vegetables, such as cabbage, can help prevent or reduce inflammation (1, 2, 3). Also, consider using red cabbage! It has other benefits because of its anthocyanin content (1), and also looks beautiful. 

Related Recipes:

• Simple Mexican Quinoa Bowls

• Mexican Quinoa Salad

• Mexican Chocolate Dairy-free Ice Cream

• Lacto-Fermented Escabeche

• 7 Layer Mexican Dip

Simple Mexican Coleslaw 

• 1 medium-large cabbage (I sometimes use half of a green, and half of a red) 

• 1 bunch of cilantro, washed, stemmed and chopped 

• ½ cup fresh lime juice*

• ¼ cup extra virgin olive oil 

• 1 teaspoon salt 

• 3-6 garlic cloves, peeled and finely minced 

  1. Wash the outside of the cabbage, and then cut in half using a large, sharp knife. Thinly slice the cabbage after cutting out the core. Add to a large bowl, and then add the cilantro. 
  2. Add the rest of the ingredients together in a small bowl or glass measuring cup, and stir together. Pour over cabbage and cilantro, and toss. Taste test, and add more salt, olive oil, or lime juice, as desired. 
  3. Serve right away, or premake an hour or two beforehand and allow the flavor to meld, and the cabbage to slightly soften. 

Variation: Cut the lime juice to ¼ of a cup and add ½ cup of orange juice for a more mild version. For a kick, add some red pepper flakes or cayenne pepper.
Filed Under: $5 Dishes, Egg Free, Main Dishes, Sides Tagged With: coleslaw, Mexican coleslaw, Mexican recipes

Roasted Frozen Broccoli

September 11, 2019 by KimiHarris 13 Comments

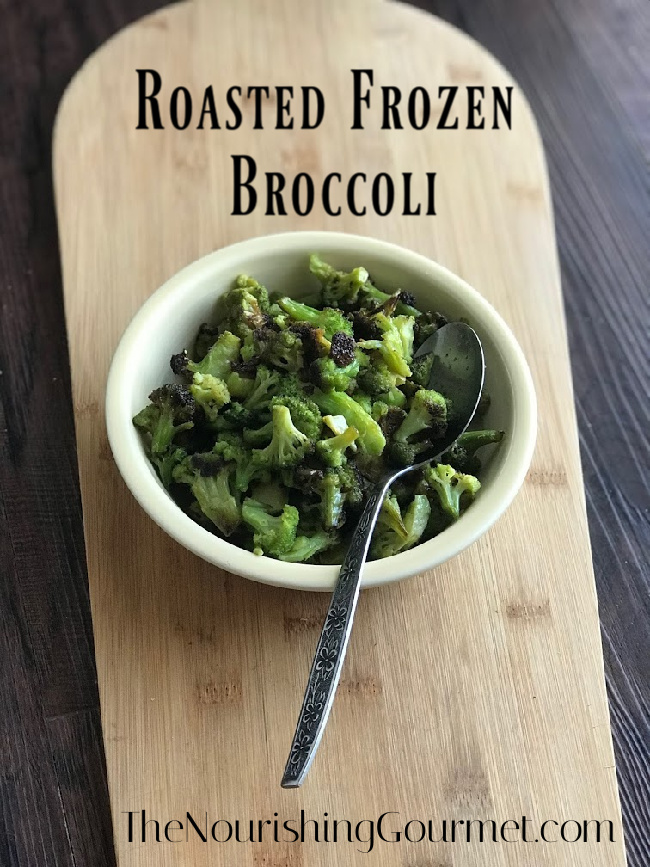
This is not only a simple recipe, but it's delicious and kid-friendly too. Yes! Even frozen vegetables can taste good!

We have a problem. If we don’t like how I prepare vegetables, they are pushed around on our plates and barely touched. This is no good, as I believe that vegetables are not only important for our health, but they can also be a delicious part of our daily diet as well. 

So when we made our big move to South Dakota, I faced a new problem. Back in Portland, Oregon, I had a large array of options for vegetables. Here? Not so much. Don’t get me wrong, there are still plenty of stores and some good options, but I found that I was eating less vegetables, they were costing a little more, and I wasn’t getting as good of a variety into our diets. Because of the climate here, we simply don’t have as many local options for produce. 

I needed to change my game plan, and that meant being willing to try more frozen vegetables. I have, admittedly, long eschewed frozen vegetables, and we mainly used them as a stop-gap. But I realized that there were many great frozen vegetables options here and I needed to figure out how to make them a little more delicious. I’m proud to say that we now eat them on a regular basis and all of us love them. Why? 

Can You Roast Frozen Vegetables?

Well, it turns out that you can roast them just like you do fresh vegetables! Why does roasting make fresh and frozen vegetables so much better? For a number of reasons: It helps crisp vegetables while they cook and if you leave them in long enough they will start to caramelize and give you a savory depth of flavor. 

Steamed frozen vegetables can sometimes have a mushy texture once cooked, or be very bland in flavor. I did find that the recipe I used for my cooking like a Roman day, using a spiced wine sauce with frozen broccoli, was really delightful. So you can absolutely have good steamed frozen vegetables. 

However, roasting them is a more fail-safe way for delicious vegetables that takes very little hands-on time. 

It’s also very versatile. We’ve done frozen Brussels sprouts, a carrots, broccoli and cauliflower mix, and both cauliflower and broccoli. The only thing we haven’t really been fans of is the frozen carrots. They were far better when roasted than steamed, but we found we preferred the other vegetables. 

Basic Method for Roasting Frozen Vegetables

Basic Method: Roasting vegetables is very easy. The basis concept is to toss frozen vegetables (don’t defrost) with oil, salt and pepper and roast in a hot oven until they are browned and crispy. I often don’t even set a timer. 

Additions: You can also toss them with dried herbs, fresh garlic before they go in the oven, or toss with a splash of balsamic vinegar and fresh herbs right after they come out of the oven. Or, roast with chopped bacon. This is the type of recipe where knowing the basic method is helpful, and then you can have fun trying a variety of vegetables and herbs and spices. 

But to get you started, here is a basic recipe for Roasted Frozen Broccoli

Roasted Frozen Broccoli

1 package of frozen broccoli (16 oz) 

2-3 tablespoons of oil or melted fat of your choice 

Salt and pepper 

  1. Preheat oven to 425F. I use parchment paper because I use sheet pans that are aluminum, but you can an unlined sheet pan as well. 
  2. Toss broccoli with oil/fat and salt and pepper. Place in oven and cook until browned to desired doneness. (between 15-35 minutes). 

Variation: My favorite variation is adding some sliced fresh onions to the broccoli before it cooks and then tossing with chopped fresh basil and a splash of balsamic vinegar once it’s out of the oven. Fabulous! 

Filed Under: $5 Dishes, 52 ways to save money on a healthy diet, AIP, Dairy Free, Egg Free, For the Kids, Gluten Free, Grain Free, Health, Sides, The Low Energy Guide to Healthy Cooking, Uncategorized, Vegan, Vegetarian

15 Unrecipes for Healthy Busy Day Meals

February 27, 2019 by KimiHarris 2 Comments

These easy methods can produce yummy healthy meals with what you have on hand - and without a formal recipe!

There is a certain lovely rhythm you can fall into in the kitchen that lends itself to creating simple meals and snacks with what you have on hand. A pinch of this, a handful of that, some leftovers, and a pot of beans, and dinner is served.

While I continue to experiment with some new recipes to bring to you at The Nourishing Gourmet, I wanted to share some of my “un-recipes,” or methods that are so simple, and pliable to what you have on hand, that an exact recipe is not needed.

I will link to some easy recipes as well, to get your thought process going. But I find that a well-stocked kitchen can often supply delicious meals without a recipe and just a dash of creativity.

You will notice that some of these snacks and easy meals are inspired by the books I read as well.

Bed of Greens + random bits and pieces
Cover a plate with fresh greens of choice (I use the baby salad greens), and top with leftovers such as shredded meats, cooked grains, chilled vegetables, leftover (or canned) beans, fresh vegetables, and top with dressing of your choice (here are 8 of my favorite dairy-free salad dressings). Other options: Canned fish, fried egg, boiled eggs, diced, homemade croutons (fry diced older bread cubes in a pan with melted butter and olive oil and salt and pepper).

I’m amazed at the delicious meals I am often able to make using just the little bits and pieces of leftovers used over salad greens.

Nutritious Smoothies
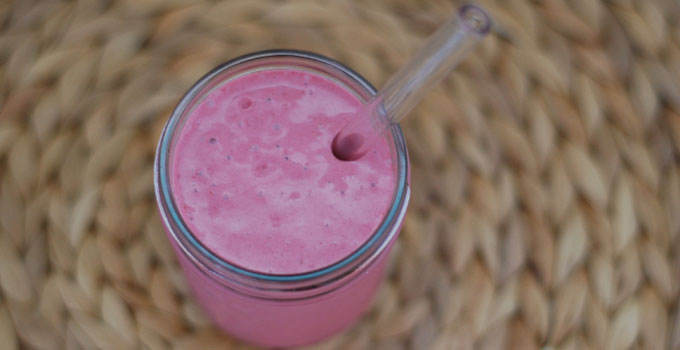
If you keep frozen fruit in the freezer, it’s easy to whip up a last minute meal or snack. Add salad greens for vegetables, or cucumber or zucchini. Use banana or some juice to sweeten it. Add protein by using white beans, collagen powder, or a spoonful of nut butter (like in this recipe )

Easiest soups ever
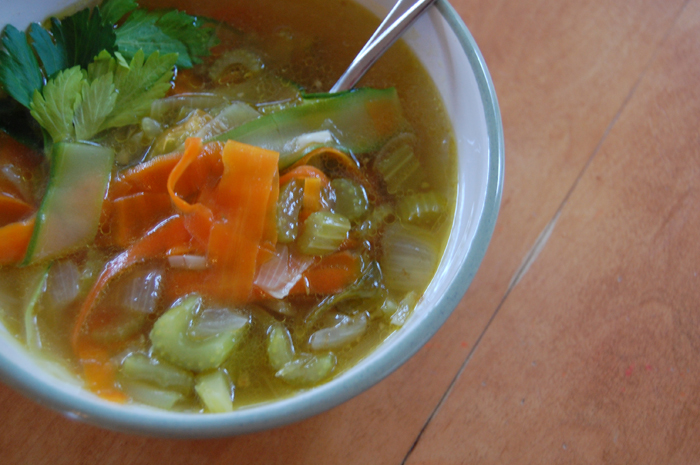
If you have broth, you can make a soup with leftovers or pantry items. For example, many soups can be created with a few vegetables, and some eggs (egg drop soup [PDF file]is one of my favorites!).

Or heat broth and add leftover vegetables, rice, and diced meat. Or saute vegetables, add broth, and then add some leftover pasta and meat. There are as many variations as you can imagine! If your broth is homemade and flavorful (just salt it well!), you can get away with adding less to it, and it still being delicious.

Apples and Cheese or Apples and Nut/Seed Butters
This makes a light meal or a snack. Slice apples and cheese, and enjoy. Or slice apples and serve with your choice of nut, peanut, or seed butter. (We love this DIY Maple Pumpkin Seed Butter too).

Celery Stick and Peanut butter or nut/seed butter
You know the drill, slather celery sticks with nut butter of choice, and top with raisins, if desired. If you want to get even fancier, there are other versions as well according to Google.

Swedish Rye Bread and Cheese
Weston A Price noted that Swedish villagers used dark rye bread and a large slab of grass-fed cheese (about the size of your hand) for meals. When both the bread and the cheese are using nutrient-dense ingredients, you get a surprising amount of nutrients in such a simple meal. It’s important to remember that people in the past didn’t have time to make elaborate meals, but their bread and cheese were often more nutrient dense because of the ingredients and methods they used to produce them. (Grilled cheese is also delicious, and to make it more “grown-up” you can always add grilled onions or vegetables, or serve with a soup or salad on the side). Our kids also love quesadillas!

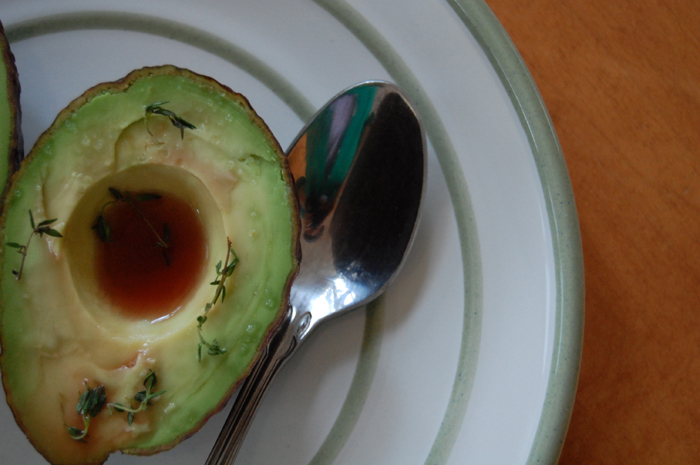
Stuffed Avocados
Slice an avocado in half and fill with egg salad, top with sliced boiled eggs, or tuna or chicken salad. Yum!

Japanese Avocados
This is a favorite from my husband’s childhood. Follow the recipe once, and never need it again!

Open-faced sandwiches
I love this Norwegian tradition. Use hearty sliced bread (I use gluten-free) and serve with leftover sliced meats, hard-boiled eggs, butter, sliced cucumbers, and radishes, baby greens, leftover cooked fish + whatever you have on hand, or want to use! People can make their sandwiches as they like it. You can even put out lettuce cups for those not eating grains or use a paleo bread.

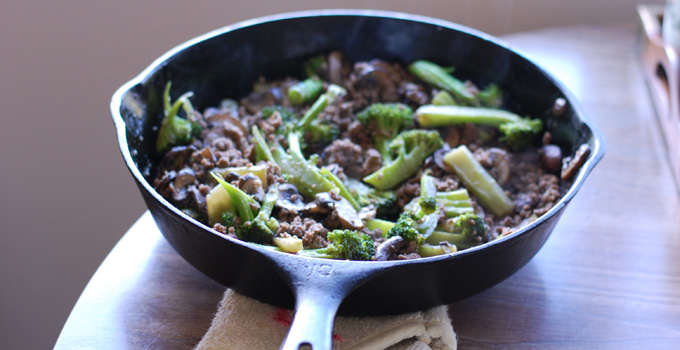
This easy dish makes a wonderful and flavorful frugal main dish that is paleo and AIP friendly too! Serve it over desired carbohydrate (AIP - think cauli-rice or sweet potato). -- The Nourishing Gourmet

Skillet Meals
Again, using leftovers, you can create excellent meals. Fry up leftover rice or quinoa into fried rice/quinoa. Use diced meats, frozen peas or corn, or saute up some vegetables and then add pre-cooked ingredients to the pan. Read, The Art of Skillet Dinners, for more ideas, including some grain free options.

Fried Bread (inspired by James Herriot)
James Herriot, in one of his beautiful books, talks about his wife making him fried bread to bring along when he was driving to visit a farm in his veterinarian duties. It makes a delicious snack! Basically, you pan-fry a slice of bread in butter, olive oil, or bacon grease, and serve nicely browned, while warm. Top with sandwich makings, if desired, or enjoy as is! This is like toast, but better.

Eggs in a Million Ways
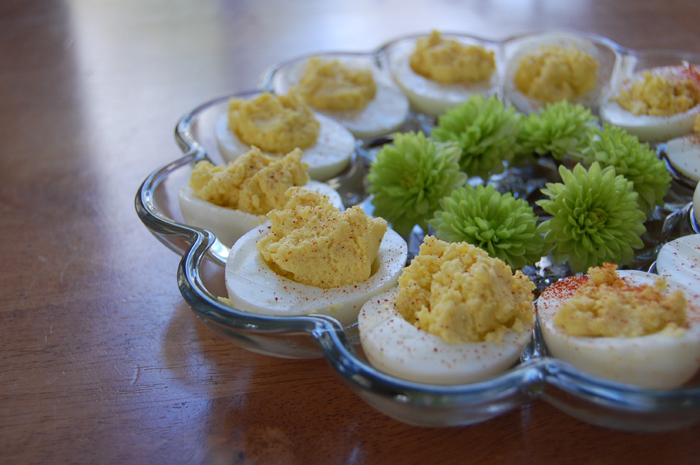
Eggs are the perfect fast food. Scrambled, fried, boiled, soft-boiled, and on. Serve it for dinner along with sausage and toast, and everyone is happy. One easy recipe – Simple Deviled Eggs.

Grain “Puddings”
This makes an easy and delicious snack (or dessert!). Use leftover cooked and chilled grains such as rice, quinoa, buckwheat, or oats. Cover with milk of choice, lightly sweeten with sweetener of your choice (pure maple syrup is delicious), dust with cinnamon, and then serve cold or warm.

Sliced leftover meats with veggies, cucumbers, or baked goods
Put out a platter of leftover sliced meats (like pot roast, which is delicious cold), serve with cucumber slices and carrots and red bell pepper slices, and toast, muffins, or biscuits (biscuits are easy to make last minute!).

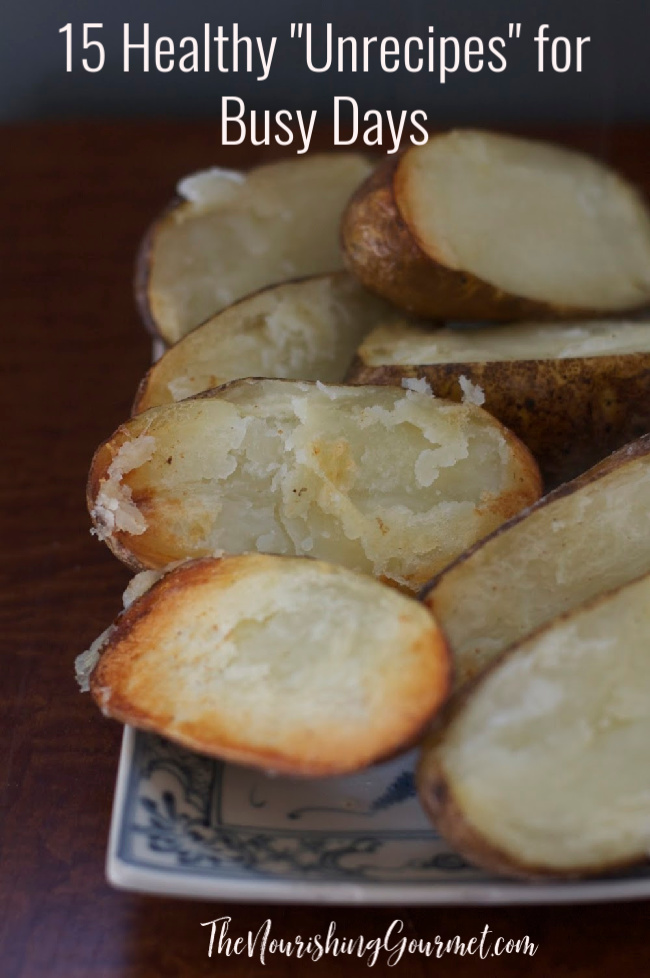
Leftover Baked Potatoes or Sweet Potatoes
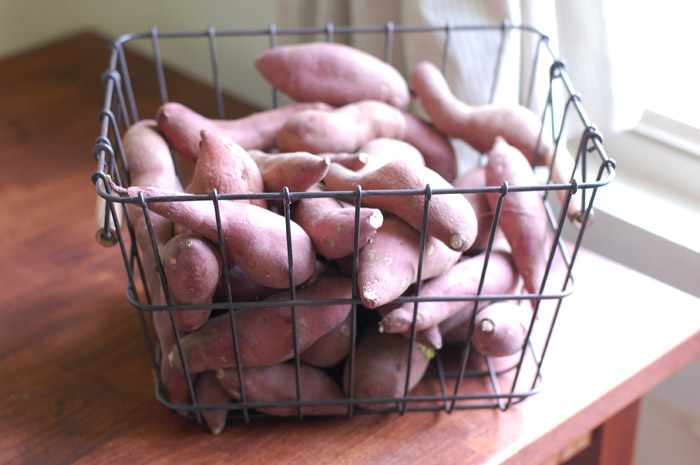
I always try to make extra when we have these for dinner (see how to make sweet potatoes in a slow cooker here), and then I can quickly reheat them and serve with butter and salt and pepper, or stuffed with cheese or sour cream, or diced meats or leftover shredded beef. I also make roasted sweet potatoes rounds on a regular basis (another recipe where you really only need to use the “recipe” once or twice, before you have the method down).

Filed Under: 52 ways to save money on a healthy diet, For the Love of Food and Books, Nourishing Frugal Recipes, The Low Energy Guide to Healthy Cooking

Instant Pot Ginger and Garlic Broth

October 31, 2017 by KimiHarris 6 Comments

“Flavorful Ginger and Garlic Instant Pot Broth is so simple and easy to make! It also makes a wonderful full meal soup when poured over rice and shredded cooked chicken. Yum! Paleo, AIP, and grain free friendly soup! -- The Nourishing Gourmet

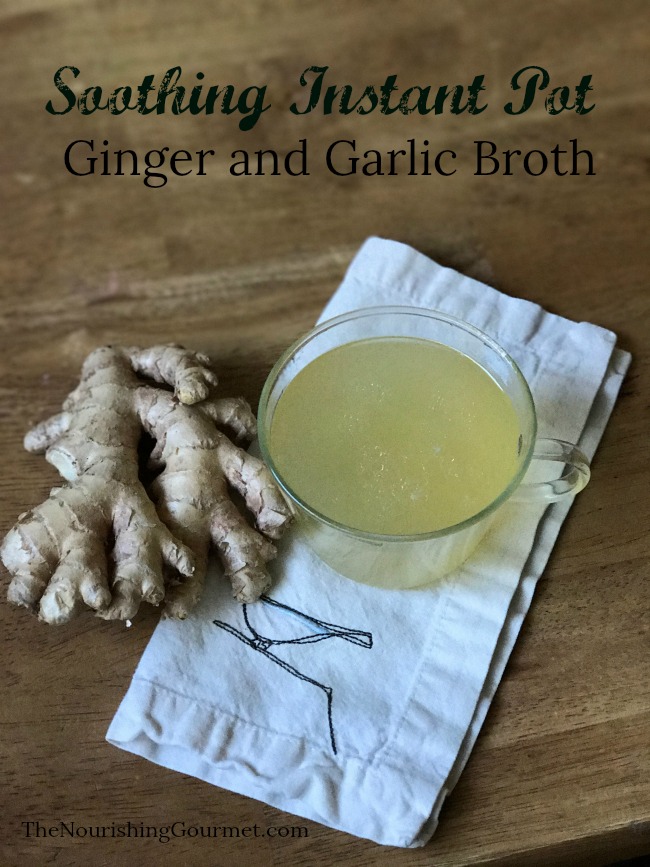
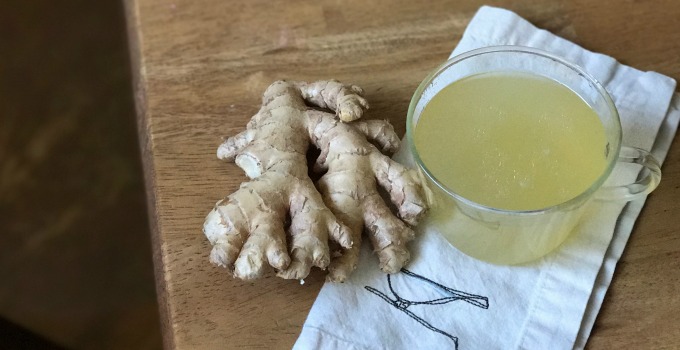
I love this gingery broth with hints of garlic. It’s perfect to sip on as a sipping broth (like this turmeric one!), but also makes a lovely simple soup. This easy broth is a cinch to make in the Instant Pot, and results in a flavorful broth full of good-for-you-ingredients. To dress it up, sometimes I add coconut milk or coconut cream, and squeeze fresh lime juice into my bowl or cup. Yum!

To make it into a main dish soup, you can serve over cooked rice and shredded cooked chicken. Top with chopped cilantro and fresh lime juice. Yum!

I make this with a leftover chicken bones from when I roast a whole chicken, but I’ve also use 3- 5 pounds of chicken legs (another inexpensive option).

I love to add ginger and garlic into my food any time of the year, but they are especially soothing in this broth during the cold and flu season (and I love their immune building properties too!).

This is the Instant Pot that I own, Instant Pot 6 Quart, (if you are buying one and are making food for a family, I’d recommend going even bigger to this model, Instant Pot 8 Quart).

For those who don’t have an Instant Pot, yes, you can make this on the stove! I’d gently simmer it on the stove top for 6-12 hours to get close to the same richness as the Instant Pot recipe. I’m sure that you could make this in the slow cooker as well (I’d try low for 12 hours).

This recipe works great for those on a paleo or AIP diet too.

Flavorful Ginger and Garlic Instant Pot Broth is so simple and easy to make! It also makes a wonderful full meal soup when poured over rice and shredded cooked chicken. Yum! Paleo, AIP, and grain free friendly soup! -- The Nourishing Gourmet

Equipment and Ingredients:

  • Skimmer Ladle: These are PERFECT for removing the bones and vegetable remnants with little hassle. (We also use it to get noodles out of the pot once they are done cooking). We’ve been using this Asian Spider Strainer. If you want an even clearer broth, using a skimmer ladle like this Super Fine Mesh Strainer Ladle.
  • Instant Pot 8 Quart or Instant Pot 6 Quart
  • I love this guar gum-free coconut milk (you can also use this coconut cream).

Instant Pot Ginger and Garlic Broth

Variation: You can also add some fresh turmeric root (or 2 teaspoons powder).

Ingredients:

  • Bones leftover from one roasted chicken or 3-5 pounds of chicken legs or drumsticks
  • 2-3 inches of fresh ginger root, rinsed and thinly sliced
  • 3-5 garlic cloves, peeled
  • 1 medium onion, peeled and the roots cut off, cut into quartered
  • Salt and pepper
  • Filtered Water
  • 1 cup of Coconut milk and fresh limes for serving, optional

Directions:

1.Place the chicken, sliced ginger, and garlic in instant pot insert. Add a scant tablespoon of unrefined salt and a couple large pinches of freshly ground pepper (leave pepper out if AIP).

2. Fill water to slightly under the fill line.

Edit:While most Instant Pot Recipes online fill the pot high for broth making, it’s recently come to my attention (through an article) that filling your Instant Pot to the Max fill line is NOT recommended. According to the manual,  “For all pressure cooking programs, do not fill the unit over 2/3 full. When cooking foods that expand during cooking such as grains, beans, and dried vegetables, do not fill the unit over 1/2 full. Overfilling may cause a risk of clogging the pressure release valve and developing excess pressure. Please see “Cooking Preparation”.” So I would only fill your pot 2/3s full of water for this recipe.

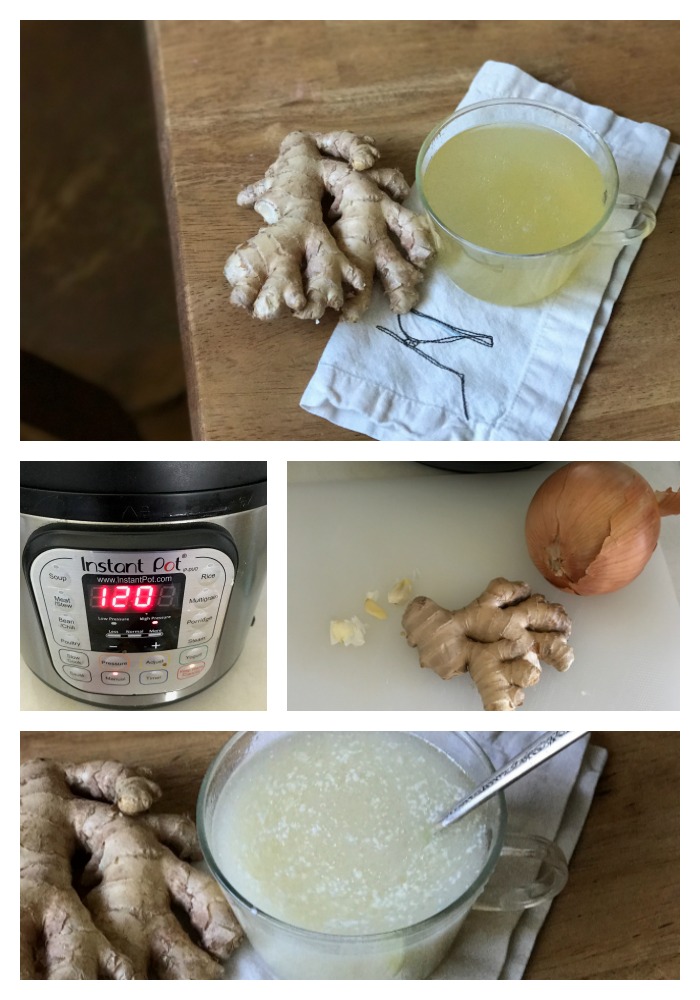
3. Press manual, and set time to 2 hours on high.

4. Let get to pressure and let it run through the pressure cycle.

5. Allow broth to naturally release pressure for 20-30 minutes.

5. Carefully release pressure. Carefully pour through a fine sieve into a heat safe bowl or pot, OR, my favorite, use a skimmer ladle to remove the bones and vegetables and place in compost. If you used fresh drumsticks, then you can also remove the meat from the bones once they are cool enough to handle, and use the meat in the broth or another recipe.

6. Adjust salt to taste.

7. To finish: Optional: Pour in about 1 cup of coconut cream or coconut milk and serve with quartered limes for squeezing into individual bowls.

Variation: Serve over cooked rice and shredded cooked chicken, and top with chopped cilantro and fresh lime juice. Yum!

Printable Version:

Instant Pot Ginger and Garlic Broth
 
Print
 
Instant Pot Ginger and Garlic Broth Bones leftover from one roasted chicken or 3-5 pounds of chicken legs or drumsticks 2-3 inches of fresh ginger root, rinsed and thinly sliced 3-5 garlic cloves, peeled 1 medium onion, peeled and the roots cut off, cut into quartered Salt and pepper Filtered Water 1 cup of Coconut milk and fresh limes for serving, optional
Instructions
  1. Place the chicken, sliced ginger, and garlic in instant pot insert. Add a scant tablespoon of unrefined salt and a couple large pinches of freshly ground pepper (leave pepper out if AIP).
  2. Add water until the pot is about ⅔'s full.
  3. Press manual, and set time to 2 hours on high.
  4. Let get to pressure and let it run through the pressure cycle.
  5. Allow broth to naturally release pressure for 20-30 minutes
  6. Release pressure. Carefully pour through a fine sieve into a heat safe bowl or pot, OR, my favorite, use a skimmer ladle to remove the bones and vegetables and place in compost. If you used fresh drumsticks, then you can also remove the meat from the bones once they are cool enough to handle, and use the meat in the broth or another recipe.
  7. Adjust salt to taste.
  8. To finish: Optional: Pour in about 1 cup of coconut cream or coconut milk and serve with quartered limes for squeezing into individual bowls.
  9. Variation: Serve over cooked rice and shredded cooked chicken, and top with chopped cilantro and fresh lime juice. Yum!
3.3.3077

Some links may be affiliate links. I may earn a small commission on items purchased through my links. 

Filed Under: $10 Main, AIP, Dairy Free, Egg Free, Gluten Free, Grain Free, Soups, The Low Energy Guide to Healthy Cooking

« Previous Page
Next Page »

Primary Sidebar

Follow Me

  • Facebook
  • Instagram
  • Pinterest
  • RSS

Search

Please Read:

The information you find here at The Nourishing Gourmet is meant to help you become a better cook! This site is primarily for sharing family friendly recipes. It's not meant to give medical advice or to make any health claims on the prevention or curing of diseases.This site is only for informational and educational purposes. Please discuss with your own, qualified health care provider before adding in supplements or making any changes in your diet. Also, any links to sponsors or affiliates (including Amazon) may give me a percentage of the sale or a pay per click. Thank you for supporting this site.

Categories

  • $10 Main (43)
  • $5 Dishes (43)
  • 52 ways to save money on a healthy diet (53)
  • AIP (23)
  • Baked Goods (84)
  • Beverages (72)
  • Breakfast and Brunch (63)
  • Condiments (8)
  • Dairy Free (498)
  • Desserts (185)
  • Dietary Needs (6)
  • Egg Free (14)
  • Egg Free (92)
  • For the Kids (70)
  • For the Love of Food and Books (18)
  • Gluten Free (491)
  • Grain Free (98)
  • Health (75)
  • Kitchen Tools (5)
  • Main Dishes (128)
  • Nourishing Frugal Recipes (169)
  • Nourishing Frugal Tips (70)
  • Nourishing Practices (57)
  • Nutrient Dense Foods (70)
  • Q and A (16)
  • Salads (40)
  • Sides (104)
  • Snacks (126)
  • Soups (50)
  • The Healthy $1 Menu (21)
  • The Low Energy Guide to Healthy Cooking (20)
  • THM (5)
  • Trim Healthy Mama (5)
  • Uncategorized (848)
  • Vegan (243)
  • Vegetarian (363)

Recent Posts

  • Eating for Comfort and Sustenance
  • Perfect Instant Pot Black and Brown Rice
  • What Worked and What Didn’t in My Cooking Life Last Year
  • Mocha Dark Chocolate Bombs (low sugar)
  • Gingerbread Caramel Corn
  • Thyme and Garlic Potato Stacks
  • The Great Big Holiday Salad
  • 30 Favorite Kitchen Stocking Stuffers
  • Luxurious DIY Lip Balm
  • Spicy Korean Beef and Cabbage

Recent Comments

  • June on One-Pot Gluten-Free Mac and Cheese
  • Kim on Eating for Comfort and Sustenance
  • Michelle Sanders on Chile-Spiked Dark Chocolate Bark with Pepitas & Mango (Dairy Free)
  • KimiHarris on Eating for Comfort and Sustenance
  • KimiHarris on Eating for Comfort and Sustenance

Fresh: Nourishing Salads for All Seasons

Footer

Privacy

Copyright © 2026 · Foodie Pro & The Genesis Framework