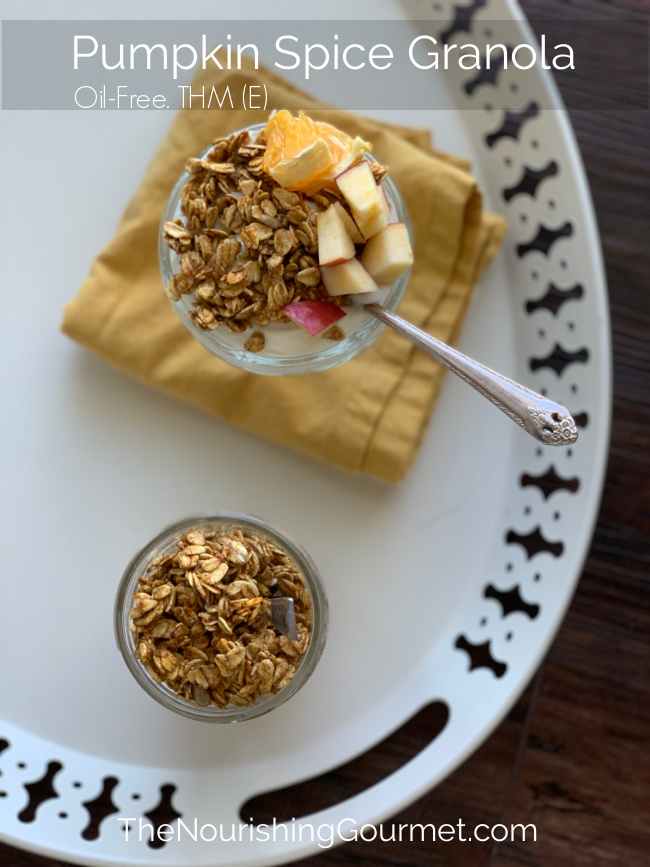
This low-fat, THM, yet delicious granola recipe is bursting with spice and pumpkin, and is sure to make your house smell heavenly while it bakes. I LOVE it especially on top of yogurt. I’ll make myself a yogurt bowl with diced apples (or whatever other fruit I desire) and granola.
It’s a lovely snack or breakfast. It’s perfect for a “E” meal on Trim Healthy Mama (THM), or for those of you looking for a lighter granola recipe. For a THM snack or meal, serve this with fruit and Nonfat Greek Yogurt. If you use a higher fat yogurt it will be a XO (crossover) meal.
I first learned about this little trick of using egg whites instead of oil from THM recipes. It’s a clever trick, because with the right recipe, they will crisp up in a way that I didn’t think possible without oil. It’s not quite as crisp as with oil, but perfectly lovely all the same.
I save this version of granola for me, and make this version for my family. They love it! I will make both of these types at the same time, and cook them on separate plans.
One quick note: For a recipe to be a pumpkin spice recipe, you technically don’t have to use the pumpkin, as it’s really referring to the spice. However, we actually liked the pumpkin puree version better. It’s not quite as crunchy as when we left it out, but it adds so much flavor that it’s worth it. Feel free to leave it out though! I tested this several times without it, and it was great.
For other THM granola recipes, here’s a shortlist from other bloggers:
- Oatmeal Cookie Granola
- Crunchy Granola: (This version was helpful in my own recipe adaptation!)
- Chocolate Nut Stove-Top Granola
- Apple Cinnamon Stove-Top Granola
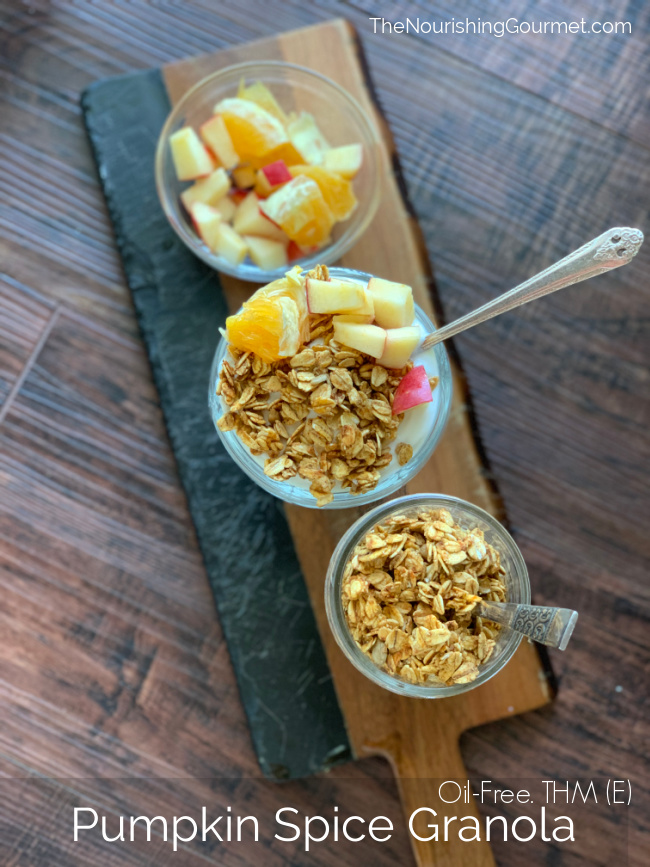
Crispy Pumpkin Spice Granola (oil-free)
- 2 cups rolled oats (not quick, gluten-free and organic, if desired. You can also use sprouted))
- ¼ cup erythritol or xylitol, OR 1 tablespoon of THM Super Sweet Blend
- ½ teaspoon cinnamon
- ½ teaspoon pumpkin pie spice
- Sprinkle of salt
- 1 teaspoon vanilla
- 2 egg whites (4 tablespoons)
- 2 tablespoons of pumpkin puree (optional)
- Preheat the oven to 300F degrees, and line a sheet pan or cookie sheet with parchment paper.
- Combine the oats, sweetener, spices, and salt, in a medium bowl and give a stir.
- Combine the egg whites, pumpkin puree, if using, and vanilla, whisk together, and then pour over the oat mixture. Gently mix until it is coated. If it’s super dry, you can add a little more egg white, but the mixture will be dryer than oil-based granola recipes.
- Scrape onto prepared pan, and place in oven (near the middle). Cook for twenty minutes, gently stir, then cook for another 10-20 minutes, or until the oats are dryer. They will continue to crisp up after they cool.
- Store in an airtight container once done.