• Skip to primary navigation
  • Skip to main content
  • Skip to primary sidebar
  • Skip to footer

The Nourishing Gourmet

Nourishing. Satisfying. Gourmet.

  • THM Coaching
  • About
    • Privacy
    • Contact
  • Recipes
  • Cookbooks
    • Everyday Nourishing Food
    • Salad Cookbook
    • Soup Cookbook

For the Kids

Healthy Pumpkin Spice Granola

September 26, 2021 by KimiHarris Leave a Comment

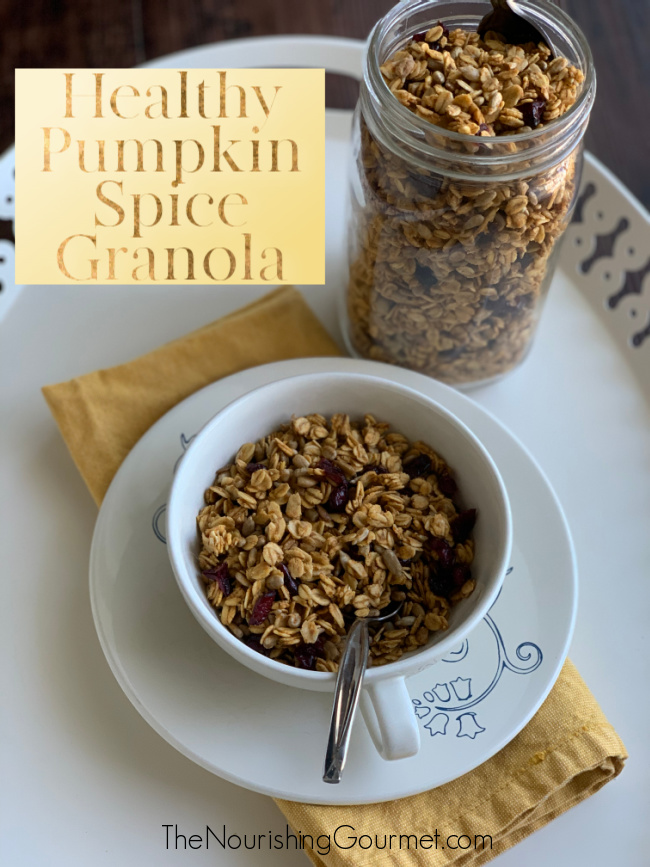
bowl of pumpkin spice granola

This granola is gently spiced, sweetened with pure maple syrup, stuffed with goodness, and is the perfect fall breakfast or snack. I’ve long been a big fan of granola on top of yogurt, but my kids love it with milk. Either way, it’s delicious! We’ve also been known to snack on it plain too.

For those using Trim Healthy Mama (THM) principles, make sure you check out my other version for my THM Pumpkin Spice Granola recipe. 

One note: 

I’ve included two options here. One with pumpkin, and one with a nut or seed butter. It’s a bit of a hot debate, but really, when we call a recipe “pumpkin spice” it’s referring to the spice blend, also known as “pumpkin pie spice.” You don’t have to have the pumpkin, for it to be considered a “pumpkin spice” recipe! 

I made many batches of this granola while I was recipe testing, and here is the difference between the two: The version using pumpkin is just slightly less crunchy, but all of my family favored it a little more than the nut or seed-butter version. The pumpkin flavor will be subtle here, and not overpowering, but still there. 

The seed or nut-butter version is wonderful because of that added protein, and the heartiness it adds, so is another good option, especially when you don’t have any pumpkin on hand! 

Not a fan of the spice blend? You can also just use cinnamon! 
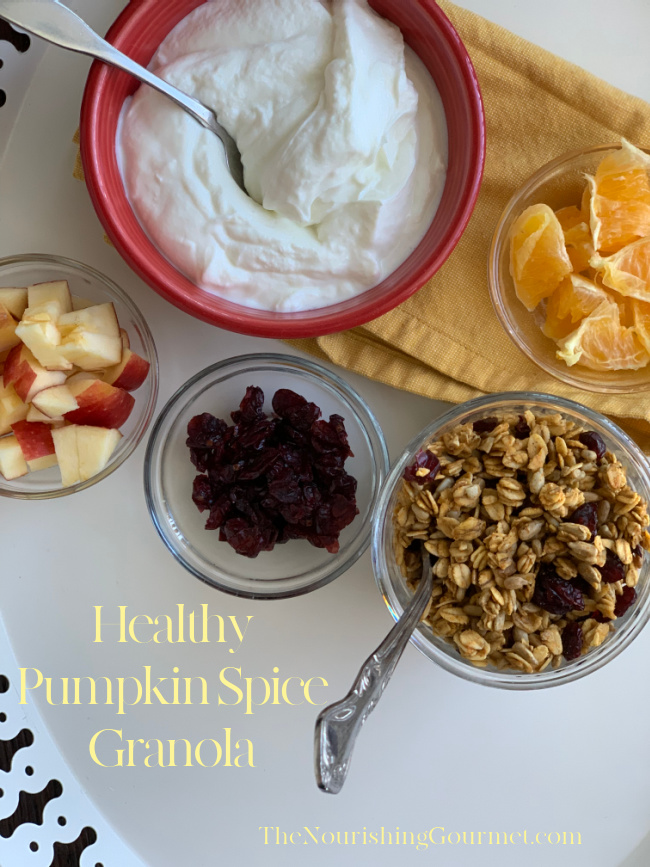
granola bar with fruit and yogurt

Serving Suggestion: 

You can serve this as fancy or as simple as you like. For a fun little spread, you can make a granola “bar” using chopped fruit, yogurt, and milk. 

Healthy Pumpkin Spice Granola (Gluten-free, nut-free option) 

  • 3 cups rolled oats (gluten-free, organic, if desired, you can also use sprouted)
  • 1 cup of pumpkin or sunflower seeds OR chopped nut of choice, such as pecan or walnut (optional) 
  • 1 teaspoon ground cinnamon 
  • ½ teaspoon pumpkin pie spice 
  • ¼ teaspoon salt 
  • ¼ melted coconut oil
  • ¼ cup + 2 tablespoons pure maple syrup 
  • ¼ cup canned or fresh pumpkin puree OR ¼ cup nut or seed butter of choice (we recipe tested with sunflower seed butter, for a nut-free option. 
  • 1 teaspoon vanilla 
  1. Preheat the oven to 300F. Line a jelly roll pan or cookie pan with parchment paper. 
  2. In a large bowl, combine the oats, seeds, spices, salt and mix gently. 
  3. Melt the coconut oil until just melted in a coffee cup in the microwave, or in a small saucepan on the stove over low. Stir in the maple syrup, pumpkin or seed butter, and vanilla. Pour over oat mixture, and gently stir until coated. 
  4. Scrap onto pan, and spread evenly. Cook for twenty minutes, stir gently, and then cook for another ten minutes. Check the granola. If it seems like it is crisping up, remove. If it seems moist, cook for another ten minutes. In our testing, it was perfect with the seed butter at 30 minutes, and with the pumpkin at 40 minutes. It will continue to crisp after you remove it from the oven. 
  5. Cool and serve. Store in an air-tight container.
Filed Under: Egg Free, For the Kids, Gluten Free

Crispy Pumpkin Spice Granola (oil-free)

September 22, 2021 by KimiHarris Leave a Comment

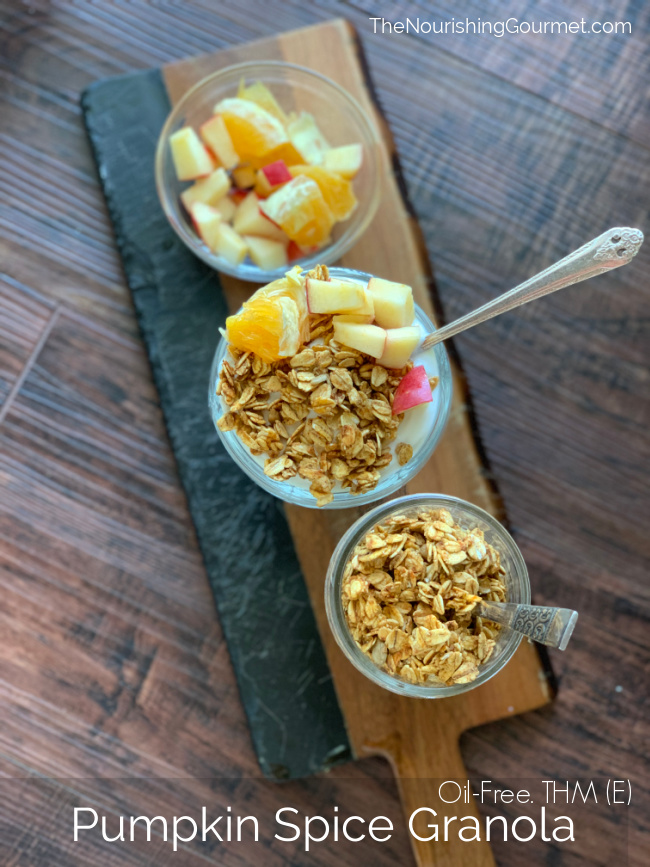
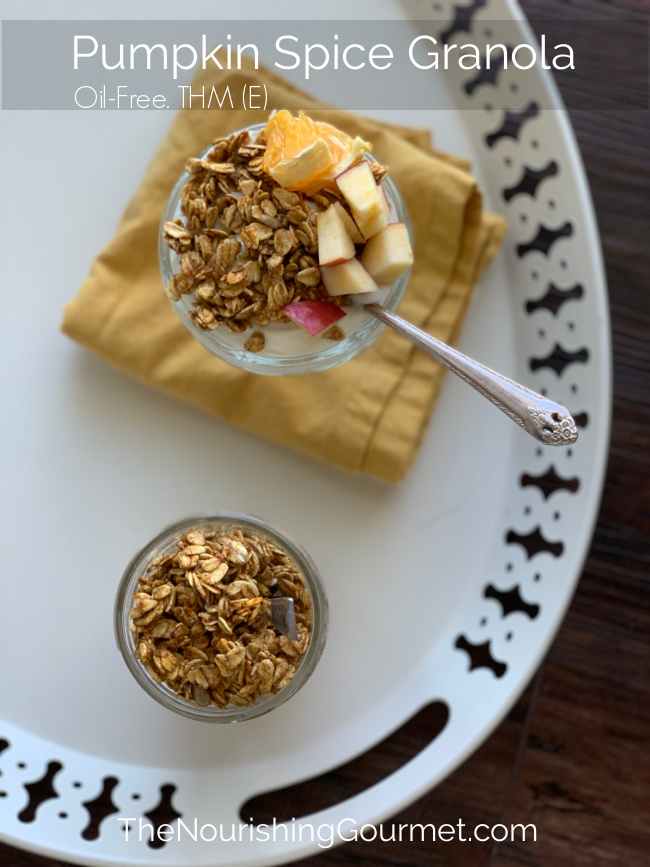
This low-fat, THM, yet delicious granola recipe is bursting with spice and pumpkin, and is sure to make your house smell heavenly while it bakes. I LOVE it especially on top of yogurt. I’ll make myself a yogurt bowl with diced apples (or whatever other fruit I desire) and granola. 

It’s a lovely snack or breakfast. It’s perfect for a “E” meal on Trim Healthy Mama (THM), or for those of you looking for a lighter granola recipe. For a THM snack or meal, serve this with fruit and Nonfat Greek Yogurt. If you use a higher fat yogurt it will be a XO (crossover) meal. 

I first learned about this little trick of using egg whites instead of oil from THM recipes. It’s a clever trick, because with the right recipe, they will crisp up in a way that I didn’t think possible without oil. It’s not quite as crisp as with oil, but perfectly lovely all the same. 

I save this version of granola for me, and make this version for my family. They love it! I will make both of these types at the same time, and cook them on separate plans. 

One quick note: For a recipe to be a pumpkin spice recipe, you technically don’t have to use the pumpkin, as it’s really referring to the spice. However, we actually liked the pumpkin puree version better. It’s not quite as crunchy as when we left it out, but it adds so much flavor that it’s worth it. Feel free to leave it out though! I tested this several times without it, and it was great. 

For other THM granola recipes, here’s a shortlist from other bloggers: 

  • Oatmeal Cookie Granola
  • Crunchy Granola: (This version was helpful in my own recipe adaptation!)
  • Chocolate Nut Stove-Top Granola 
  • Apple Cinnamon Stove-Top Granola 

Crispy Pumpkin Spice Granola (oil-free)

  • 2 cups rolled oats (not quick, gluten-free and organic, if desired. You can also use sprouted))
  • ¼ cup erythritol or xylitol, OR 1 tablespoon of THM Super Sweet Blend 
  • ½ teaspoon cinnamon 
  • ½ teaspoon pumpkin pie spice 
  • Sprinkle of salt 
  • 1 teaspoon vanilla 
  • 2 egg whites (4 tablespoons) 
  • 2 tablespoons of pumpkin puree (optional)
  1. Preheat the oven to 300F degrees, and line a sheet pan or cookie sheet with parchment paper. 
  2. Combine the oats, sweetener, spices, and salt, in a medium bowl and give a stir. 
  3. Combine the egg whites, pumpkin puree, if using, and vanilla, whisk together, and then pour over the oat mixture. Gently mix until it is coated. If it’s super dry, you can add a little more egg white, but the mixture will be dryer than oil-based granola recipes. 
  4. Scrape onto prepared pan, and place in oven (near the middle). Cook for twenty minutes, gently stir, then cook for another 10-20 minutes, or until the oats are dryer. They will continue to crisp up after they cool. 
  5. Store in an airtight container once done.

Filed Under: Breakfast and Brunch, Dairy Free, Egg Free, For the Kids, Gluten Free

Coconut Flour Pancakes

June 10, 2021 by KimiHarris 3 Comments

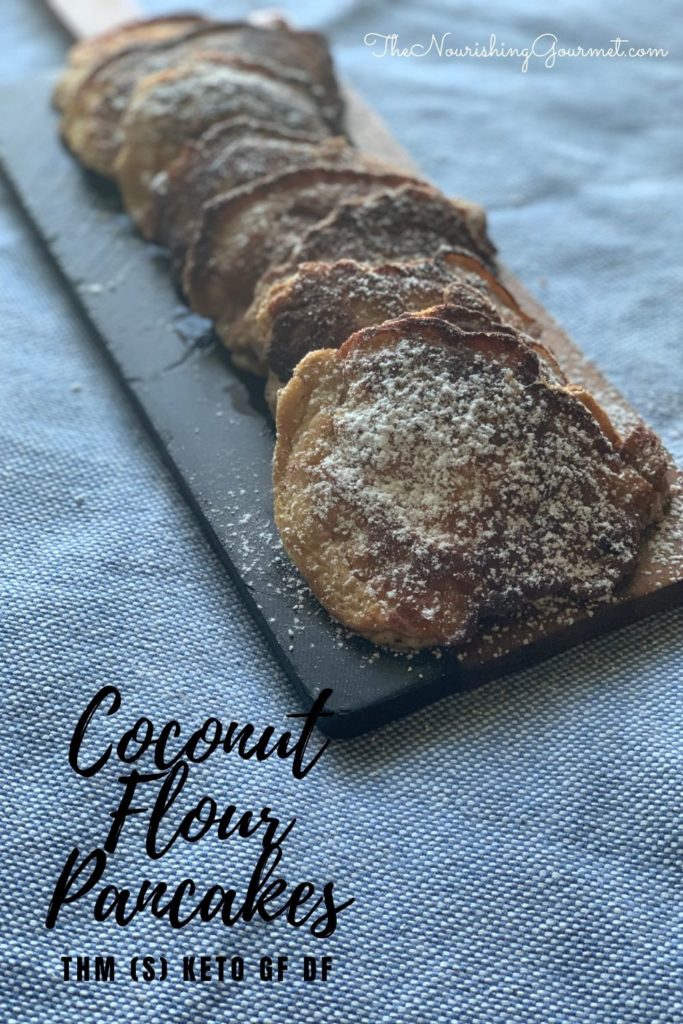
These grain-free coconut flour pancakes are moist, have a great crumb, and are delicious and family-friendly. I love them topped with berries. Delicious! They work well for those on grain or gluten-free diets, or for those eating keto or THM (they are an “S” meal). 

Coconut flour recipes can end up dry, with a poor crumb. How do you fix that? You should pair coconut flour with high-fat ingredients. In this case, butter and coconut milk (or you could use cream, sour cream,or whole milk Greek yogurt). This keeps your pancakes moist and tender instead of dry. 

Tips:

  • You can cook this in whatever pan you have, but I especially like to use my large cast iron pans when making pancakes.
  • This would be lovely served on a Pancake Charcuterie Board.  
  • Serving suggestions: Any typical pancake toppings work here. If you are keto or THM (S), Lakanto Powdered Sugar or is one option, a fresh berry sauce made with xylitol/stevia, and served with stevia-sweetened coconut whipped cream is another. I also enjoy it topped with unsweetened Greek yogurt and fresh berries. 
  • For extra protein: serve with unsweetened nut or seed butters. 
  • OR, make them into savory pancakes and top with a fried egg and bacon. 

Coconut Flour Pancakes

  • 3 eggs
  • ¼ cup coconut milk (or cream, yogurt, sour cream)
  • ¼ cup melted butter or coconut oil
  • ¼ cup coconut flour
  • 1 teaspoon baking powder
  • Butter and coconut oil for pan

Directions: 

1. In a medium-sized bowl, add the eggs and coconut milk, and whisk. If using butter, go ahead and whisk in as well. If using the coconut oil, wait until after you’ve added the dry ingredients, and then whisk in the melted coconut oil.

2. Add in the coconut flour and baking powder, whisk. Let sit for a few minutes. If the mixture is too thick, you can thin it with a little more liquid, but you want the mixture to be pretty thick, just not dry. Heat a pan over medium heat until warm. Add butter or coconut oil to the pan.

3.This recipe works best for small pancakes. I usually use about ¼ cup or less of batter per pancake. Add batter to the pan, and let cook until one side is browned and edges are starting to firm up. If the bottom is cooking too quickly, turn down the heat. Flip, and cook the second side (the second side will cook more quickly). Remove and repeat the process, adding more fat to the pan as needed.

Serve with desired toppings and enjoy!

Filed Under: Baked Goods, Breakfast and Brunch, Dairy Free, For the Kids, Gluten Free, Grain Free

Tender Instant Pot Carnitas (shredded pork for tacos)

April 15, 2021 by KimiHarris Leave a Comment

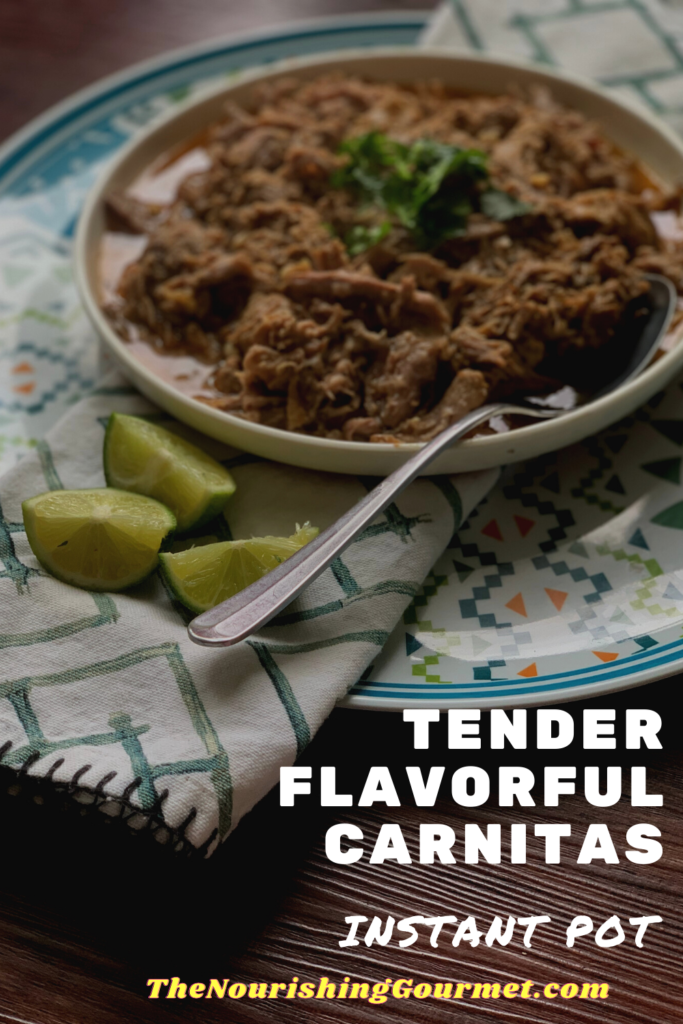
One of my kids told me after my last tweaks to this recipe, “Mom, this is so good! I feel like I’m at Chipotle!” and that was highest praise from this particular child. My kids usually grow tired of recipes I’m testing for this blog. But this was one they happily ate as I continued to perfect it.

This recipe for carnitas has been on our table repeatedly in recent weeks. Cooked to perfection in a pressure cooker, carnitas can be used for tacos, burritos, burrito bowls, or taco salads. 

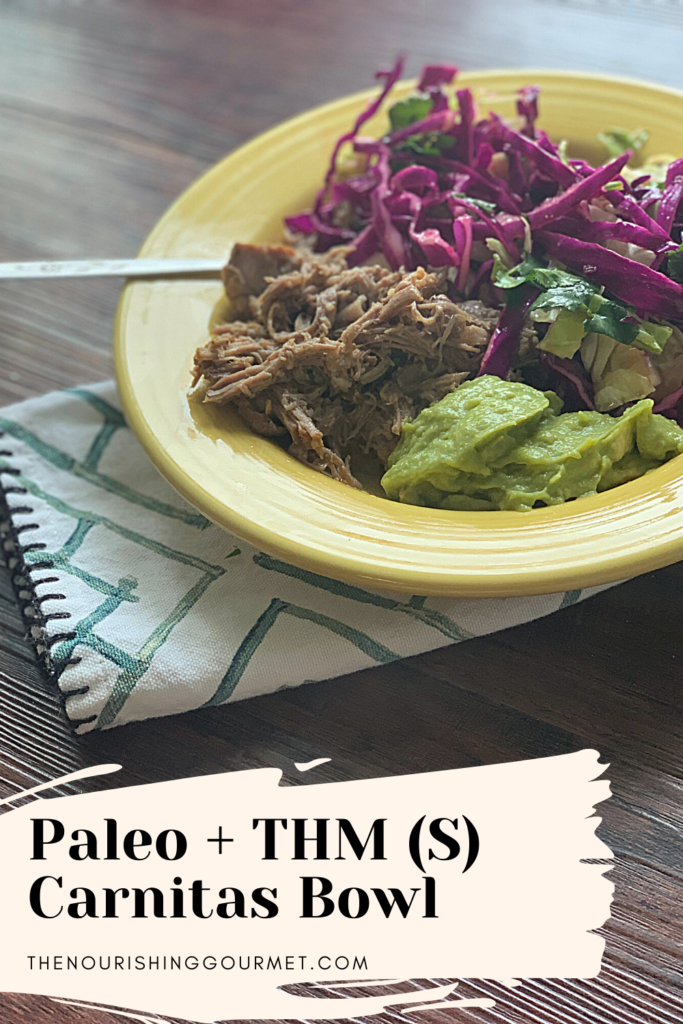
Our kids enjoy their carnitas in tacos with all of the toppings, while I make mine into a grain-free carnitas bowl using my Simple Mexican Coleslaw recipe, along with guacamole and salsa. When I’m eating dairy, I’ll also add sour cream and cheese. So good! This makes a Trim Healthy Mama “S” meal.

I tested this recipe in a pressure cooker, the large Instant Pot. This is where pressure cookers really shine, as they cook meat quickly, and it comes out so tender. However, I also have provided notes on how to make this in a slow cooker, or stove/oven. 

It’s worth noting that traditionally carnitas were slow-cooked in lard until tender and crispy, with not quite as many spices as this recipe has. That is a lovely way to enjoy a traditional recipe. But this recipe is easier for me to put together, and I find it plenty fatty enough just from the fat produced from the roast. 

Related Recipes:

  • Simple Mexican Quinoa Bowls
  • Mexican Quinoa Salad
  • Mexican Chocolate Dairy-free Ice Cream
  • Lacto-Fermented Escabeche
  • 7 Layer Mexican Dip

Tender Instant Pot Carnitas

  • 3-6 pound pork butt roast or shoulder roast
  • Salt and pepper
  • Avocado oil, or oil/fat of choice
  • 2 teaspoons onion powder (optional)
  • 1 heaping tablespoon chili powder
  • 1 heaping tablespoon ground cumin
  • 8 garlic cloves, peeled, and minced
  • 2 heaping teaspoons dried oregano
  • 1 cup chicken broth 
  • ½ cup lime juice (orange juice is more traditional, and delicious as well, but we preferred lime).
  • 2 teaspoons salt and generous amount of freshly ground black pepper
  1. Cut roast into, roughly, largish two-inch squares (mine were very irregular, and that’s fine). If they are very wet, pat dry, salt and pepper generously.
  2. Using the sauté function, heat enough oil in the Instant Pot until hot (but not smoking), and using tongs, place some of the squares into the bottom of the pan. Don’t overlap, and do multiple batches. Turn once, browning both sides. Remove to plate, and then repeat until you have finished all of the meat.
  3. Turn the sauté function off, add meat back into the IP, and add the rest of the ingredients.
  4. Put lid on, and hit “manual” and set for 40 minutes on high. Once done, let it release for 10-15 minutes.
  5. Remove lid, and remove meat into a large bowl. Shred with two forks (my kids like doing this!). We also remove any fatty pieces.
  6. Put into a serving dish and pour some of the sauce over it, and serve.
  7. OR, if you would like it browned, you can place on a large sheet pan, and brown it in the oven on broil for around five minutes. The other options would be browning it in a large frying pan on the stove. My kids prefer it straight from the IP.

Directions for slow cooker: Brown meat in a pan in as many batches as needed. Place in slow cooker, and add the rest of the ingredients. Cook on low for 6-8 hours, or on high for 3-5 hours, until the meat is fork tender.

Directions for stovetop/oven: In an oven-safe dish with a lid, brown meat in as many batches as needed. Add the rest of the ingredients, put the lid on, and place in a preheated oven at 300F, and bake for 3 to 4 hours until the meat is fork tender.

Filed Under: Dairy Free, For the Kids, Gluten Free, Grain Free, Main Dishes, The Low Energy Guide to Healthy Cooking

Next Page »

Primary Sidebar

ConvertKit Form

Get Every Recipe

And the insider's view from our kitchen

Success! Now check your email to confirm your subscription.

There was an error submitting your subscription. Please try again.

We won't send you spam. Unsubscribe at any time. Powered by ConvertKit

Follow Me

  • Facebook
  • Google+
  • Instagram
  • Pinterest
  • RSS

Search

Please Read:

The information you find here at The Nourishing Gourmet is meant to help you become a better cook! This site is primarily for sharing family friendly recipes. It's not meant to give medical advice or to make any health claims on the prevention or curing of diseases.This site is only for informational and educational purposes. Please discuss with your own, qualified health care provider before adding in supplements or making any changes in your diet. Also, any links to sponsors or affiliates (including Amazon) may give me a percentage of the sale or a pay per click. Thank you for supporting this site.

Categories

  • $10 Main (42)
  • $5 Dishes (43)
  • 52 ways to save money on a healthy diet (53)
  • AIP (23)
  • Baked Goods (83)
  • Beverages (72)
  • Breakfast and Brunch (61)
  • Condiments (8)
  • Dairy Free (492)
  • Desserts (184)
  • Dietary Needs (6)
  • Egg Free (11)
  • Egg Free (86)
  • For the Kids (66)
  • For the Love of Food and Books (18)
  • Gluten Free (484)
  • Grain Free (95)
  • Health (75)
  • Kitchen Tools (4)
  • Main Dishes (126)
  • Nourishing Frugal Recipes (167)
  • Nourishing Frugal Tips (70)
  • Nourishing Practices (56)
  • Nutrient Dense Foods (70)
  • Q and A (15)
  • Salads (39)
  • Sides (101)
  • Snacks (124)
  • Soups (50)
  • The Healthy $1 Menu (21)
  • The Low Energy Guide to Healthy Cooking (18)
  • THM (2)
  • Trim Healthy Mama (2)
  • Uncategorized (846)
  • Vegan (241)
  • Vegetarian (361)

Recent Posts

  • 2 Ingredient Peppermint Bark
  • Herbal Hibiscus Lemonade (Keto, THM)
  • Creamy Curry Red Lentil Soup
  • One-Pot Gluten-Free Mac and Cheese
  • Healthy Pumpkin Spice Granola
  • Crispy Pumpkin Spice Granola (oil-free)
  • Why I Use THM Principles Now
  • Vietnamese Beef Noodle Salad
  • Coconut Flour Pancakes
  • Instant Pot Mexican Shredded Chicken

Recent Comments

  • Dorene St G on Cracker Toffee (Easy Peasy Christmas Candy)
  • Nadia Kriston on Finding a Toaster Oven Without Nonstick
  • KimiHarris on How to make heavenly coconut milk whipped cream (with an isi dispenser)
  • KimiHarris on Autumn Beef Stew (Tomato Free)
  • KimiHarris on How to make heavenly coconut milk whipped cream (with an isi dispenser)

Fresh: Nourishing Salads for All Seasons

Get Every Recipe

And the insider's view from our kitchen

Success! Now check your email to confirm your subscription.

There was an error submitting your subscription. Please try again.

We won't send you spam. Unsubscribe at any time. Powered by ConvertKit

Footer

Privacy

Copyright © 2023 · Foodie Pro & The Genesis Framework