• Skip to primary navigation
  • Skip to main content
  • Skip to primary sidebar
  • Skip to footer

The Nourishing Gourmet

Nourishing. Satisfying. Gourmet.

  • THM Coaching
  • About
    • Privacy
    • Contact
  • Recipes
  • Cookbooks
    • Everyday Nourishing Food
    • Salad Cookbook
    • Soup Cookbook

The Healthy $1 Menu

Curried Lentils with Apples and Onions (Vegan, Dairy-Free, Gluten-Free)

October 21, 2013 by Lindsey Proctor 11 Comments

Curried Lentils with Apples and Onions - under $1 per serving!

By Lindsey Proctor, Contributing Writer

What’s your most favorite food in all the world? I always had such a hard time answering this question, until one day I was discussing it with a co-worker, and she rephrased the question this way – “When you’ve had a hard day, what’s the thing that you want to go home and eat? What’s your comfort food?” and I thought for a moment and answered “I do believe that would be curry.” I love the simplicity and ease of making it, the distinct spicy flavors, and the warmth that comes with it.

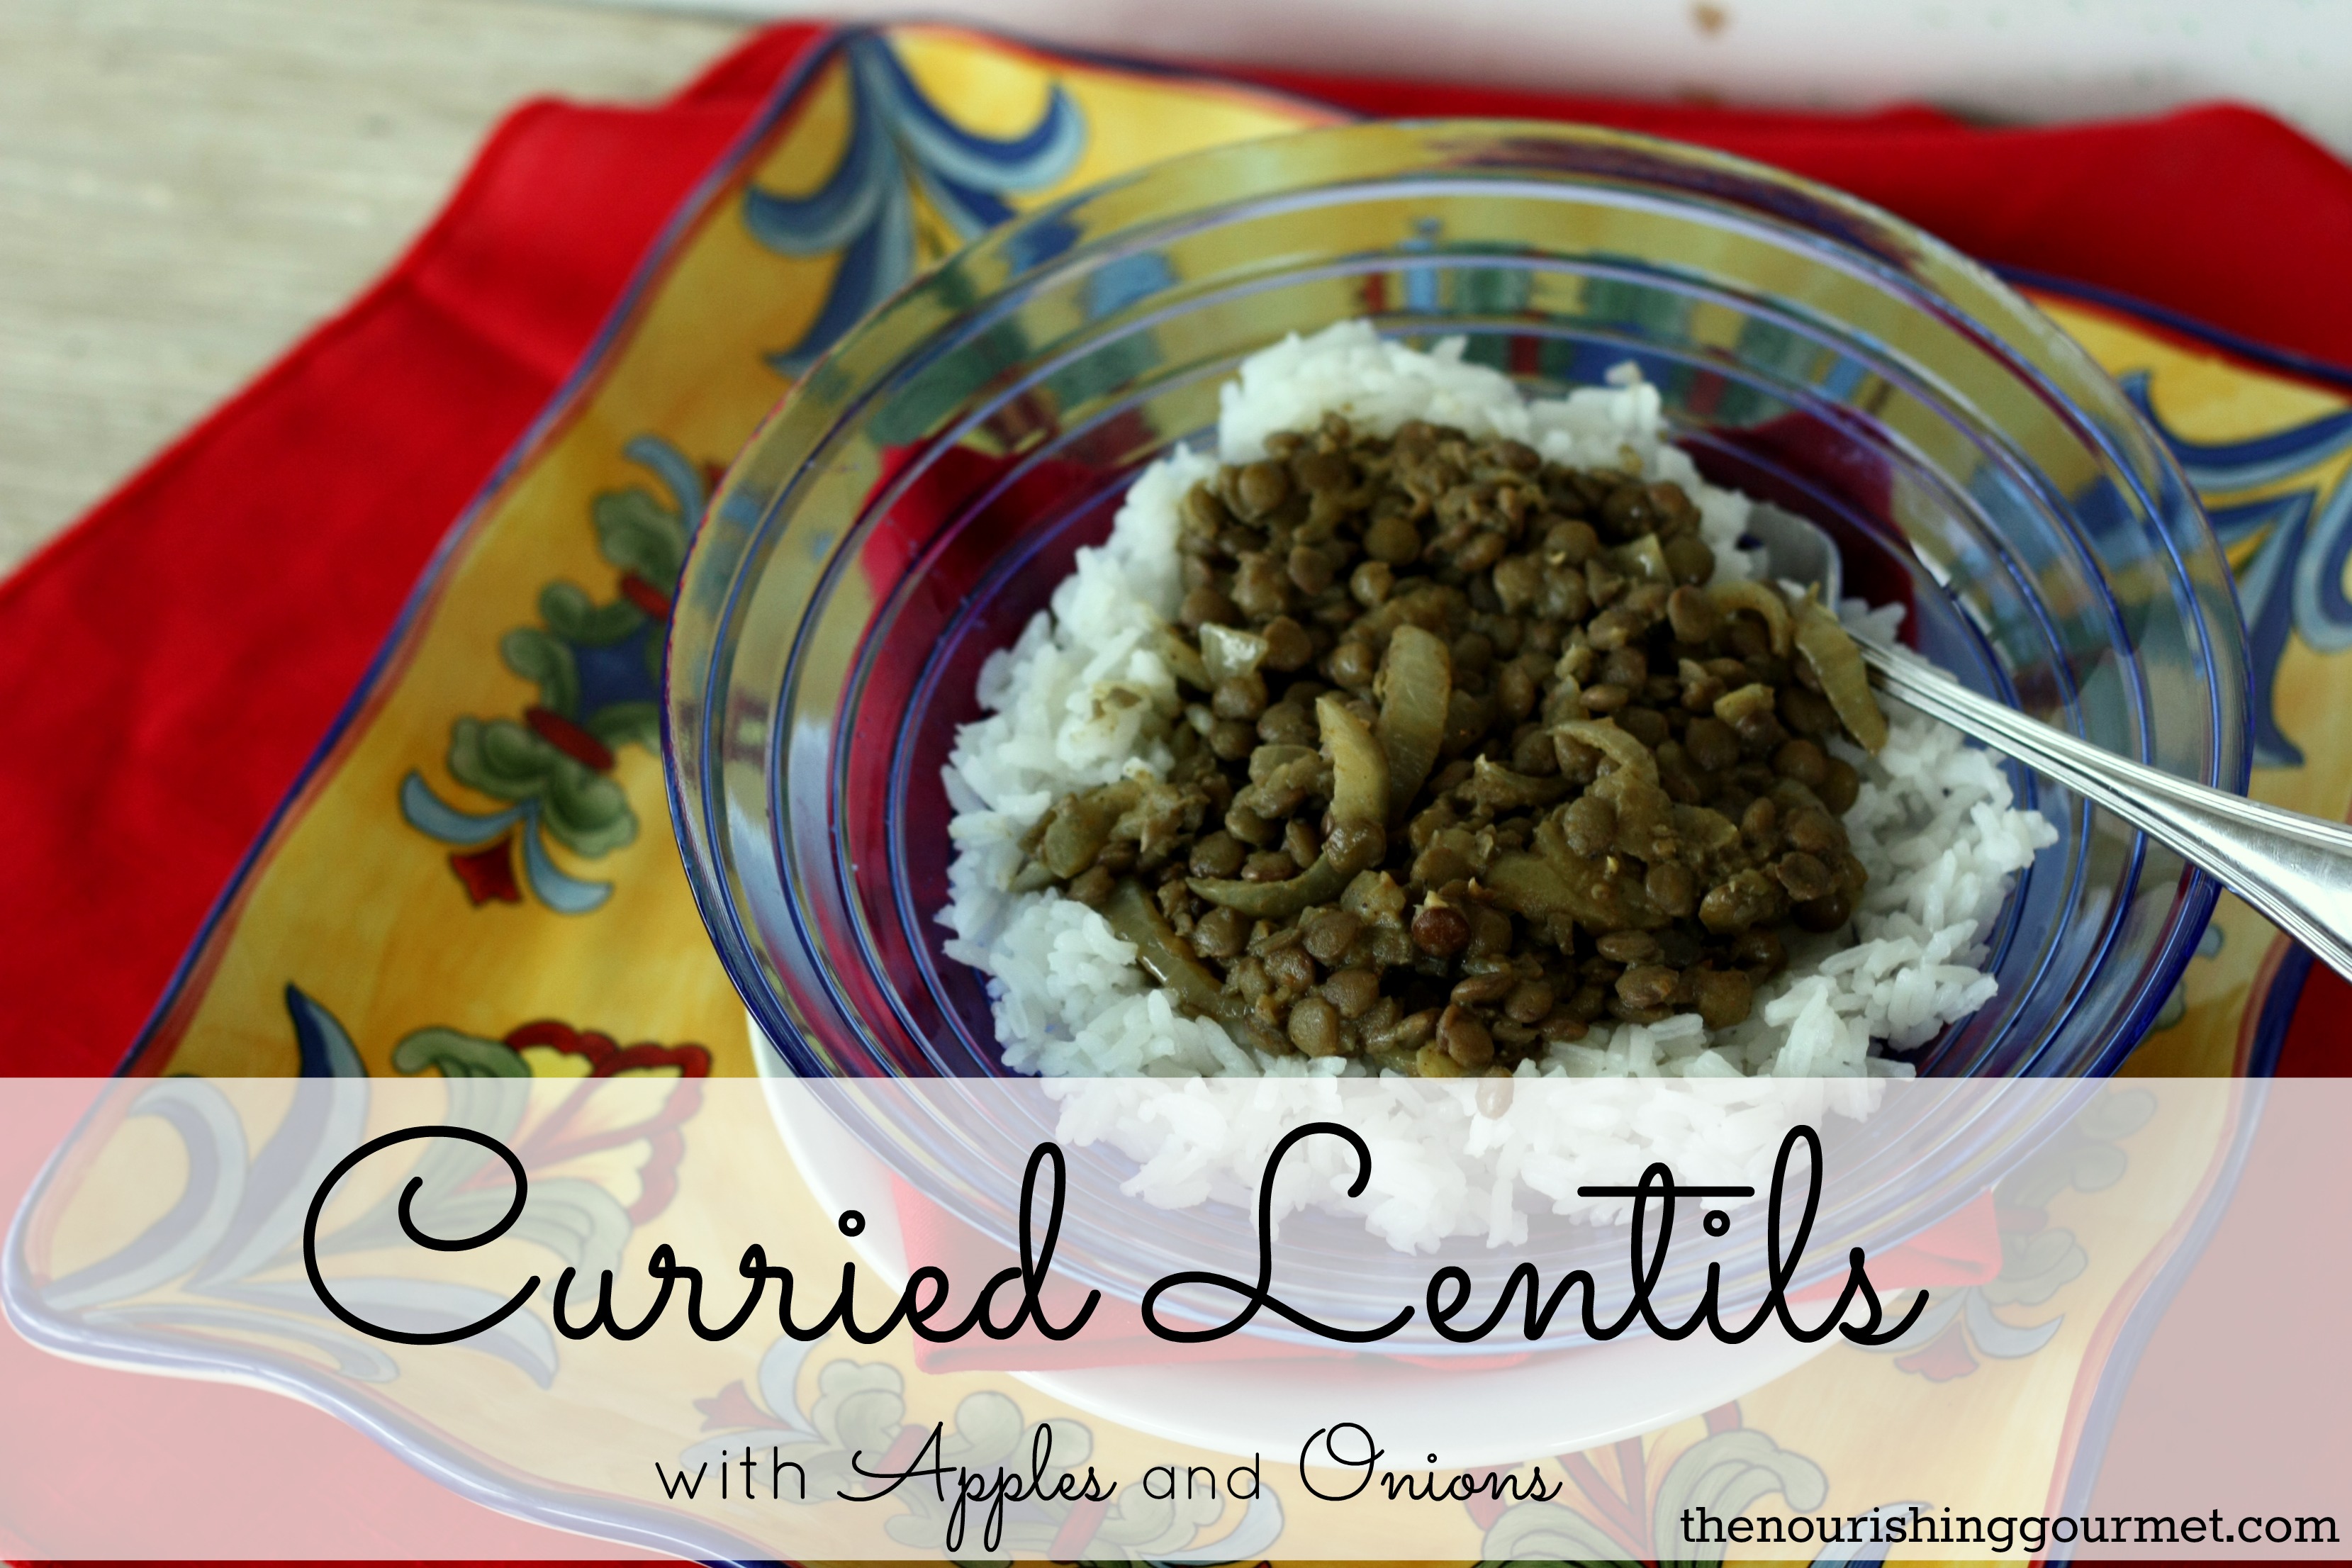
These curried lentils have all of those qualities – spicy, unique Indian flavors tempered with some creamy coconut milk, ease of preparation, and the ability to warm and comfort you on a chilly day, plus the added benefits of being quite nutritious! Dr. Weston Price considered lentils the most nutritious legume, and they are high in calcium, potassium, zinc, iron, and B vitamins.* They don’t have a lot of flavor on their own, which makes them great for dishes such as this because they take on the flavors of the other ingredients and seasonings you add to the dish. After a short soaking period to neutralize the phytic acid, (so plan ahead) lentils pack a lot of nutrition at little cost.

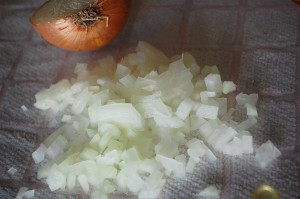
And little cost is what we’re looking for! When Kimi asked us to come up with a recipe for October that cost no more (or not much more!) than $1.00 per serving for the Healthy $1 Menu, my mind automatically went to the standard frugal staples  – beans and rice. I knew I needed something with lots of flavor and spices to take it from boring to interesting, and curry was a natural choice for me. The two apples sitting on the counter were a last-minute addition, and I’m glad I added them, because, along with the onions, they add good texture to the dish.

Here’s the cost breakdown for each ingredient, total ingredient cost, and the total cost per serving. All prices are taken from a nation-wide department store chain – the blue one. 😉

Lentils – 1 1/4 cups (8.5 oz) dry lentils = $0.60 ($1.12 / lb)

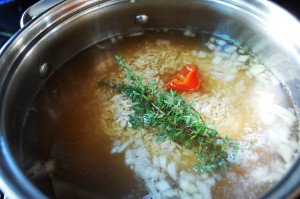
Jasmine Rice –  2 cups (14.4 oz) uncooked rice = $1.00 ($1.14 / lb)

Apples  – 1/2 lb (2 medium) apples = $0.75 ($1.50 / lb)

Onion – 1/2 lb (1 med-large) onion = $0.50 ($0.98 / lb)

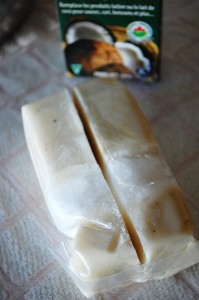
Coconut Milk – 1 cup (a little over half a can) = $1.07 ($2.14 / 14 fl oz can) (or you can make your own for even less!)

Garam Masala Seasoning – 3 tsp = $0.70 ($2.30 / 1.7 oz jar)

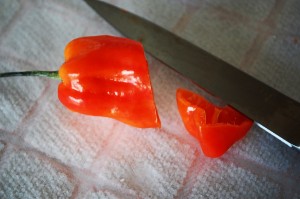
Curry Powder – 1/2 tsp = $0.29 ($3.48 / 1 oz jar)

Ginger – I couldn’t come up with an estimate for this. I used about a teaspoon of fresh-grated ginger root and it didn’t even register on my gram scale. I do know the average price for ginger root is $3.00 – $4.oo per pound, and if you peel it and keep it in the freezer and grate some off as needed, like I do, it lasts through many, many meals.

Coconut Oil – 2 TB for sautéing – $0.50 ($6.98 / 14 oz jar)

Total Ingredient Cost = $5.41

This recipe makes 6 servings so the total cost per serving = $0.90

*Fallon, Sally Nourishing Traditions  pg. 507

Tip: Since this recipe only calls for half a can of coconut milk, why not double the amount of lentils, freeze both them and the coconut milk (in separate containers of course! 🙂 ) and then you’ll have a head start the next time you want to make this dish!

…

Read More

Filed Under: $10 Main, $5 Dishes, Dairy Free, Gluten Free, Nourishing Frugal Recipes, Nourishing Frugal Tips, The Healthy $1 Menu, Vegan, Vegetarian

How to Caramelize Onions (And Why You Should)

October 17, 2013 by KimiHarris 15 Comments


How to caramelize onions to make them super sweet with amazing flavor

Caramelized onions are not only sweet like candy, but they are also complex in flavor, adding a delicious, savory-sweet wonder to any dish. I literally can eat them straight out of the pan, but they are also amazing when added to a variety of dishes: I top lentil soups with them, put them in sandwiches, add them to sauces, top roasted squash or salads, or beans, or meats, or pretty much whatever else is savory in the house with them.

Caramelized onions are one of the those (easy) skills we should all know because they add so much flavor to such a wide variety of dishes. They make bland dishes pop with flavor: A flavor that seems especially suited for fall-time!

And you know what the best part is? They are a very frugal way to add gourmet flavor! A small batch is three onions, which for me (when priced from my organic small onion bag) is about $1.00- $1.50. Not bad! You see, with a little time and patience, you can turn very ordinary and frugal ingredients, like onions, into delicious and healthy dishes. (And that, my friends, is my tip for today for the 52 ways to save money on a healthy diet series!).

The last thing you should think is that eating well means spending megabucks, because even the nicest of restaurants use ingredients that are naturally frugal (like onions!) and make them into delicious dishes.

So how do you make them? It’s really a very simple process – it just takes time. I included a shortened version of this in my book, Ladled: Nourishing Soups for All Seasons, (Amazon Affiliate Link) as one of our favorite soups from the book uses them as a topping. For those who have it, tt’s the Egyptian Red Lentil Soup, pictured above on the right.).

Since I was making that soup for lunch today, I grabbed my camera to take pictures of the onions as they caramelized. This process allows the natural sugars in the onions to caramelize while the spiciness of the onions are completely tamed. Did I mention that these are amazing? You can see the process in the photos below.

How to Caramelize Onions!…

Read More

Filed Under: $5 Dishes, 52 ways to save money on a healthy diet, Dairy Free, Gluten Free, Nourishing Frugal Recipes, Nourishing Frugal Tips, Sides, The Healthy $1 Menu, Vegan, Vegetarian

Jamaican Rice and Peas (The Healthy $1 Menu)

October 16, 2013 by Anna Harris 5 Comments

october blog header photo

By Anna Harris, Contributing Writer

Jamaican Rice and Peas is a addicting starchy main or side dish composed of the most basic ingredients but packed with long-simmered flavors of garlic, onion and heightened nutritionally by cooking in bone broth. Creamed coconut adds richness and tropical flavor along with a whiff of heat from the scotch bonnet pepper.

I was introduced to Jamaican food for the first time when I went with my husband to his parent’s home nearly 2 years before we married. Not only was the food wonderful and different but so was the welcome into a second family. My mother-in-law, Esmina, happens to be a tremendous, intuitive, and frugal cook. I learned how to properly season meat from her. In my childhood home spices were tossed onto meat moments before baking. In contrast, Esmina used combinations of garlic, onion, mounds of black pepper, thyme, allspice, Jamaican curry (which tastes entirely different from Indian curry despite the East Indian influence in Jamaica) and the infamously searingly hot scotch bonnet pepper (otherwise known as habanero) and literally massaged them into her meat days in advance. No wonder she had earned a reputation for being a good cook! I took notes in the first few years, not only for her meat dishes but also learned her recipes for roti, dahl, fried plantain, ackee, and the staple starch with nearly every main dish, rice and peas. ( I never did take home her recipes for tripe though!)

I couldn’t imagine how something so simple could be so flavorful. Over time I think I learned some of her signature kitchen secrets including salting as you cook, liberal use of garlic and onion, and how more flavor is achieved with patience and time.  Interestingly, with her rice and peas, she used pantry items like par-boiled rice, vegetable oil, and canned “peas” but she insisted upon using fresh thyme and creamed coconut – both highly gourmet items to my middle-class palate. Today, my version uses brown rice,  not par-boiled,  and dry beans for extra nutrition and economy, but the Jamaican flavors remain true. Many evenings her rice and peas were actually rice and beans as Esmina often interchanged small, red kidney beans in place of the more rare, but more authentic, gungo, or pigeon peas.  We like the unobtrusive taste and texture of the pigeon peas better but the kidney peas are perfectly delicious as well.

*I prepared the entire package of gungo peas, saving myself a step for another day. The whole package makes about 6 cups of peas after soaking. We only use 2 cups for this recipe.

Cost Analysis: (my costs)

Rice-$2.10 (bought bulk in a 5# bag @ $10.49)

Gungo/Pigeon Peas-$0.59 (bought in a 16 oz bag @ $1.79, Goya brand)

Organic creamed coconut-$1.25 (8 oz package @ $2.49)

Onion-$0.06 (bag of 8 small onions from Aldi @$0.99)

Garlic-$0.07 ( Normally I have organic and amazing garlic from our neighbor, free of cost but this was a package of 3 heads from Aldi @ $0.79)

Fresh thyme sprigs-free (from my neighbor’s bountiful garden and heart)

Sea salt, Pepper-$0.12 (bulk prices)

Chicken broth-free ( from carcass of a roasted chicken, made one gallon for using in just about anything! Alternately, I found organic chicken broth at Aldi, on sale, that would bring the individual cost to $1.15 per serving.)

  Total: $4.19=$0.70 per serving

DSC_0850


Jamaican Rice and Peas
 
Author:
Anna Harris
Recipe type: Main
Cuisine: Jamaican
Serves: 6
Print
 
A basic dish of rice n’ beans elevated to a cultural staple with the addition of creamed coconut, thyme, and heaps of flavor.
Ingredients
  • 2½ cups long grain brown rice
  • About ⅓ package/5.3 oz (or simply soak the whole package) pigeon/gungo peas/small red kidney beans
  • Soaking Ingredients: 4 tbs. whey, apple cider vinegar, or lemon juice
  • 2 tsp. sea salt
  • 4 cloves garlic
  • 6 cups chicken broth
  • ½ of a small-medium onion
  • ½ package creamed coconut
  • 5 sprigs fresh thyme
  • ¼ of a scotch bonnet pepper (just cut the tip/side off)
  • sea salt, black pepper
Instructions
  1. Soak rice and beans in warm, filtered water with 2 tbs of whey, or acid medium and 1 tsp.sea salt per soaking bowl. Soak 7+ hours or simply overnight.
  2. Mince garlic. Pour 2 cups soaked peas, chicken broth, and minced garlic into a pot. Bring to a boil and then turn the heat to a simmer until the peas are tender, about 45-55 minutes.
  3. Strain the peas, saving the poured off broth. It should equal a scant 4 cups. If there is much less than 4 cups add water to make up for it.
  4. Dice onion into small dice, add to pot along with creamed coconut, thyme sprigs, soaked rice, gungo peas, and remaining broth. Top with piece of scotch bonnet pepper.
  5. Bring to a boil, season with plenty of sea salt and black pepper, taste broth for a full flavor. Allow to bubble for 5 minutes before turning heat to low and cooking until the rice is tender, about 40-45 minutes.
3.2.2124

DSC_0866


DSC_0679Anna lives Buffalo, NY surrounded by a cityscape of both blight and hope. She receives inspiration from the next-door urban farm and loves nothing more than to spend a lazy summer Saturday perusing the lush stalls of a farmers market with her two lively children and husband. Cream and butter are two of her most adored ingredients.

She is devoted to sustainable food sourcing and to encouraging others to find the links between simple, beautiful food and thriving health. Some of her major influences include Alice Waters, Sally Fallon, and the More-With-Less cookbooks. She enjoys challenging herself with serving large gatherings, living with intentional restraint, and engaging her children in the creative world of food.

Above all, she values relationships and finds joy in bringing people together around the table.

You can find her blogging at eastsidepicurean.com .

Filed Under: Dairy Free, Main Dishes, Nourishing Frugal Recipes, Nourishing Practices, The Healthy $1 Menu

Knefla – A Savory German Stew (The Healthy $1 Menu)

October 14, 2013 by Katie Mae 9 Comments

Knefla1NG

By Katie Stanley, Contributing Writer

There is something comforting about a pot of soup. It draws people around the dinner table with a sense of warmth and togetherness. It encourages you to slow down and enjoy one another’s company. Growing up,  soup was served at least once, normally twice,  a week for dinner with leftovers for lunch. My favorite was soups made from nourishing homemade chicken broth. If dumplings were added then I was on Cloud 9.

Soup Ladle is a little soup and sandwich place in the town where I grew up that is only open from ten to four. They have two speciality soups everyday. Wednesdays are Knefla day. Knefla is a stew that is attributed to the Germans and South Dakota. About once a month my mom would pick some up for dinner. The key was to remember to call in first thing after they opened to reserve your portion. She would order a gallon and, if you convinced her, a loaf of their famous “crunch bread” which actually tastes a bit like Dandelion Speckled Muffins.

There are different variations of Knefla but everyone seems to agree on three important things: chicken broth, dumplings and potatoes. From there you will see a verity of options such as adding cream to the broth, kielbasa, shredded chicken or vegetables. I like to keep my version simple – like how I remember it tasting growing up – using broth, dumplings, kielbasa and  potatoes. Homemade chicken broth really is the key. You can use cartons of broth from the store but you will miss out on the delicious flavor and nutritional benefit.

Knefla2NG

Knefla is a budget friendly dish even though it uses costly ingredients like kebasa and bacon. Only small amounts are used to build the flavor of the stew. This recipe costs me just over $1 per serving. Depending on where you live the prices for these ingredients will vary. In the end you may end up spending a little more or a little less than I did. Regardless, this recipe should be a frugal choice.

Recipe Break Down Per Serving (at my cost): 

Whole Wheat Pastry Flour- .06
Fresh Parsley .04
Salt- .02
Kielbasa- .39
Potatoes- .21
Onion-.06
Bacon-.10
Milk-.04
Egg- .04
Black Pepper- .01
Apple Cider Vinegar- .04
Chicken Broth- Free

Total- $1.01

Slow down a bit in the next few days and gather your family or friends around the table to enjoy Knefla. It can be a meal on it’s own or enjoyed with sauerkraut and bread fresh from the oven slatherd with butter.

Knefla- A Nourishing German Dumpling Stew
 
Author:
Katie Stanley @ The Nourishing Gourmet
Recipe type: Soup/Stew
Cuisine: German
Serves: 6
Print
 
A simple German stew brusting with flavor from homemade chicken broth and kebasa. Dumplings and pototoes are added to make this dish a meal on it's own!
Ingredients
  • 4 quarts homemade chicken broth
  • 4 medium russet potatoes peel and cut into large cubed
  • 8 oz kielbasa, cut length wise and quartered
  • ½ cup yellow onion, diced
  • ¼ cup parsley, chopped
  • 4 slices bacon, finely chopped
  • 1 tsp salt
  • 1 tsp freshly ground black pepper
  • 1 recipe dumplings
  • Dumplings
  • 3 cups whole wheat pastry flour
  • 1 cup milk
  • 1 egg, beaten
  • 1 TBS apple cider vinegar
  • 1 tsp baking soda
  • 1 tsp salt
Instructions
  1. Knefla (Dumplings)
  2. In a large bowl, mix together the flour, milk and apple cider vinegar 8 to 24 hours before you want to make your soup. Mix until the ingredients are well combined. Cover the bowl and leave in a warm place for 8-24 hours.
  3. When you are ready to male your soup, add the egg, baking soda and salt. Knead with your hands until the ingredients are well combined.
  4. Divide the dough into 4 parts. On a lightly floured surface roll each part into a "snake" about ½ inch thick.
  5. Cut each roll of dough into ¼ inch pieces.
  6. Set aside and continue with the recipe below.
  7. Stew
  8. In a large soup pot cook the bacon over medium heat for about 5-8 minutes or until crispy. Remove and set aside leaving the grease in the pot.
  9. Add the onions to the pot. Sprinkle with 1 tsp of salt. Sautee over medium heat until translucent, about 5 minutes.
  10. While the onions are sauteing slice the kebasa length wise. Cut each half length wise again. Cut each quarter into small pieces.
  11. Pour in the broth and bring to a boil.
  12. Add the potatoes and dumpling. Allow the broth to return to a boil and then reduce the heat to a simmer for 10 minutes with the lid on. At first the dumplings will drop to the bottom of the pot, then they will rise to the serfice.
  13. After 10 minutes add the kielbasa and simmer for an additional 5 minutes or until the potatoes or tender.
  14. Serve each bowl with a bit of the reserved bacon and chopped parsley.
3.2.2124


Filed Under: Main Dishes, Nourishing Frugal Recipes, Nutrient Dense Foods, Soups, The Healthy $1 Menu, Uncategorized

« Previous Page
Next Page »

Primary Sidebar

ConvertKit Form

Get Every Recipe

And the insider's view from our kitchen

Success! Now check your email to confirm your subscription.

There was an error submitting your subscription. Please try again.

We won't send you spam. Unsubscribe at any time. Powered by ConvertKit

Follow Me

  • Facebook
  • Google+
  • Instagram
  • Pinterest
  • RSS

Search

Please Read:

The information you find here at The Nourishing Gourmet is meant to help you become a better cook! This site is primarily for sharing family friendly recipes. It's not meant to give medical advice or to make any health claims on the prevention or curing of diseases.This site is only for informational and educational purposes. Please discuss with your own, qualified health care provider before adding in supplements or making any changes in your diet. Also, any links to sponsors or affiliates (including Amazon) may give me a percentage of the sale or a pay per click. Thank you for supporting this site.

Categories

  • $10 Main (42)
  • $5 Dishes (43)
  • 52 ways to save money on a healthy diet (53)
  • AIP (23)
  • Baked Goods (83)
  • Beverages (72)
  • Breakfast and Brunch (61)
  • Condiments (8)
  • Dairy Free (492)
  • Desserts (184)
  • Dietary Needs (6)
  • Egg Free (11)
  • Egg Free (86)
  • For the Kids (66)
  • For the Love of Food and Books (18)
  • Gluten Free (484)
  • Grain Free (95)
  • Health (75)
  • Kitchen Tools (4)
  • Main Dishes (126)
  • Nourishing Frugal Recipes (167)
  • Nourishing Frugal Tips (70)
  • Nourishing Practices (56)
  • Nutrient Dense Foods (70)
  • Q and A (15)
  • Salads (39)
  • Sides (101)
  • Snacks (124)
  • Soups (50)
  • The Healthy $1 Menu (21)
  • The Low Energy Guide to Healthy Cooking (18)
  • THM (2)
  • Trim Healthy Mama (2)
  • Uncategorized (846)
  • Vegan (241)
  • Vegetarian (361)

Recent Posts

  • 2 Ingredient Peppermint Bark
  • Herbal Hibiscus Lemonade (Keto, THM)
  • Creamy Curry Red Lentil Soup
  • One-Pot Gluten-Free Mac and Cheese
  • Healthy Pumpkin Spice Granola
  • Crispy Pumpkin Spice Granola (oil-free)
  • Why I Use THM Principles Now
  • Vietnamese Beef Noodle Salad
  • Coconut Flour Pancakes
  • Instant Pot Mexican Shredded Chicken

Recent Comments

  • Dorene St G on Cracker Toffee (Easy Peasy Christmas Candy)
  • Nadia Kriston on Finding a Toaster Oven Without Nonstick
  • KimiHarris on How to make heavenly coconut milk whipped cream (with an isi dispenser)
  • KimiHarris on Autumn Beef Stew (Tomato Free)
  • KimiHarris on How to make heavenly coconut milk whipped cream (with an isi dispenser)

Fresh: Nourishing Salads for All Seasons

Get Every Recipe

And the insider's view from our kitchen

Success! Now check your email to confirm your subscription.

There was an error submitting your subscription. Please try again.

We won't send you spam. Unsubscribe at any time. Powered by ConvertKit

Footer

Privacy

Copyright © 2023 · Foodie Pro & The Genesis Framework