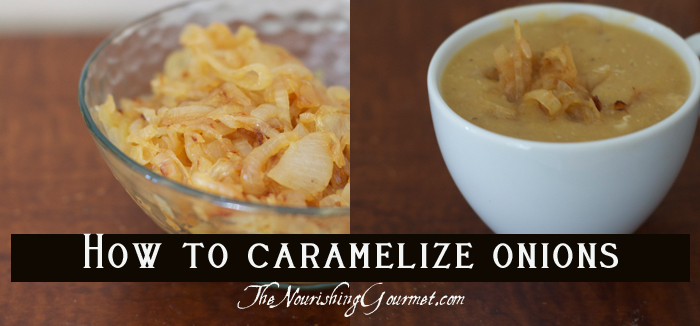
Caramelized onions are not only sweet like candy, but they are also complex in flavor, adding a delicious, savory-sweet wonder to any dish. I literally can eat them straight out of the pan, but they are also amazing when added to a variety of dishes: I top lentil soups with them, put them in sandwiches, add them to sauces, top roasted squash or salads, or beans, or meats, or pretty much whatever else is savory in the house with them.
Caramelized onions are one of the those (easy) skills we should all know because they add so much flavor to such a wide variety of dishes. They make bland dishes pop with flavor: A flavor that seems especially suited for fall-time!
And you know what the best part is? They are a very frugal way to add gourmet flavor! A small batch is three onions, which for me (when priced from my organic small onion bag) is about $1.00- $1.50. Not bad! You see, with a little time and patience, you can turn very ordinary and frugal ingredients, like onions, into delicious and healthy dishes. (And that, my friends, is my tip for today for the 52 ways to save money on a healthy diet series!).
The last thing you should think is that eating well means spending megabucks, because even the nicest of restaurants use ingredients that are naturally frugal (like onions!) and make them into delicious dishes.
So how do you make them? It’s really a very simple process – it just takes time. I included a shortened version of this in my book, Ladled: Nourishing Soups for All Seasons, (Amazon Affiliate Link) as one of our favorite soups from the book uses them as a topping. For those who have it, tt’s the Egyptian Red Lentil Soup, pictured above on the right.).
Since I was making that soup for lunch today, I grabbed my camera to take pictures of the onions as they caramelized. This process allows the natural sugars in the onions to caramelize while the spiciness of the onions are completely tamed. Did I mention that these are amazing? You can see the process in the photos below.
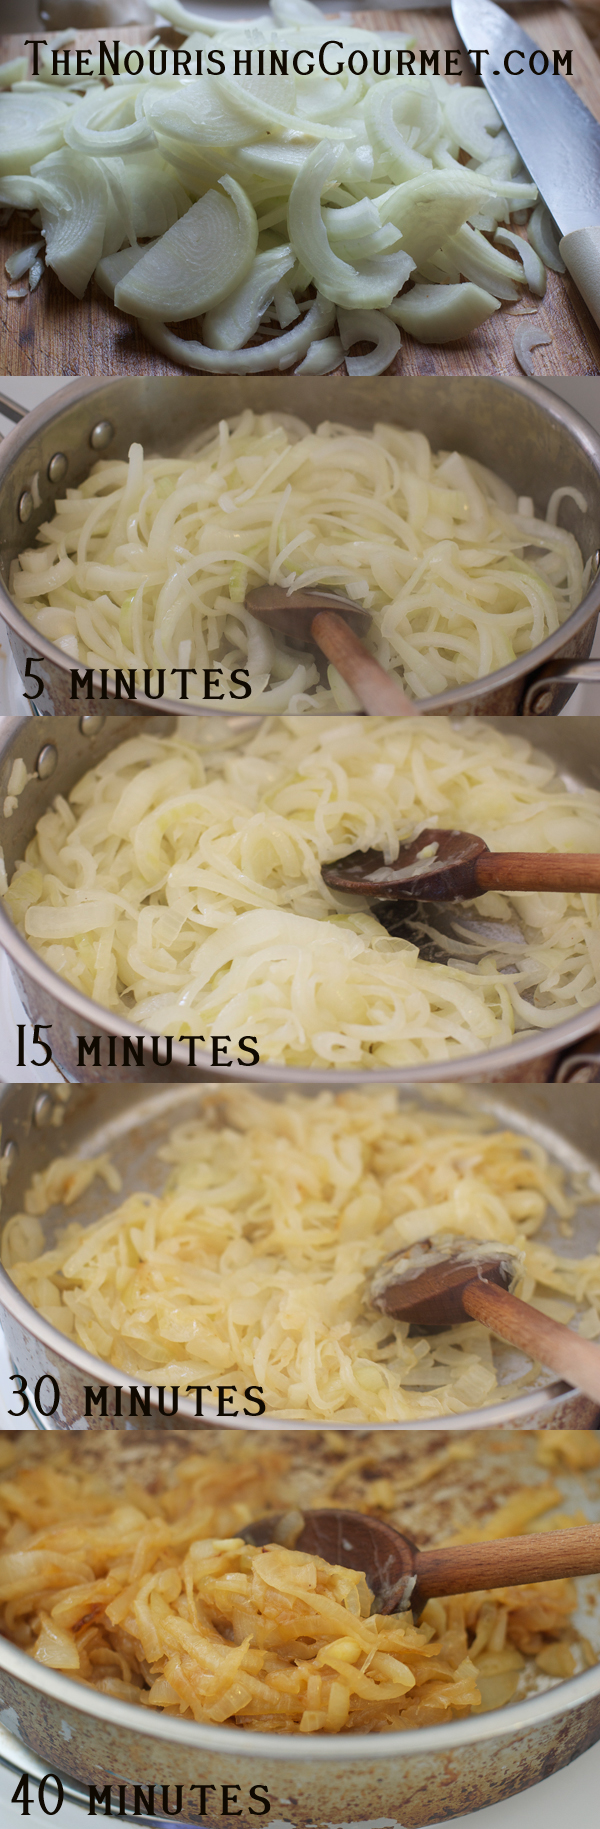
Tips: Don’t cook at a high heat! For my stovetop, having the heat just under medium is perfect. You aren’t sautéing, but allowing the onions to first sweat out their moisture, and then slowly turn into sweet, super soft onions. If they are starting to brown at all at the beginning they are cooking them too fast.
These do take a long time. While these cooked, I made my lentil soup, helped my seven year old with her phonics, texted a friend, and cleaned the kitchen. The key is just to be near enough the onions that you can keep stirring them here and there. They need more babysitting at the end of the process.
- 3 onions
- 2 tablespoons of fat of choice
- Unrefined salt
- A little water, broth, or wine
- Peel and cut off the root ends of three onions. Thinly slice (The more thinly you slice, the more quickly they will cook).
- In a large saucepan, melt about 2 tablespoons of ghee or fat of choice over medium heat. Add one onion slice to the fat. When it starts to sizzle, add the rest of the onions. Sprinkle with unrefined salt. I turn down my heat to a little below medium at this point.
- Stir every couple of minutes, making sure that the onions are just sweating and slowly turning limp, but not turning brown at first. This process usually takes me anywhere from 30 minutes to 60, depending on what type of onion I used, how old it is, and how hot I am cooking them at.
- Once the onions are very limp, they should start turning to a light brown. Make sure you watch them more carefully at this point, as they can start to stick. If they ever do, simply use a little water, broth, or wine to deglaze the pan, quickly scrapping off the browned bits, and allowing the liquid to evaporate.
- The onions are done when you get them to desired texture and flavor. As you can see I like mine a medium brown color. But you can go even darker then this, just start tasting them once they are turning brown, and you’ll know when they are done!
- Take them off the heat as soon as you have them at the point you like.
Latest posts by KimiHarris (see all)
- Eating for Comfort and Sustenance - May 20, 2025
- Perfect Instant Pot Black and Brown Rice - February 14, 2025
- What Worked and What Didn’t in My Cooking Life Last Year - January 14, 2025
Thank you for this recipe. I just love caramelized onions, especially on sandwiches!
Could you tell me why you cut off the root end of the onion. Whenever I slice onion, I always leave the root end on and slice from the top end; I find that by doing this, the onion doesn’t cause my eyes to burn and/or tear. Also, which onions do you use or are you able to caramelize any/all types of onions?
Good question: It’s just personal preference. I was taught also to leave the root end on while chopping it (to keep the onion together), but if I didn’t take the time to tediously trim the roots, sometimes I would end up with little roots mixed up with my chopped onions, which is very annoying. However, if it really does help the onion not make your eyes water, I will try it again! (Although, I have to say, I do remember my eyes watering, even when I left it on, so maybe it won’t work for me).
Oh, and I forgot to answer your question about the onions (also a great question). You can use any! I just used basic yellow ones here, but red onions would be delicious too. If making a large batch, you could also mix a couple different kinds, which would be fun.
Thank you!!! This is the type of frugal gourmet tip I need! Also–I think of myself as a pretty good cook (still learning of course), but I didn’t know it took this long to carmelize onions. Good to have it laid out so clearly and simply. Great post!
So glad it was helpful, Kate!
Can these be kept in the fridge for any length of time after being cooked? Or frozen? I make a lot of soups in the fall and winter 3-4 days apart and would love to do double batches to save time, but if they don’t keep well, then I won’t consider it. Thanks for the post! I’ve never caramelized onions before.
Erin,
They freeze really well! Here is some info: http://www.thekitchn.com/quick-tip-freeze-caramelized-o-81485, But basically you can freeze in ice cube trays or muffin tins, and then they will quickly defrost. 🙂 They keep up to three months this way. I’ve gotten conflicted information on how long they last refrigerated – I’ve read anywhere from 3-4 days to 3 weeks!
Can you batch make these and freeze? Seems very time consuming for one meal, or to just sit in the fridge for a week. btw, how long do they last in the fridge? or do you use them right away?
Thanks so much! This is something I have been trying to do but always had the heat too high and they always ended up black instead of Carmelized.
Yes, the low heat really helps the process. 😉 I am impatient, so I actually put on a timer for 30 minutes, so I won’t be tempted to turn up the heat to cook it faster (as when you are just eye-balling it, it seems to take even longer!)
I love caramelized onions. I make them in a crockpot, it’s so easy that way. Just chop up your onions and cook them on low overnight. I bag mine up into small portions in sandwich baggies and freeze them.
I was thinking of trying that as well! As much fat do you use?
KimiHarris,
I don’t use any fat.
I am doing this right now to add them to my dinner. Thanks for the timely post! I have also cooked them at too high of a heat in the past, not really knowing how to do it.
we use these a lot, but add some turmeric root while cooking, it makes them sweeter and more colorful