• Skip to primary navigation
  • Skip to main content
  • Skip to primary sidebar
  • Skip to footer

The Nourishing Gourmet

Nourishing. Satisfying. Gourmet.

  • THM Coaching
  • About
    • Privacy
    • Contact
  • Recipes
  • Cookbooks
    • Everyday Nourishing Food
    • Salad Cookbook
    • Soup Cookbook

Search Results for: 12 days of christmas 2015

Mint Chocolate Lip Balm: A Fun and Easy DIY Christmas Gift Idea!

December 2, 2015 by Mindy Benkert 6 Comments

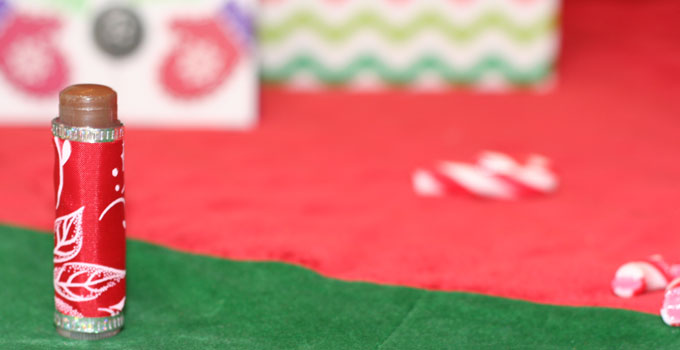
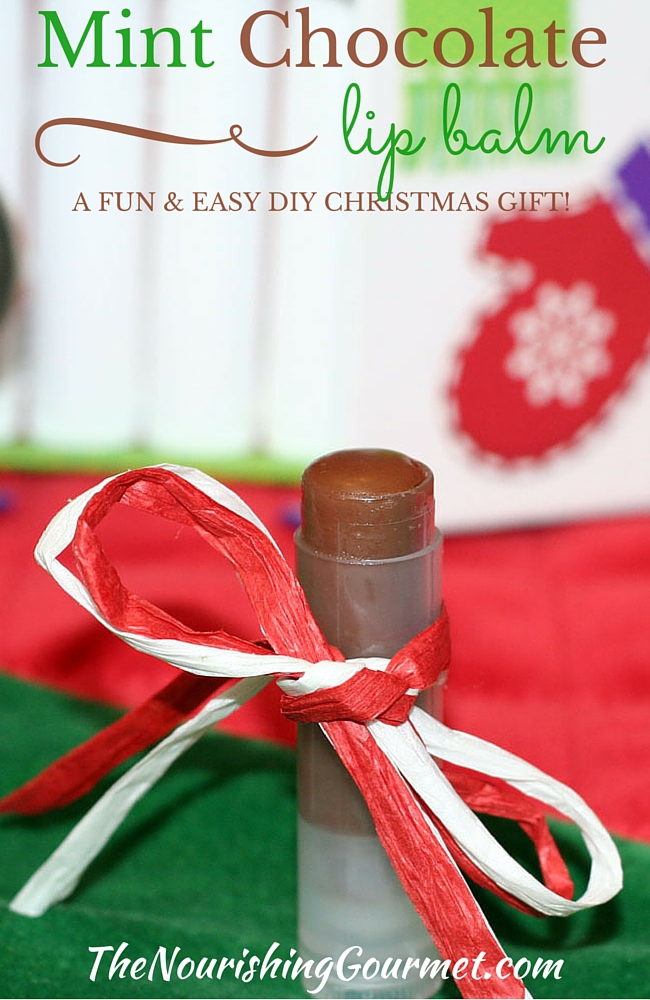
Mint Chocolate Lip Balm: A Fun and Easy DIY Christmas Gift Idea!

A delectable mixture of chocolate and peppermint in a luscious lip balm. A perfect quick and easy DIY Christmas gift that your friends and family will love!

(This post is part two of our 12 Days of Christmas Series. Check out this beautiful recipe for Chai Eggnog – the first part of this series, and stay tuned for a whole lot more!)

By Mindy Benkert from Simple Pure Beauty

It’s that time of the year again! The holidays can bring a sense of excitement and wonder, but it can also be a little stressful.

I love the holiday season because I know I am going to get to see family, hang out and re-connect with those I don’t see throughout the year. My family is scattered throughout different states and even countries now, so this time of year is so precious to us.

Nothing can replace the memories of sitting around the dinner table, grandma’s turkey dinner, and opening presents with my whole family. It’s priceless.

But sometimes the budget is tight or you just don’t know what to get your family, friends or even teachers for Christmas. That’s why I love to DIY. It is so easy and affordable to make your own Christmas gifts. These gifts made with love and your own hands can mean so much more than anything expensive or fancy.

So today I am sharing an easy recipe that you can whip up in just a few minutes, it will cost you very little and it smells and feels amazing!

One of my favorite combinations is mint chocolate, so it only stands to reason that I would create a lip balm with this awesome combination. 🙂

Lip balm is so easy to make and with a little decorating, you will have adorable gifts that your friends and family will love! It can be so much fun to get creative and make your own Christmas gifts! There are so many things you can make including body butter, sugar scrubs and even diy perfume.

Supplies

You may want to check out local stores for some of these, but you can also find supplies for this project from The Nourishing Gourmet’s affiliate Amazon.

  • 12 Empty Lip Balm Containers
  • 50 Empty Lip Balm Containers
    Organic Beeswax Pastilles
  • Cocoa butter
  • Peppermint Essential Oil

Mint Chocolate Lip Balm: A Fun and Easy DIY Christmas Gift Idea!

Mint Chocolate Lip Balm

Ingredients:

1 Tbsp beeswax pastilles (or grated beeswax)
1 Tbsp cocoa butter
1 1/2 Tbsp avocado oil (can substitute your favorite carrier oil: coconut, sweet almond, grapeseed…)
1/2 tsp cocoa powder
5 Drops peppermint essential oil
8 Drops vitamin e oil
4 drops liquid stevia (can be omitted)

Directions:

Melt beeswax, cocoa butter and avocado oil in a double boiler (glass bowl or jar inside a pan with a few inches of water) over medium/low heat.
Heat until thoroughly melted, stirring occasionally.
Once melted, stir in cocoa powder and stevia and stir until combined and smooth.
Remove from heat and stir in peppermint oil and vitamin e oil.
Quickly pour into your storage containers.
Save a little and top off your lip balm containers as the liquid will settle a little as it dries.
Should fill 6 .2 oz lip balm containers (Feel free to double the recipe for more)

Mint Chocolate Lip Balm: A Fun and Easy DIY Christmas Gift Idea!
 
Recipe type: Beauty
Print
 
This delectable combination is the perfect DIY Christmas Gift for the Holidays or any time!
Ingredients
  • 1 Tbsp beeswax pastilles (or grated beeswax)
  • 1 Tbsp cocoa butter
  • 1½ Tbsp avocado oil (can substitute your favorite carrier oil: coconut, sweet almond, grapeseed...)
  • ½ tsp cocoa powder
  • 5 Drops peppermint essential oil
  • 8 Drops vitamin e oil
  • 4 drops liquid stevia (can be omitted)
Instructions
  1. Melt beeswax, cocoa butter and avocado oil in a double boiler (glass bowl or jar inside a pan with a few inches of water) over medium/low heat.
  2. Heat until thoroughly melted, stirring occasionally.
  3. Once melted, stir in cocoa powder and stevia and stir until combined and smooth.
  4. Remove from heat and stir in peppermint oil and vitamin e oil.
  5. Quickly pour into your storage containers.
  6. Save a little and top off your lip balm containers as the liquid will settle a little as it dries.
  7. Should fill 6 .2 oz lip balm containers (Feel free to double the recipe for more)
3.3.3077


What are your favorite DIY Christmas Gifts to make?
 

Filed Under: Health Tagged With: Chocolate, DIY, Gifts, Lip Balm

5 Tips for Holiday Meal Planning with Low Energy

November 22, 2016 by KimiHarris 4 Comments

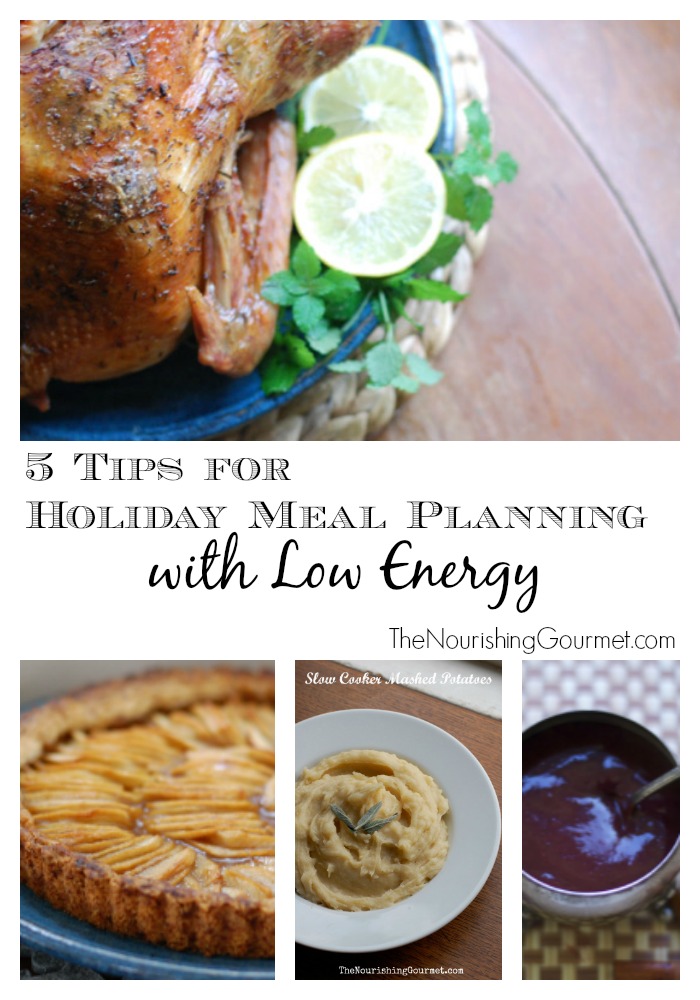
Low energy going into the holiday season? No worries! Here's how to simplify.

I love the holiday season. It’s been a favorite time of year for me since my childhood. But thinking of my childhood, it’s good to realize that our holiday traditions were simple, yet still magical for me.

Holiday meal planning doesn’t necessarily have to be stressful and overly difficult either. Elaborate and fancy meals are so much fun to plan, but when you don’t have the time or energy, it’s good to remember how simple holiday fun can be.

Because of health issues this year, we are picking and choosing where my energy goes, and this is true for holiday meals too. Here are four ways we are planning our holidays, with (and despite) low energy.

Simplify

I know this is obvious, but it’s so important! One quick example: Originally I had hoped to have gingerbread, hot cocoa, and popcorn for our tree trimming tradition. But we realized that, as nice, and even as doable as that was most years, it wasn’t always feasible for me. So our tradition now is something like this: Get a tree, put on our favorite Christmas music, and make homemade (and super easy) hot cocoa to sip on during the tree trimming.

Sometimes Joel and I make ours into mochas by adding a shot of stovetop espresso.

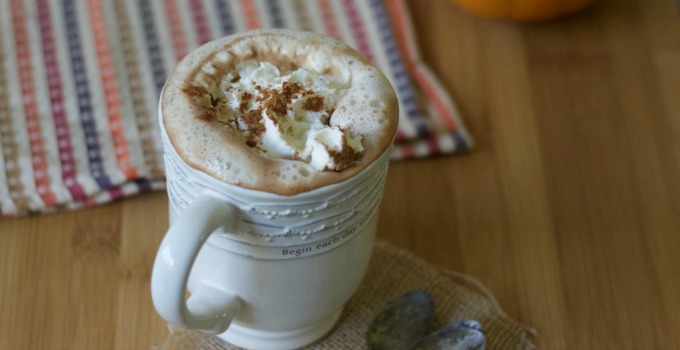
Pumpkin Spice Hot Cocoa -www.thenourishinggourmet.com

And you know what? As simple as the tradition is, it’s a fun tradition that we love that builds memories with a homemade and real food beverage.

Some years we may have the bandwidth for a Christmas cookie extravaganza, Christmas baking efforts, and loads of handmade Christmas gifts. It’s wonderful to have those years. But other years, things may be trimmed back, whether because of finances, low energy, ill health, or because there is a new baby in the house. And even though those trimmed back years may be more simple, there is no reason to think they will be any less memorable and wonderful.

For Thanksgiving, Christmas Eve, Christmas Day meals, simplifying is important too. I’ll be honest. We love having our holiday meals be feasts! But we’ve also found that doing a more streamlined holiday meal can be satisfying. By carefully selecting favorite dishes that complement each other well, we’ve had lovely feasts that may not have made the table groan but were satisfying and perfect.

Buy

Pumpkin Pie Stuffed Apples (GF/DF) - The Nourishing Gourmet

This is a food website. Obviously, we talk about homemade food a lot here and I believe fully in the beauty of making your own food. But there are years when it’s a lot harder to make everything from scratch. There is nothing wrong with buying some of your holiday food pre-made. If you are lucky enough to live in a place like Portland, you could even buy your entire Thanksgiving meal (made with real food ingredients) to re-heat. While this will never be my first choice, and because of our food restrictions, likely never feasible, there is no reason to kill yourself for a holiday meal if you have other options available.

Other ideas: Buy premade pies or desserts, premade cranberry salad, or trimmed vegetables ready to cook.

Collaborate

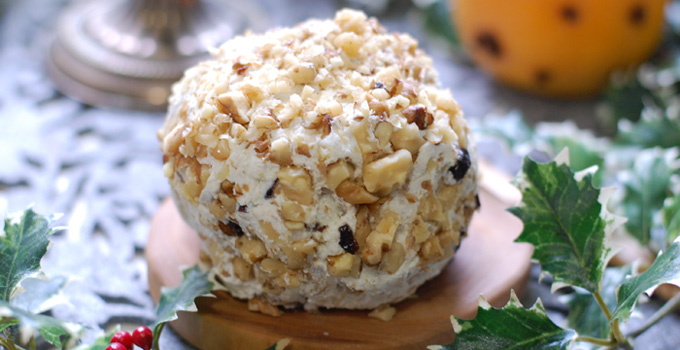
Cranberry Goat Cheese Ball

Holiday meals are meant to be shared. While it can be a lot of fun to prepare the whole meal, on years where this is daunting, sharing the workload is helpful too! One year where I made the majority of the dishes, a friend showed up early to help me finish up all of the cooking, and it was so much fun! This year our Thanksgiving is shaping up well, and all of us only have a two or so dishes we are in charge of bringing.

Pre-make

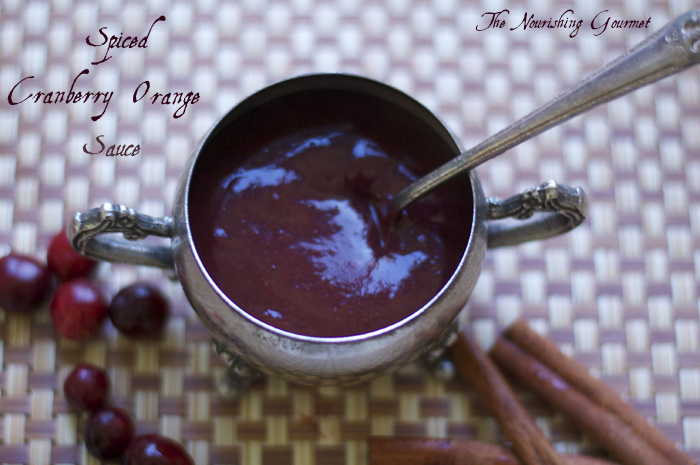
Spiced-Cranberry-Orange-Sauce

When possible, pre-make what you can. Cranberry sauce, salad dressing, chopped vegetables, pie crust or pies, can all be made one to three days before the holiday. By doing just one simple task every day, you can spread out the work and have that homemade feast you love.

Enjoy

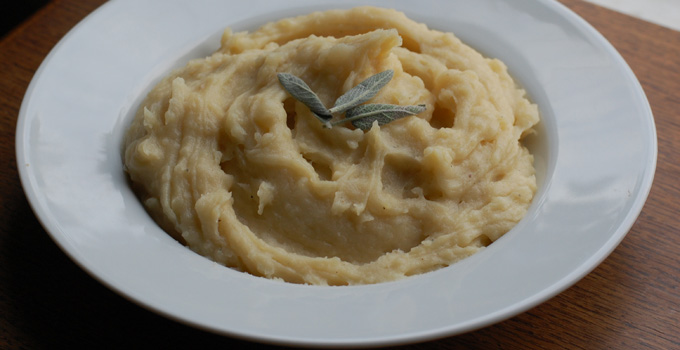
How to make mashed potatoes in a slow cooker (including dairy free options)

Finally, don’t forget, no matter how simple or how store-bought your meal ends up being, to truly enjoy the meal. The people you enjoy the food with are far more important than what is on the table. I love showing my love for them by the food I make, but I also know that laughing with them, enjoying my time with them, and showing them that I can relax with them is far more important than stressing over food. Holiday meals are meant to be joyous. If you have low-energy or are just having a crazy year, do what you can, and then sit back and enjoy the holiday. Put some music on, and maybe celebrate with a favorite holiday movie later. It doesn’t have to be fancy. But it should be full of joy.

Filed Under: Health, Nourishing Frugal Tips, The Low Energy Guide to Healthy Cooking

Peppermint Hot Carob

December 15, 2015 by KimiHarris 4 Comments

Peppermint Hot Carob: Sweetened with maple syrup, and dairy-free! A delicious caffeine-free drink that's great right before bed. Yum! -- The Nourishing Gourmet

Frothy and rich, this peppermint flavored hot carob drink is a delicious and soothing way to end the day. Since it’s caffeine-free, it’s great for having at nighttime, or for serving to children. Made with rich coconut milk or cream, it’s dairy-free deliciousness!

Carob is an antioxidant-rich food and has been cultivated for thousands of years. Many think of it as a “chocolate alternative”, but as a chocolate-lover myself, I find it better to think of it as its own distinctive flavor.

However, having said that, once you add the peppermint extract to this recipe, you could easily think that you are drinking peppermint hot cocoa!

If you prefer, feel free to use homemade almond milk too.

Ingredients:

(Affilate links)

  • Roasted Carob
  • Peppermint extract 
  • Coconut Cream

Other Hot Drinks: Chai Latte Powder and Coconut Ginger Apple Cider

OTHER 12 DAYS OF CHRISTMAS POSTS:

  • Chai Eggnog
  • DIY Mint Chocolate Lip Balm
  • Sweet and Spicy Candied Nuts
  •  Garam Masala Pickled Onions
  • Homemade Gühwein Recipe
  • DIY Apple Tea Blend
  • Apple Pastila – Honey Sweetened Confection
  • Easy DIY Dry Shampoo
  • Instant Chai Tea Latte Powder
  • Gluten-free Shortbread Cookies (Maple Syrup Sweetened)
  • 12 Kitchen Gifts or Stocking Stuffers $10 or Under

Peppermint Hot Carob

  • 1 cup of coconut milk (or ½ cup of coconut cream and ½ cup of water)
  • 1 tablespoon carob powder
  • 1 tablespoon maple syrup or honey (for less sweet option, use 2 teaspoons. You can also substitute stevia extract)
  • ½ teaspoon vanilla extract
  • 1/8 – ½ teaspoon peppermint extract  (I love peppermint, so I really add a lot, but a reader emailed to say it was much too strong for her – so start with a scant 1/8 teaspoon, and add more only if desired).

1. Combine coconut milk carob powder and sweetener in a blender, and blend until smooth.

2. Pour into a pan, and heat over medium-high heat, until just barely simmering. Remove from heat and add the two extracts.

3. Enjoy!

Optional Topping Ideas: Homemade Honey-Sweetened Marshmallows or Coconut Whipped Cream

Peppermint Hot Carob
 
Print
 
Ingredients
  • 1 cup of coconut milk (or ½ cup of coconut cream and ½ cup of water)
  • 1 tablespoon carob powder
  • 1 tablespoon maple syrup or honey (for less sweet option, use 2 teaspoons. You can also substitute stevia extract)
  • ½ teaspoon vanilla extract
  • ¼ - ½ teaspoon peppermint extract (I love peppermint, so I really add a lot, but a reader emailed to say it was much too strong for her - so start with a scant ¼ teaspoon, and add more only if desired).
Instructions
  1. Combine coconut milk carob powder and sweetener in a blender, and blend until smooth.
  2. Pour into a pan, and heat over medium-high heat, until just barely simmering. Remove from heat and add the two extracts.
  3. Enjoy!
3.3.3077

Filed Under: Beverages, Dairy Free, Egg Free, For the Kids, Gluten Free, Grain Free, Vegan, Vegetarian

Gluten Free Scottish Shortbread Cookies (Maple Syrup Sweetened)

December 12, 2015 by KimiHarris 3 Comments

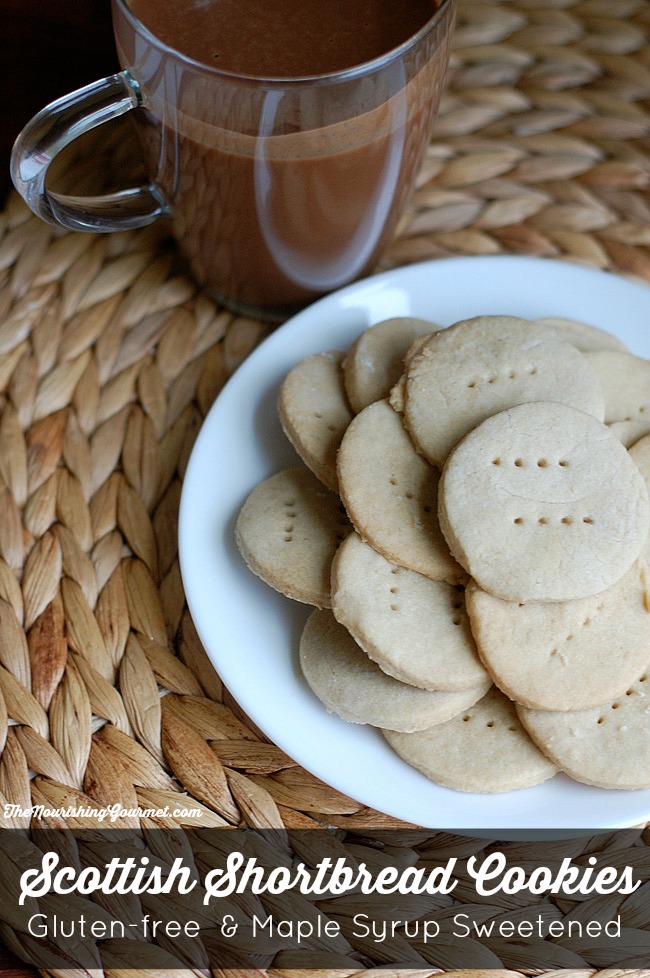
vScottish Shortbread Cookies, gluten-free and sweetened with maple syrup: These cookies are wonderfully flakey and rich. Just like shortbread cookies should be.  --- The Nourishing Gourmet

These gluten free Scottish Shortbread Cookies are everything that I look for in a shortbread recipe. They use nourishing, real food ingredients, are flaky, gently sweet, rich, and delicious! Gluten-free shortbread cookies have an advantage over their wheat peers – they don’t have any gluten to toughen them. This means it is easy to get that perfect flaky texture!

I was looking for a recipe that fit my children’s dietary needs, but that held together well. This one fits the bill! In fact, it was so successful, I think I am going to use this same recipe for cut out Christmas gluten-free sugar cookies this year!

I love that it uses pure maple syrup as the only sweetener. And because it is free of gluten, cane sugar, eggs, and even nuts, it makes a great cookie for those with many allergies.

I feel a certain nostalgia over shortbread cookies. Not only were they a favorite for me growing up, but when I was in the hospital on bed rest with my second daughter, my body was craving healthy fats (that is, butter), and so my mother would bring me shortbread cookies whenever she came to visit me. Just one of many reasons shortbread cookies are one of my favorite cookie recipes!

Because shortbread is so rich, it only needs to be lightly sweetened – a fact I appreciate since so many special treats are very saturated with sugar.

Notes on Ingredients:

  • I used sprouted brown rice flour. If you can’t find it locally, you can (affiliate links) order it from Amazon. You can probably use brown rice flour or white rice flour as well (don’t use sweet rice flour in replacement though).
  • I made this nut-free by making my own sunflower seed flour. See how to make it here. You can also use almond flour with good results, I’m sure!
  • Tapioca Starch helps make a great texture, and keeps it really flaky too! See notes below for replacement ideas.

OTHER 12 DAYS OF CHRISTMAS POSTS:

  • Chai Eggnog
  • DIY Mint Chocolate Lip Balm
  • Sweet and Spicy Candied Nuts
  •  Garam Masala Pickled Onions
  • Homemade Gühwein Recipe
  • DIY Apple Tea Blend
  • Apple Pastila – Honey Sweetened Confection
  • Easy DIY Dry Shampoo
  • Instant Chai Tea Latte Powder

Gluten Free Scottish Shortbread Cookies

  • 1 cup sprouted brown rice flour,
  • 1 cup of finely ground nut or seed flour (See notes above)
  • ¼-1/2 cup tapioca starch, plus extra for rolling (you could probably replace with arrowroot flour or sweet rice flour, if desired)
  • ½ cup of butter, softened
  • 1/3 cup pure maple syrup
  • 1 teaspoon vanilla, gluten-free
  • ¼ teaspoon unrefined salt

1. In a medium bowl, whip the butter until smooth and fluffy with a hand mixture. Drizzle the maple syrup over the butter and add the vanilla extract. Mix in until smooth. Add the flours, tapioca starch (I started with ¼ cup), and salt, and mix until just combined.

2. Test the mixture by rolling a small portion into a ball. Is it too dry? Add a little more maple syrup. Is it too wet? Add some more flour until it becomes slightly moist, but firm, and is holding its shape when pressed into a ball. (I started with the ¼ cup of tapioca starch, and then added the second ¼ cup, and it was perfect. The moisture level of your cookies will vary by what nut or seed flour you use, so adjust the recipe as needed. It’s a very flexible recipe!)

3. Preheat the oven to 350F

4. Form the dough into two balls. If it’s too hard to handle, you can refrigerate until the dough is chilled. Take two sheets of parchment paper. Lightly dust one with tapioca starch, place one of the dough balls on the sheet, then dust the top of the dough with tapioca starch. Place the second sheet of parchment paper on top of the dough ball, and then roll out using a rolling pin until about ½ an inch thick. Remove top parchment paper, and cut out into desired shapes. (I used a 1 ½ inch biscuit cutter, and it was perfect).

5. Use a spatula to carefully remove cookies to a parchment lined baking sheet. Use a fork to artfully poke holes in the cookies.

6. Put in oven and cook for about 12-15 minutes, or until the cookies are set and just barely browning on the sides. Remove from oven, and cool.

7. Repeat with second half of the dough.

Keep in an airtight container. Will keep about a week. You can also freeze the dough, if desired.

Gluten Free Shortbread Cookies (Maple Syrup Sweetened)
 
Print
 
Ingredients
  • 1 cup sprouted brown rice flour,
  • 1 cup of finely ground nut or seed flour (See notes above)
  • ¼-1/2 cup tapioca starch, plus extra for rolling (you could probably replace with arrowroot flour or sweet rice flour, if desired)
  • ½ cup of butter, softened
  • ⅓ cup pure maple syrup
  • 1 teaspoon vanilla, gluten-free
  • ¼ teaspoon unrefined salt
Instructions
  1. In a medium bowl, whip the butter until smooth and fluffy with a hand mixture. Drizzle the maple syrup over the butter and add the vanilla extract. Mix in until smooth. Add the flours, tapioca starch (I started with ¼ cup), and salt, and mix until just combined.
  2. Test the mixture by rolling a small portion into a ball. Is it too dry? Add a little more maple syrup. Is it too wet? Add some more flour until it becomes slightly moist, but firm, and is holding its shape when pressed into a ball. (I started with the ¼ cup of tapioca starch, and then added the second ¼ cup, and it was perfect. The moisture level of your cookies will vary by what nut or seed flour you use, so adjust the recipe as needed. It’s a very flexible recipe!)
  3. Preheat the oven to 350F
  4. Form the dough into two balls. If it’s too hard to handle, you can refrigerate until the dough is chilled. Take two sheets of parchment paper. Lightly dust one with tapioca starch, place one of the dough balls on the sheet, then dust the top of the dough with tapioca starch. Place the second sheet of parchment paper on top of the dough ball, and then roll out using a rolling pin until about ½ an inch thick. Remove top parchment paper, and cut out into desired shapes. (I used a 1 ½ inch biscuit cutter, and it was perfect).
  5. Use a spatula to carefully remove cookies to a parchment lined baking sheet. Use a fork to artfully poke holes in the cookies.
  6. Put in oven and cook for about 12-15 minutes, or until the cookies are set and just barely browning on the sides. Remove from oven, and cool.
  7. Repeat with second half of the dough.
  8. Keep in an airtight container. Will keep about a week. You can also freeze the dough, if desired.
3.3.3077


Filed Under: Desserts, Egg Free, For the Kids, Gluten Free

Next Page »

Primary Sidebar

ConvertKit Form

Get Every Recipe

And the insider's view from our kitchen

Success! Now check your email to confirm your subscription.

There was an error submitting your subscription. Please try again.

We won't send you spam. Unsubscribe at any time. Powered by ConvertKit

Follow Me

  • Facebook
  • Google+
  • Instagram
  • Pinterest
  • RSS

Search

Please Read:

The information you find here at The Nourishing Gourmet is meant to help you become a better cook! This site is primarily for sharing family friendly recipes. It's not meant to give medical advice or to make any health claims on the prevention or curing of diseases.This site is only for informational and educational purposes. Please discuss with your own, qualified health care provider before adding in supplements or making any changes in your diet. Also, any links to sponsors or affiliates (including Amazon) may give me a percentage of the sale or a pay per click. Thank you for supporting this site.

Categories

  • $10 Main (42)
  • $5 Dishes (43)
  • 52 ways to save money on a healthy diet (53)
  • AIP (23)
  • Baked Goods (83)
  • Beverages (72)
  • Breakfast and Brunch (61)
  • Condiments (8)
  • Dairy Free (492)
  • Desserts (184)
  • Dietary Needs (6)
  • Egg Free (11)
  • Egg Free (86)
  • For the Kids (66)
  • For the Love of Food and Books (18)
  • Gluten Free (484)
  • Grain Free (95)
  • Health (75)
  • Kitchen Tools (4)
  • Main Dishes (126)
  • Nourishing Frugal Recipes (167)
  • Nourishing Frugal Tips (70)
  • Nourishing Practices (56)
  • Nutrient Dense Foods (70)
  • Q and A (15)
  • Salads (39)
  • Sides (101)
  • Snacks (124)
  • Soups (50)
  • The Healthy $1 Menu (21)
  • The Low Energy Guide to Healthy Cooking (18)
  • THM (2)
  • Trim Healthy Mama (2)
  • Uncategorized (846)
  • Vegan (241)
  • Vegetarian (361)

Recent Posts

  • 2 Ingredient Peppermint Bark
  • Herbal Hibiscus Lemonade (Keto, THM)
  • Creamy Curry Red Lentil Soup
  • One-Pot Gluten-Free Mac and Cheese
  • Healthy Pumpkin Spice Granola
  • Crispy Pumpkin Spice Granola (oil-free)
  • Why I Use THM Principles Now
  • Vietnamese Beef Noodle Salad
  • Coconut Flour Pancakes
  • Instant Pot Mexican Shredded Chicken

Recent Comments

  • Dorene St G on Cracker Toffee (Easy Peasy Christmas Candy)
  • Nadia Kriston on Finding a Toaster Oven Without Nonstick
  • KimiHarris on How to make heavenly coconut milk whipped cream (with an isi dispenser)
  • KimiHarris on Autumn Beef Stew (Tomato Free)
  • KimiHarris on How to make heavenly coconut milk whipped cream (with an isi dispenser)

Fresh: Nourishing Salads for All Seasons

Get Every Recipe

And the insider's view from our kitchen

Success! Now check your email to confirm your subscription.

There was an error submitting your subscription. Please try again.

We won't send you spam. Unsubscribe at any time. Powered by ConvertKit

Footer

Privacy

Copyright © 2023 · Foodie Pro & The Genesis Framework