Did you know that it is incredibly easy to make a simple soft cheese right in your kitchen? It really is! The easiest cheese I know of requires only two ingredients – milk and an acid such as vinegar or lemon juice – and five tools – a stainless steel pot, a thermometer, a bowl, a wooden spoon, and some cheesecloth, and you can go from start to a finished product in two hours. The next-easiest cheese I know of requires three ingredients, the same set of tools, and a bit more time, but it’s still very simple to make and so delicious!
Kimi adds: Plus, making your own cheese can save you a lot money when you consider how expensive cheese can be. When I buy high-quality cheese from local cheese makers, it’s a frugal price if the cheese is around $12 a pound. Consider that even the highest quality milk is fairly inexpensive per gallon when you think of the amount of cheese you can make out of it! Our tip for today’s 52 ways to save money on a healthy diet is: Make your own cheese!
A little cheese-making adventure
Before writing this tutorial, I’d never tried to make soft cheese using just milk and an acid, so that was a new experience for me! The process is simple – heat the milk, add the acid, and drain the whey from the curds. The resulting cheese is known by a few different names – lemon cheese, whole-milk ricotta, or queso fresco. It is meant to be used fresh and makes an excellent spread for crackers.
Most of the recipes I’ve seen for this type of cheese instruct you to heat the milk to 180*F before adding the acid, but since I’m using raw milk and would like to keep the cheese as raw as possible, I decided to find out the lowest temperature I could use and still achieve the desired separation of curds and whey. Since most of the recipes for this type of cheese suggest using lemon juice for the acid, that is what I used as well.
Here is how I made lemon cheese:
First, I had to decide what temperature I would use as my starting point. Knowing that fresh milk from my goats usually measures 97*F, I choose 100*F as my starting point. So, I poured one quart of milk into a sauce pan and heated it over medium heat until it reached 100*F.
Then, I removed the pan from the heat and added 1/3 cup of lemon juice. The milk began to separate almost immediately. I covered the pan and set the timer for 10 minutes, which is the average time the other recipes suggest.
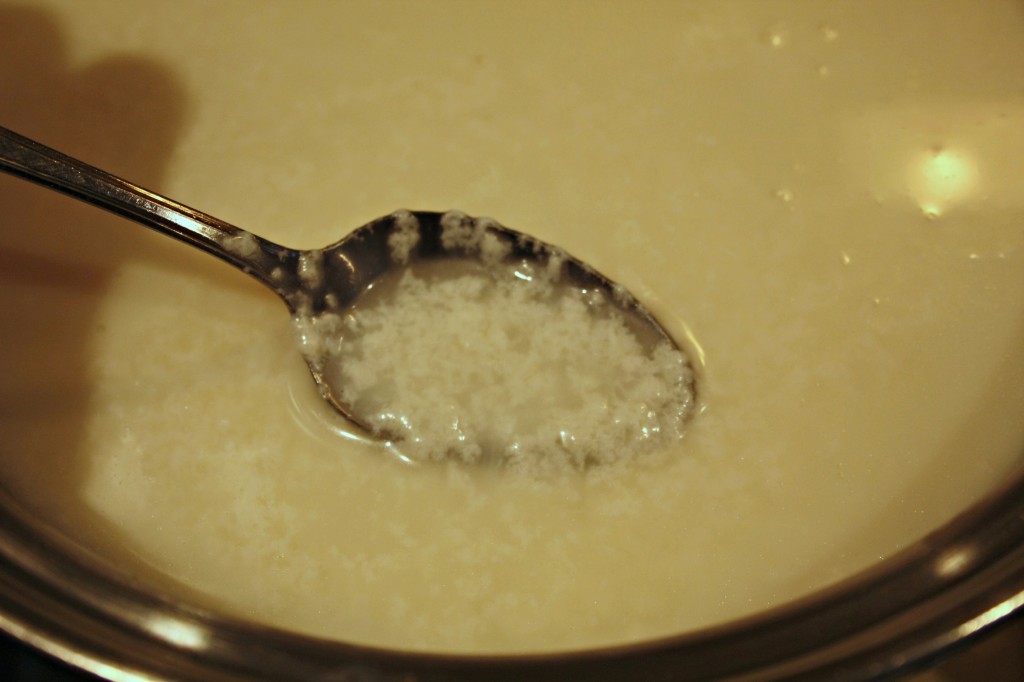
When the time was up, I removed the lid and checked the degree of separation. I could right away that it hadn’t separated enough, because the whey was still very milky looking.
I checked the temperature and found that the milk had only cooled to 96*F, so I decided to put the pan back over the flame and heat it until the curds clearly separated from the whey. This happened at 125*F.
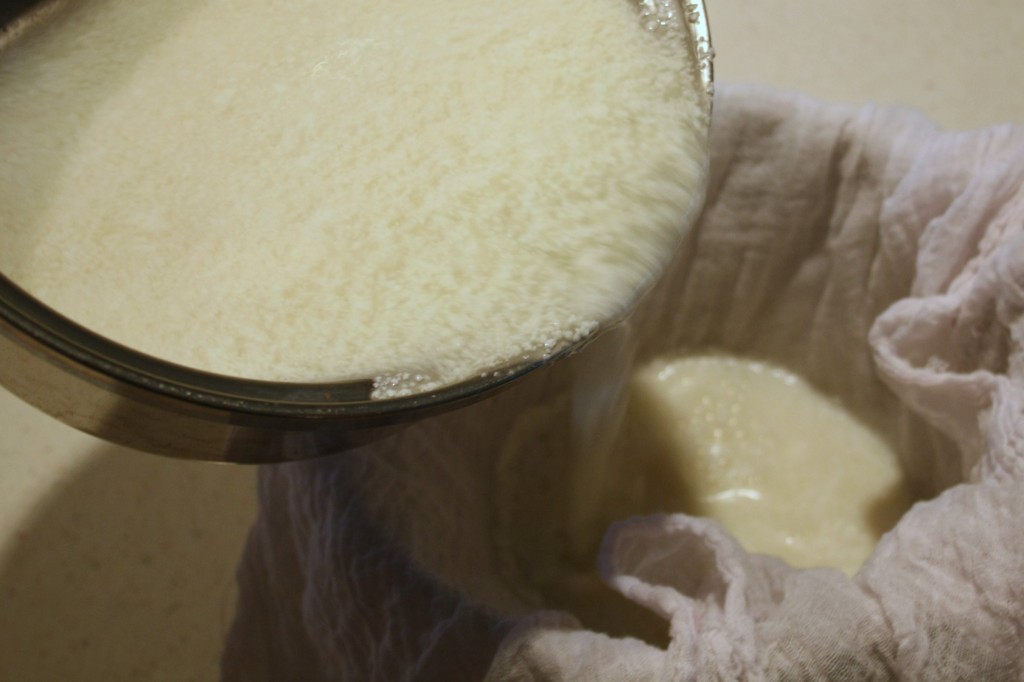
Once the curds and whey separated, it was time for me to drain and hang the cheese. I lined a bowl with some butter muslin cheesecloth and poured the curds and whey into the bowl.
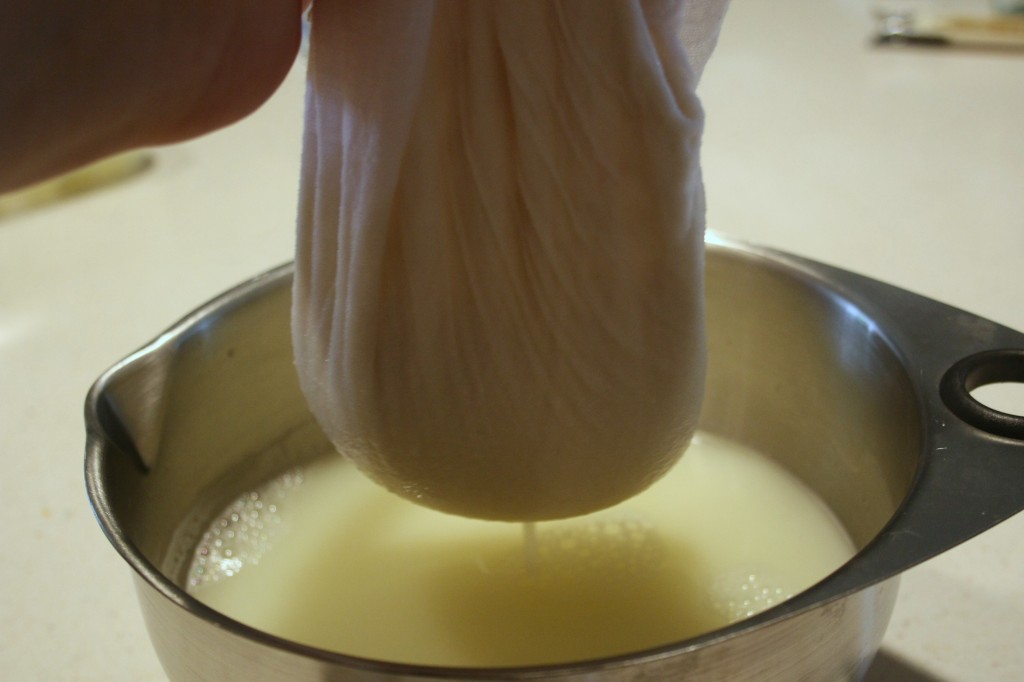
Then, I gathered the cheesecloth into a bundle and lifted it out of the bowl. I held it over the bowl for a minute or so until most of the whey had drained out.
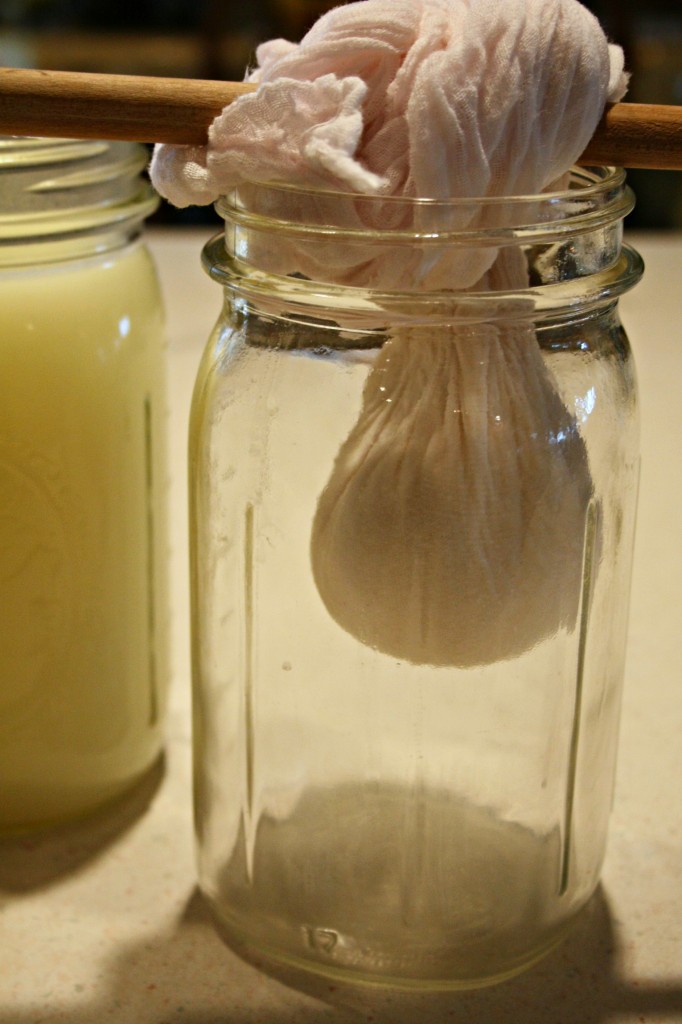
Finally, I tied the cheesecloth bundle over the handle of a wooden spoon and placed it over a mason jar to allow the cheese to finish draining for another hour and a half.
After the cheese had finished draining, it was time to weigh it, and then taste it! I got 3.6 oz of cheese from one quart of milk – not too bad! The finished cheese tasted quite lemony, so I added some sea salt and dill weed and it turned out to be quite tasty!
Going one step farther – using cultures and rennet.
Once I’d finished the lemon cheese and started draining it, I stepped into more familiar cheese-making territory to make a batch of chèvre. As I said, chèvre (I believe it’s called bovre if it’s made with cow’s milk) requires two special ingredients – a started culture and some rennet. I purchased my freeze-dried starter culture and double-strength vegetable rennet from Get Culture over a year ago. I still have plenty left and everything is still fresh since I make sure to store them properly – the cultures stay in the freezer and the rennet stays in the fridge.
There are two basic types of cheese cultures – mesophillic and thermophillic. Mesophillic cultures are used when the milk doesn’t need to be heated over 102*F, which is the case for most cheeses, and thermophillic cultures are used when the milk needs to be heated up to 130*F, as in the case of most Italian type cheese. Within these two basic categories there are different cultures containing different strands of bacteria, and each one produces a slightly different type of cheese and imparts a slightly different flavor. For chèvre and other soft cheeses, it is best to use an MM series culture, so I have this MM100 culture. These are direct set, or direct vat innoculation (DVI) cultures. You can also use a prepared mother culture made from the whey of a previous batch of cheese, but I have no experience with using these and have heard it can produce inconsistent results.
The other thing you will need is rennet. I recommend purchasing a liquid rennet over rennet tablets, since the liquid is easier to measure and dilute properly than the tablets are, especially when making a soft, fresh cheese. When it comes to liquid rennet, you have two choices – you can either buy traditional animal rennet, or you can buy a vegetarian and/or microbial rennet, which are derived from plant sources or molds. I choose to use this double-strength vegetable rennet, since it was the preservative-free version and the ingredients meet the organic standards.
The amount of cultures and rennet you add to the milk depends on how much milk you are starting with and how firm of a curd you wish to have when the cheese is finished. For a half-gallon to gallon of milk, 1/8th teaspoon of culture is a good amount. You can’t add rennet to the milk without diluting it in water first, so I mix 1 drop of rennet (actually, I have this small measuring spoon set and use the “nip” measure which is 1/64th teaspoon) to 5 tablespoons of water. If I want the finished cheese to have a small soft curd, I add 2 tablespoons of the rennet and water solution per half-gallon to gallon of milk, and if I want a larger, firmer curd, I add the entire mixture. For this tutorial, I decided to add all of the rennet so you could see the difference, as the smaller curds look just like the lemon cheese does.
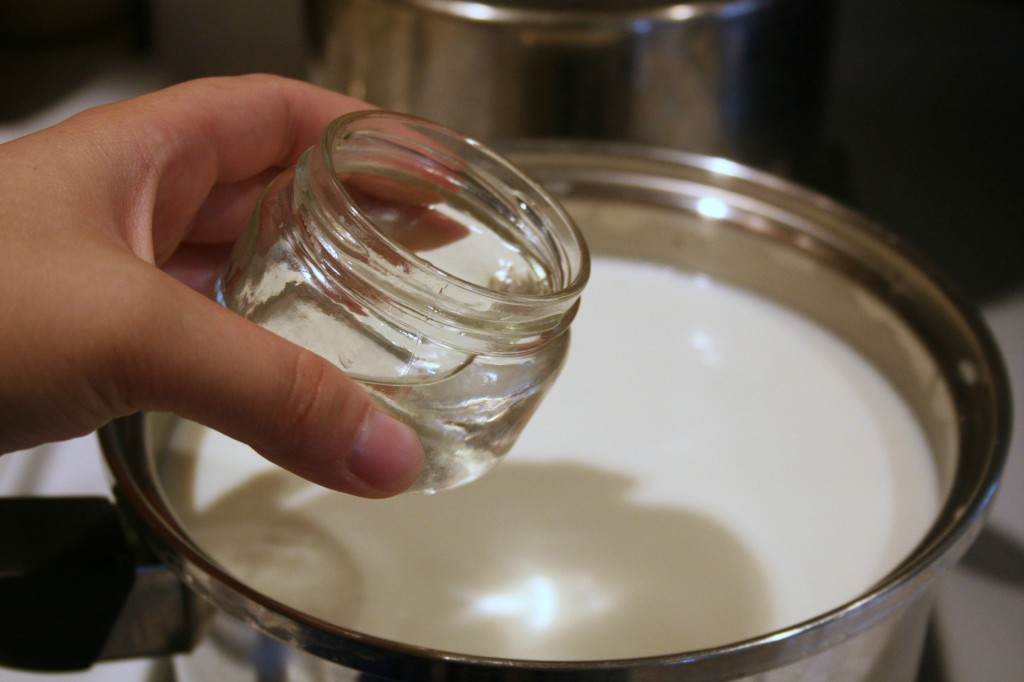
To make chèvre, bovre, or other soft cheeses, you simply heat the milk, add the cultures and stir to disperse and dissolve them, dilute the rennet in water and add it to the milk…
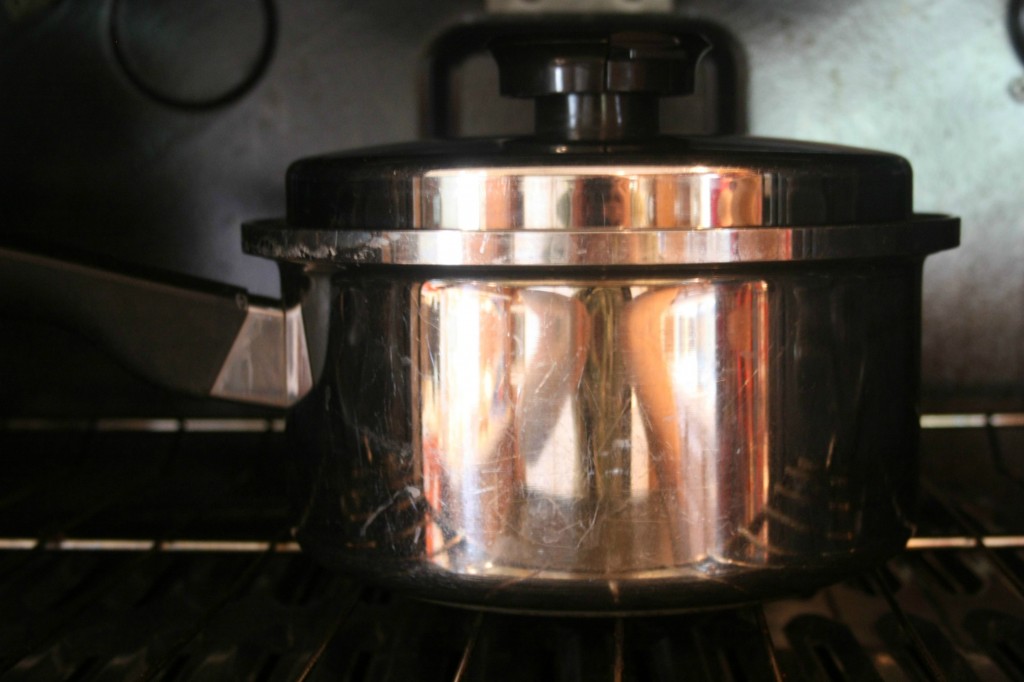
and cover the milk and set it aside for 12 hours so the culture and rennet can do their job and separate the curds and whey. I usually do this before going to bed, so it can sit overnight and I can start draining it in the morning. Also, I usually put the pot of milk in the oven to keep the temperature more consistent.
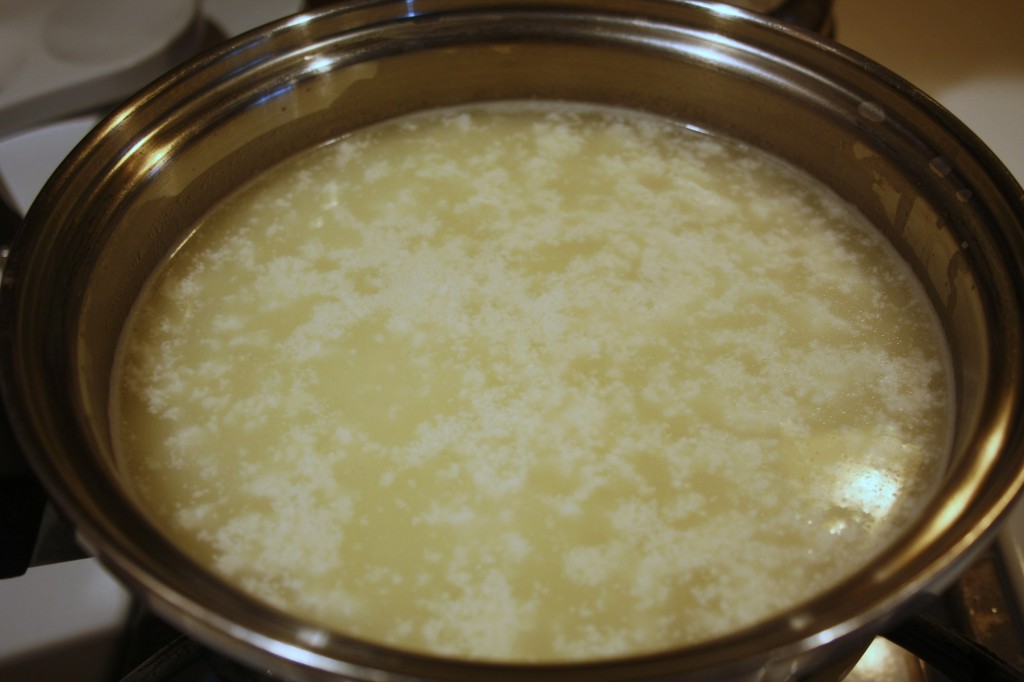
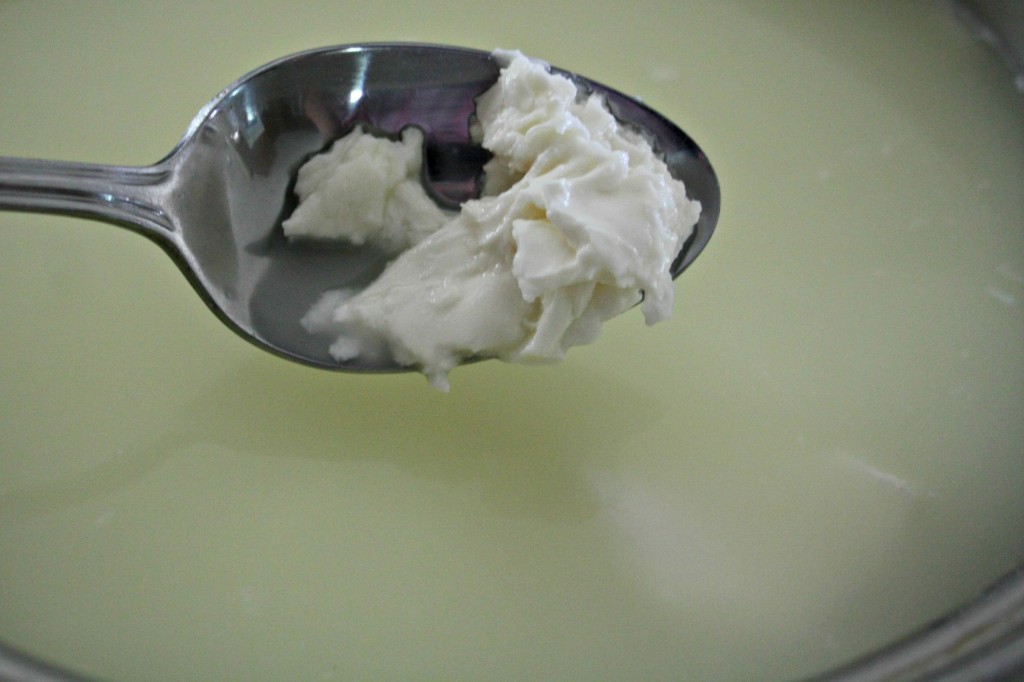
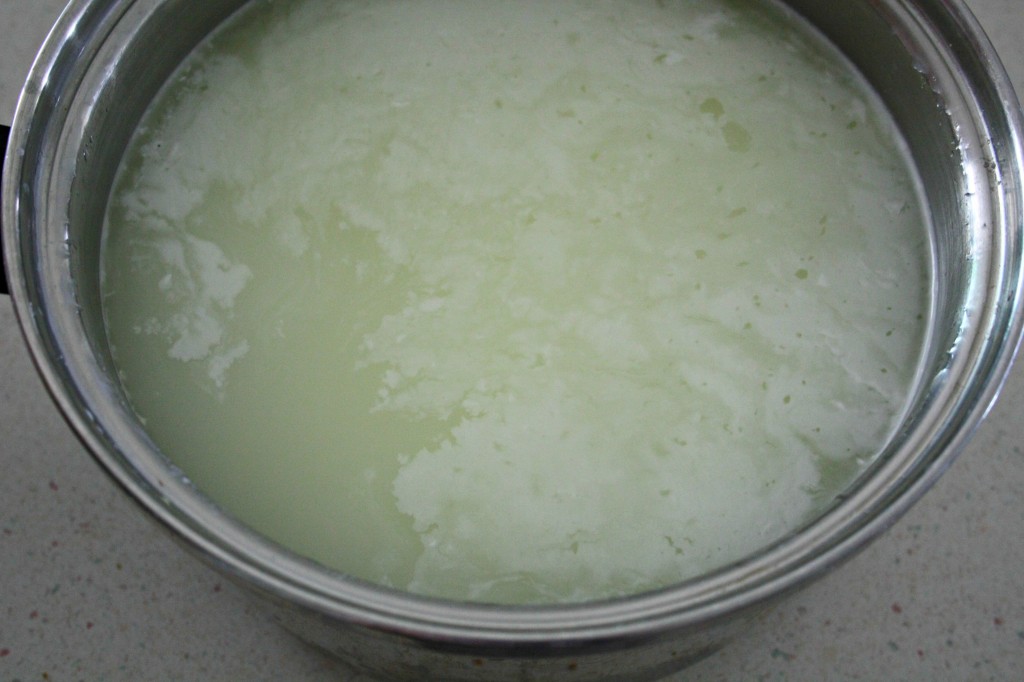
This is what you should see when the 12 hours are up:
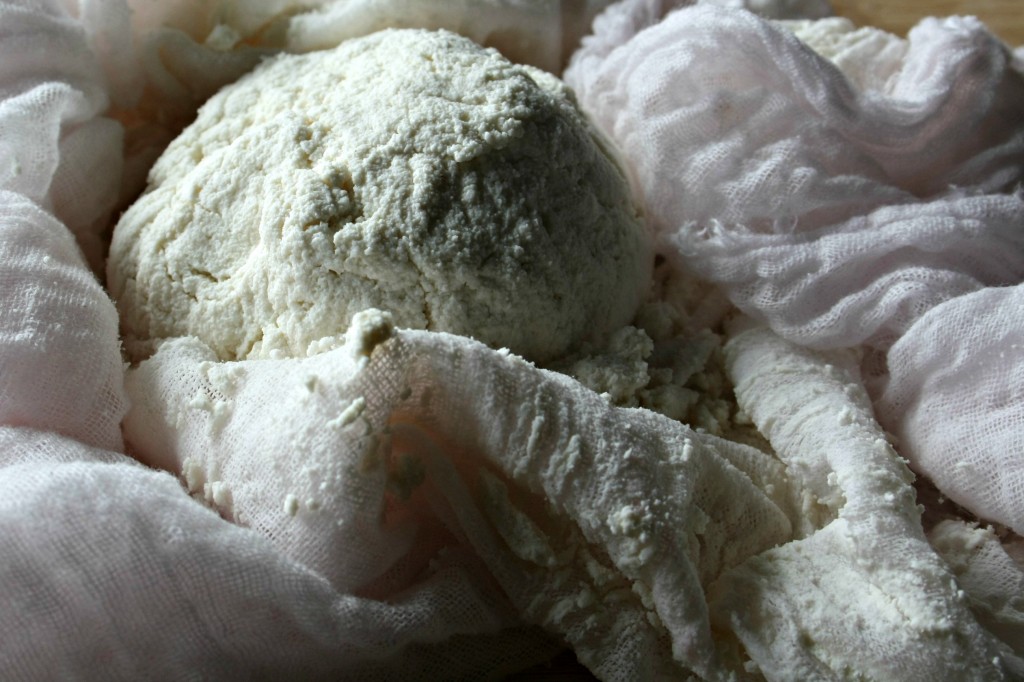
Once the curds and whey have separated, line a bowl with butter muslin cheesecloth and ladle the curds into the cheesecloth. Once you have gotten the larger curds out, you can gently pour the whey over the curds to strain out the remaining smaller ones. If you wish, you can purchase a variety of cups and molds to help shape your finished cheese. I have a set of these molds from Hoegger Supply and use them often, but they are not necessary – cheesecloth works just fine! Tie the cheesecloth in a bundle (or use a rubber band) and hang the cheese to drain for at least 6 hours. The smaller the curd, the longer the cheese will need to drain. When the cheese reaches your desired consistency and dryness, unmold it. At this point, you can leave it plain, salt it, or add herbs, nuts, or dried fruits. Plain, salted, or seasoned with dried herbs, this cheese will keep about two weeks in the refrigerator. If you use fresh herbs, fruit, or any other fresh ingredient, it may not last as long.
Mix-in ideas
This cheese is very versatile! Since it has a more neutral flavor than the lemon cheese, you can use it in a sweet dish just as easily as you can a savory one. Here are a few of my favorite ways to dress up this cheese
- If you leave it plain, it makes a very good cream cheese alternative, or if you’ve chosen to make larger, firmer curds, it is good to use on pizza or in a pasta dish.
- Sea salt and Italian seasoning.
- Your favorite single herb – I like dill, thyme, and chives.
- Dried cranberries and walnuts.
- If you add a little honey to sweeten it and process it in a blender or food processor, it makes a serviceable substitute for mascarpone.
- Drizzle honey on top and enjoy a sweet treat!
What about the whey?
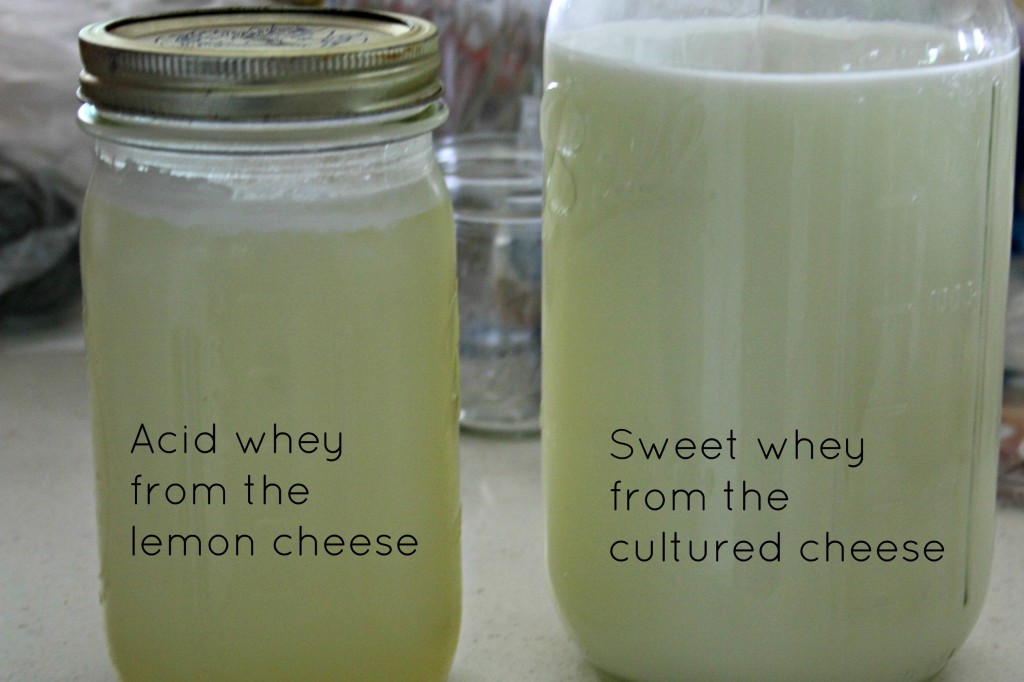
Don’t throw it out! There are many things you can do with the leftover whey – use it in your ferments, soak your grains in it, use it to boil rice or pasta, use it in place of water or milk in any baked good recipe, mix it in a smoothie, feed it to your dog or cat or chickens, or at the very least, use it to water your plants! I’ve noticed that when I scoop out the curds with my hands or make mozzarella and use the whey to stretch it, my skin gets very soft. Perhaps you could add some to your bathwater?!
I hope I’ve convinced you to give cheese making a try!
- 4 cups whole milk, preferably raw (do not use ultra-heat treated milk, it will not work)
- ⅓ cup fresh-squeezed lemon juice
- In a medium stainless steel pot, heat milk over medium heat until it reaches 125*F.
- Add the lemon juice. The milk should separate right away - if it does not, continue slowly heating the milk until it there is a clear separation of curds and whey.
- When the milk has separated, remove from heat and pour into a bowl lined with butter muslin cheesecloth.
- Gather the cheesecloth into a bundle and lift out of the bowl, allowing most of the whey to drain out. Tie the cheesecloth over the handle of a wooden spoon, and rest the spoon over a tall bowl or jar. Alternately, secure the top of the bundle with a rubber band and hang on a cupboard door with a bowl underneath to catch the whey.
- Allow the cheese to drain 1 to 1-1/2 hours, until desired dryness is reached.
- Unwrap the cheese, place in a bowl, and season as desired.
- Finished cheese can be stored unshaped in a container, or can be formed into a log and stored in a twist of parchment paper.
- Enjoy!
- Yield: About 4oz of cheese per quart of milk.
- 8-16 cups whole milk, preferably raw (do not use ultra heat treated milk, it will not work)
- ⅛ teaspoon direct set mesophillic cheese culture
- 1 drop liquid rennet, diluted in 5 Tablespoons cool water
- In medium-large stainless steel pot, heat milk to 95*F.
- Add culture and stir to dissolve.
- Add 2 Tablespoons of the rennet mixture for a small, soft curd, or add entire mixture for a large, firm curd.
- Cover and set aside at room temperature for 12 hours.
- When the curds have separated from the whey, gently stir the curds to break them up a bit.
- Ladle most of the curds into a bowl lined with butter muslin cheesecloth, then gently pour the whey and remaining curds into the bowl.
- Gather the cheesecloth into a bundle and lift out of the bowl, allowing most of the whey to drain out. Tie the cheesecloth over the handle of a wooden spoon, and rest the spoon over a tall bowl or jar. Alternately, secure the top of the bundle with a rubber band and hang on a cupboard door with a bowl underneath to catch the whey.
- Allow the cheese to drain 4-6 hours, until desired dryness is reached.
- Unwrap the cheese, place in a bowl, and season as desired.
- Finished cheese can be stored unshaped in a container, or can be formed into a log and stored in a twist of parchment paper.
- Enjoy!
- Yield: About 8oz of cheese per half-gallon of milk
Lindsey Proctor is a twenty-something foodie, with an emphasis on great tasting real food. She lives with her parents and sister on Hickory Cove Farm, a small, natural and sustainable farm in South-Central Pennsylvania where they raise Alpine and Nubian dairy goats, and a flock of pastured laying hens and a few roosters. Her favorite place to be is out in the pasture with her goats, but she also enjoys spending time in the kitchen cooking, baking, preserving food, and cheese making. She also enjoys photography, music, and a really good cup of coffee, and blogging at The Life Of Linz. She views her life in the country as a great blessing and it is her firm belief that she has been placed there for a purpose; to help others get back to living and eating the way she think God intended us to – a simple, fresh, local, and seasonal way of life.
Latest posts by Lindsey Proctor (see all)
- Coconut Orange Ginger Beef Stir-fry - July 18, 2014
- Why We Drink Raw Goat’s Milk - January 27, 2014
- Apple Oatmeal Mini Loaves (Soaked whole grain and naturally sweetened!) - December 7, 2013


Lindsey,
Thank you for this thorough and in depth set of instructions, complete with pictures. Makes me want to try it; also makes me think it’s not all that different from making yogurt. There is a local community ed class covering just those two topics: yogurt and cheese making. Maybe I should attend?
Thank you also for acknowledging that we benefit when we live in right relationship with God. It’s refreshing to read of reference to faith in a time when there doesn’t seem to be much of it practiced anymore.
I think you should absolutely take the class! It sounds like it would be fun and beneficial. 🙂
Thank *you* for your kind words!
Beautifully presented Lindsey…. Thank you for doing this. I’m left with no questions whatsoever! I will do it… and especially thank you for including the links to places to get the cultures and tools!