Greek yogurt is becoming more and more popular, for good reason, as we fall in love with its creamy, thick texture and it’s protein-rich content. But knock-off versions at the store use filler ingredients to make it have a similar texture, but without being made the traditional method. Plus, many store-bought yogurts don’t have live-cultures, can be full of sugar, and can be pretty expensive.
It makes sense to make it at home. Today, for part of my 52 ways to save money on a healthy diet, I thought I’d share how to make traditional Greek yogurt. When I was in the habit of making my own yogurt (before I found out that dairy was a problem for me), I realized that I saved a lot of money making my own yogurt – even when making it with the highest quality milk! In a future post, I will share how to make a non-dairy version of yogurt. The directions below are ones I gave out in a class in my “dairy days”, and were what I used.
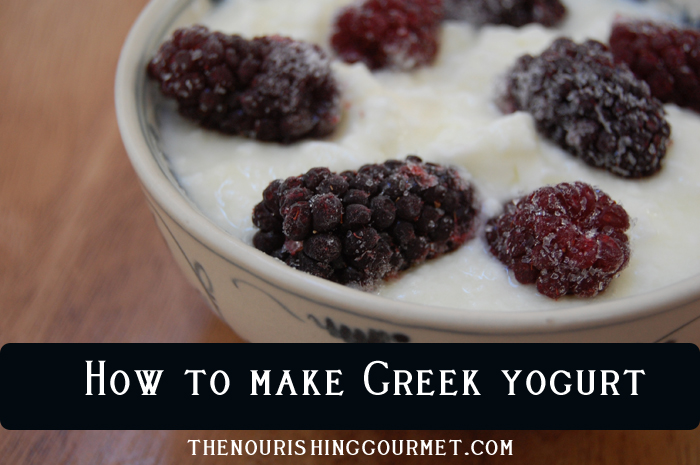
Thankfully, making homemade yogurt is simpler than you think, and making it “Greek-style” adds just one step to the process.
Greek yogurt has been strained of the whey, which is why it is so thick and creamy. You can actually take any yogurt, and strain it for a Greek-like yogurt! But for an even more authentic flavor and texture, start with a specific Greek culture when making your own. You can do this two ways: Buy a “live culture” unflavored Greek yogurt at the store, and use a couple tablespoons of that yogurt to inoculate your homemade yogurt batch. Or, buy a specific Greek yogurt culture to use. My affiliate Cultures for Health sells one that you can use with yogurt makers. They describe their starter as making a slightly tangy and rich yogurt, which can be strained partially for a thick yogurt, and strained all the way for a mascarpone cheese.
To make your own yogurt at home there are several methods you can use. For a super simple method, you can use one of the many yogurt makers out there. I just recently bought a Euro-Cuisine yogurt maker, which I am looking forward to experimenting with. (Amazon links are affiliate links) You can see it here. For those who would like to make larger amounts of yogurt, you can buy yogurt makers that make up to 2 quarts at a time. After making your yogurt you can strain it through cheesecloth laid over a fine sieve, or you can use a Greek yogurt strainer.
For those who want to make yogurt without a yogurt maker, follow these instructions. Yes, they are long, but it is a simple process
- Supplies needed:
- 1 quart canning jar with lid and band, plus more for filling with water for a heat source
- 1 candy thermometer
- A pot large enough to put several quarts of yogurt in
- Ingredients:
- 1 quart of whole milk
- 2 tablespoons plain, live culture Greek style yogurt, or yogurt of choice
- Start with sterilized canning jars (either run through the dishwasher on the sterilizing function or fill and cover with boiling water).
- Heating the milk: In a medium sized pot about half filled with water, place the sterilized canning jar filled with whole milk (leaving about 1 inch space on the top). Place the thermometer on the side of the pot so that its tip is sterilized as the water comes to a boil. Bring the water to a boil, and then turn down heat to a medium high heat. Place the thermometer in the milk by connecting it to the jar and heat until the temperature reaches 185 degrees Fahrenheit. Carefully take the jar out of the water.
- Cooling period: Now we need to allow the milk to cool to a proper temperature (somewhere between 110 and 120 degrees). You can leave it on the counter (it will take most likely over an hour) or let it cool in cool water in the sink or the refrigerator. Just keep checking the thermometer.
- Adding yogurt starter: Add two tablespoons of yogurt starter (don’t add more!) and gently stir in. Lid the jar. Feel the jar. This is the temperature that you want to keep your jar.
- Keeping the yogurt warm: Now we need to grow that good bacteria for 4 to 24 hours, until the yogurt thickens up. My preferred method: Stock pot method. Place the yogurt in a large stock pot and place two jars filled with boiling water near the yogurt jar. Cover with towels and lid the pot. Replace the water in the jars as needed to maintain a warm temperature (every 3-4 hours). Alternatives: Place the jars of yogurt in the stock pot and cover or wrap around with a heating pad. Cooler Method: Place however many quarts of yogurt you are making in a towel laden cooler. Place a pot of very hot water beside it and cover with more towels. This should stay warm for a long time. If you have a dehydrator they also work wonderfully. Just set the temperature for about 110-115 degrees. Or you can use a yogurt maker.
- Cool: Place either in the refrigerator or freezer (for about 1 hour), treating the jars gently (no shaking!). Placing in the freezer may help make a smooth texture, by cooling the yogurt faster. After chilling completely, you can strain to desired texture for a thick, extra creamy yogurt. Strain through cheesecloth set over a sieve over a bowl, or use a Greek Yogurt strainer. Enjoy!
Latest posts by KimiHarris (see all)
- 2 Ingredient Peppermint Bark - December 21, 2022
- Herbal Hibiscus Lemonade (Keto, THM) - March 16, 2022
- Creamy Curry Red Lentil Soup - December 8, 2021
Is there a way to do this with raw milk that doesn’t involve pastuerizing the milk?
Cultures for health has instructions on that. 🙂 You have to keep a separate starter culture going to use, but it is possible.
When I make yogurt I used to like to heat the yogurt in the jars but I had several jars break. Now I use these stainless steel containers. http://www.webstaurantstore.com/3109/bain-marie-pots.html and they work really well. I make yogurt a gallon at a time. The stainless steel pots take up less space in the refrigerator and work really well with the lids that I purchased separately at the bottom of the same page that I linked above.
Awesome! Thanks for sharing. 🙂
Hi, Kimi! My daughter inspired me to again make my own yogurt. I resurrected my old Donvier yogurt maker and it worked. Then I started straining it, but had to deal with all those individual jars. I have a dehydrator – but: how do you use it with bigger jars – or any jars – when the disks lay on top of each other with narrow spaces in between? Is your dehydrator different from mine?
I love making my own yogurt! I put it in mason jars (or old spaghetti sauce jars since the seal isn’t as essential) after adding the starter. I use the Cooler Method 😉 except that I pour a gallon of hot (110-130 degrees F) water straight into our hard-sided cooler… no towels, just a bath for the jars. I leave it for 6+ hours or overnight, and then water the grass with it afterwards.
PS: Kimi, your site is fabulous!
Have you ever done coconut milk yogurt since you don’t do dairy anymore?