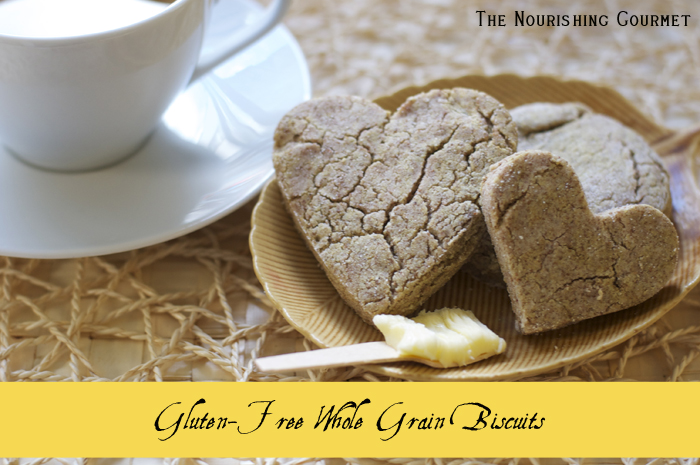
 Every time I’ve made these biscuits the last couple weeks, my children have gobbled down their portion; Hearty, yet fluffy, flavorful, yet mild enough to host creamy butter and honey (or homemade jam!). This recipe is gluten, egg, and dairy-free (I use half butter, but you can use all coconut oil or palm shortening instead of any butter). We’ve mostly been eating them with big bowls of soups or stew (like my example of a nourishing meal here), but they make an excellent teatime treat too. (I am also planning on turning this recipe into a scone recipe too – stay tuned for the results).
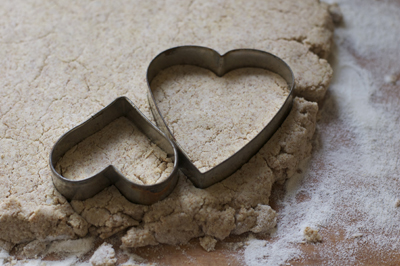
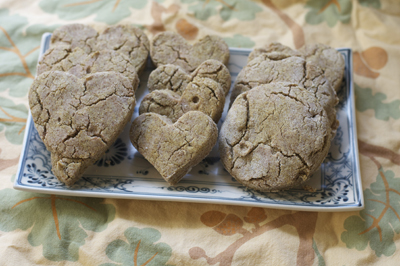
These are the type of recipes that endear me to my children. This time I made them into heart shapes, as my six year old daughter loves special shapes. When she came in today and saw another batch made, this time in a favorite shape, she said, “I love you, mommy!”. I was touched – even if what she really meant was “I love when you make me biscuits.” I do think that food made special can convey love.
I’ve mentioned this recipe several times (once on my Facebook page and once on my blog), and it has been my most requested recipe! I’ve gotten emails, Facebook messages and requests in the comments. I was actually working on the recipe for my new eBook, but so many of you requested it, I felt like I shouldn’t wait to share it. 😉
These are adapted from my rather popular recipe for fluffy, whole grain soaked biscuits. Back when I developed this recipe for making a soaked recipe for biscuits, there were basically none to be found online. Since I posted this recipe, I have been glad to see a whole host of variations on blogs- some using buttermilk, others kefir, others dairy-free like my recipe. I don’t know if they all originated with my recipe, but I am glad to see others enjoying the whole grain goodness of soaked products.
The soaking period helps the texture of the whole grain soften and I find that it also makes the final product more light in texture. Of course, the real reason I do this method is to help make the whole grains more digestible, and to help unlock some of the nutrition of the grain. But I also tried this recipe out with mostly sprouted flour with good success – when using sprouted flour you don’t necessarily need the soaking period. I’ll include instructions for the non-soaked recipe too.
But before I get to the recipe, let’s talk about the flour choices I use. For those who got my eBook about whole grain, gluten-free muffins, you will know that I had been working on flour mixes that contain mostly whole grain, and don’t use any type of “gum”. I loved the results with my muffins (here is one recipe from the book: Spiced Apple Muffins), so when I was working with this recipe I used some of the same techniques. First, I use some starchy flour. My flour of choice is sweet white rice flour (also called mochi), but arrowroot, organic cornstarch or tapioca flour would work as well. This helps hold the baked good together. The other thing that I like to do with my gluten-free baked goods is include a whole grain flour that has a stick-together aspect to it. This is what I said in my muffin eBook.
“A few that I have noticed that contain more “stick-togetherness” qualities include: Buckwheat, teff, masa harina (a traditional corn flour that has been treated with lime), amaranth, and millet (somewhat). Flours that often don’t stick together as well include brown rice, a non-fine nut flour, regular corn flour, and quinoa.”
I find that including one of the above flours really helpful in making my gluten-free baked goods not too fragile. If you wanted them really sturdy, or wanted to try to replace either the starchy addition or one of the whole grain flours that “stick together better”, then I would definitely recommend using 1 teaspoon of chia seed (just add to the flour before soaking).
With that said, here is the recipe.
Gluten-Free Whole Grain Biscuits
I have actually used different flours every time I’ve made this so far! Here are a few ways that I’ve split up the flour amount. (And yes, you could use a gluten-free whole grain flour mix). Version 1: 1 1/2 cups sprouted brown rice flour, 1/2 cup teff flour, 1/2 white rice mochi flour. Version 2: 1/2 cup sprouted brown rice flour, 1/2 cup teff flour, 1/2 cup millet flour, 1/2 sweet white rice flour, 1/2 cup sorgum flour. Version 3: 1 1/2 cups sprouted brown rice flour, 1/2 cup whole grain gluten free flour mix, 1/2 cup sweet white rice flour. Using a 1/2 cup of sweet white rice flour was the one constant. All three worked well.
Ingredients:
Soaking mixture
2 1/2 cups of gluten-free flour (see notes above)
6 tablespoons coconut oil (solid), palm shortening, or butter
3/4 cup of warm water (or use milk of choice for a more moist biscuit)
1 tablespoon raw apple cider vinegar, kefir or yogurt, or other live culture addition
Later Additions:
1/2 teaspoon baking soda
1 1/2 teaspoon baking powder (make sure it is gluten-free)
3/4 teaspoon unrefined salt
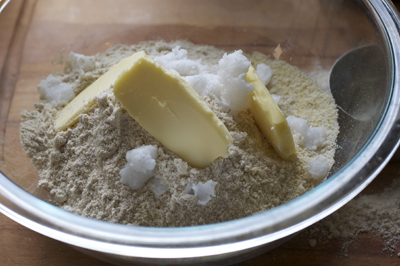
1. In a medium bowl, combine the flours. Add the fat of choice…
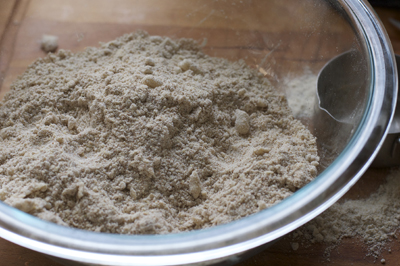
and use a pastry cutter or fork to break it into small pieces into the flour, or just use your fingers to rub the fat into the flour, until it is in small pieces pea sized or smaller.
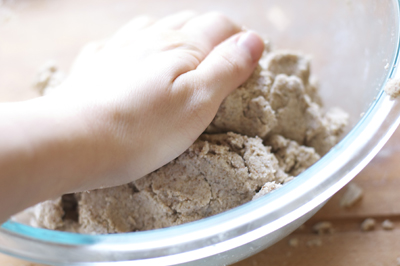
2. Add the water and live culture addition, and mix together with a wooden spoon. When it has come together mostly, use your hands to knead it right in the bowl until well combined.
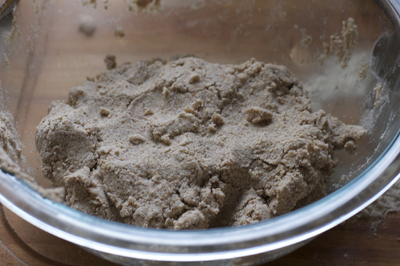 Cover tightly and leave in a warm place for 12-24 hours.
3. When ready to bake, preheat the oven to 450F. Smooth the dough out a bit in the bowl, and sprinkle the baking soda, powder and salt over it.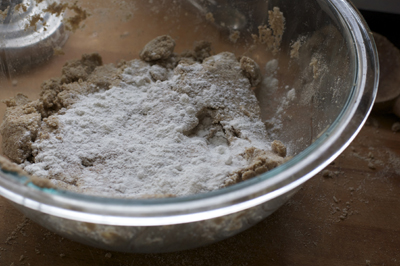
Use your hand to knead it into the dough.
4. Place the dough on a well floured surface, and gather it together into a ball (it will be slightly crumbly, but that’s okay). 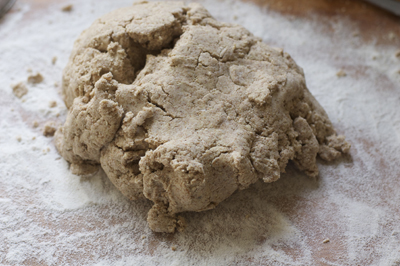 Roll out to 1/2 inch thickness. You can either cut into squares (least amount waste and super fast), cut out with a biscuit cutter, or use a cookie cutter.
5. Place carefully onto an ungreased pan…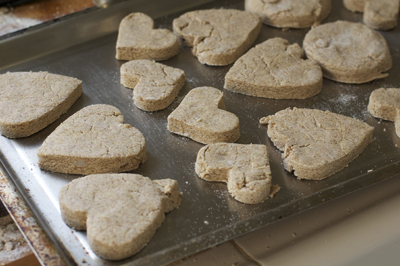
…and place in the middle of the oven for 8-12 minutes, until they are done. They won’t look dough-y on the outside anymore and will be fairly firm to the touch. I usually break one in half when I am fairly certain they are done, just to make sure the inside isn’t dough-y. Allow them to cool for 3-5 minutes on the pan.
6. Serve warm, but not hot. As they cool, they will continue to hold together better, however I like them slightly warm best. Just make sure you are super gentle putting butter on! These don’t rise quite as much as my gluten versions, so I don’t cut them in half, but just spread the toppings right on top.
This recipe will make anywhere from 8 to 15 biscuits depending on what size you cut them out into.
Unsoaked method:
1. Stir together all of the dry ingredients. Cut in the butter/oil/shortening. Stir in the water and gently knead together. Roll and cut out like above.
Latest posts by KimiHarris (see all)
- 2 Ingredient Peppermint Bark - December 21, 2022
- Herbal Hibiscus Lemonade (Keto, THM) - March 16, 2022
- Creamy Curry Red Lentil Soup - December 8, 2021
You never cease to amaze me with your well thought out recipes. Over a period of time, I’ve come to realize that your recipes are always on target, mainly because of all the love that is inherently part of your recipe. Thank you so much for taking the time to perfect deliciousness (?)!!
These were great! I just had them with my eggs this morning. I made some whipped butter/honey to spread on them! My GF flour combo was 1 cup buckwheat flour, 1 cup coconut flour, and 1/2 cup Bob’s Redmill biscuit and baking mix. Its what I had on hand. I had to add a bit more water, but it worked great and these were very tasty! Thanks for sharing!
How is coconut flour’s “stick togetherness?” Can I use that with mochi and some brown or white rice flour?
You might try using only 25% coconut flour to start. I’ve made biscuits with 2 parts rice flour, 1 part starch (tapioca or potato) and 1 part coconut flour. You will need a little more water since coconut flour is very thirsty.
Good info on gluten free grains! So cute that your girls gobbled them up.
I make thin pancakes (almost crepes) using buckwheat and wheat flours, eggs and almond and or coconut milk. If I wanted to soak these overnight, could I just mix together the flours and milk, exchanging some of the milk for kefir? I’d add the eggs in the morning.
definitely gonna try these. eating my pantry empty of grains and flours before trying GAPS. *sigh*
First of all, I have enjoyed this blog for years. Thank you for inspiring me to take the time to feed my family more nourishing food. I am still learning a lot and have found my journey with nourishing food to be a bit slow in coming but so worth it. 🙂 I have a question about flour. I have a flour mill and use wheat berries to make my own flour. It is awesome but I am not always sure how to use it and if it is really that nutritious! I have a hard red wheat berry, a hard white wheat berry and a soft white wheat berry. I use a blend of hard red and white when I make bread. Do you know anything about this? I guess I am just trying to figure out if I can make flour and then use it in the above recipe. Any thoughts? Thanks so much!
Hey Rachel,
I like to use a soft wheat berrie for recipes like these, as they make softer “quick breads”, but the soaking period sort of changes the texture of gluten anyways, so the other flours work work too. 🙂
Another amazing recipe!
The first time I made this (1/2 cup almond flour, 1/2 cup sorghum, 1/2 cup brown rice, 1/2 cup millet/amaranth & 1/2 cup white rice flour), I loved the biscuits. My not picky kids thought they were okay and my extra picky hubby didn’t care for them. This time I used 1/2 cup coconut in place of the millet/amaranth and added an extra 1/4 cup water. Used it as a top crust for chicken pot pie and it was a hit. We brushed the other half with melted coconut oil & honey for honey biscuits in the morning. They are wonderful.
Thanks so much for sharing, Allyson! Just curious, how different in texture/flavor did the coconut flour make it? It must have been dramatic. 🙂